Blue velvet adventures
A few months ago, my coworker and dear friend asked me if I'd like to go to Vancouver, BC, to go shopping for antique sari. She was on the look out for silk - an indigo dyer, she's always trying to find good stuff to work with, and indigo dying requires pure, natural fibers. I, of course, said YES! Because if you know sari, you know there's yards and yards of fabric in them, and lots of wonderful things to make with that much lovely silk.
A month or so later, we ended up at a place called the Punjab Cloth Warehouse, in Surrey, BC. The sari were not as plentiful as I would have imagined - at least not antique ones - but they had miiiiiles of fabric at very inexpensive prices. I browsed and ran my hands over all the things and then decided on two five-yard lengths: 1) soft, dark blue stretch velvet ($8 Canadian/yard) and some lovely silver crushed taffeta for $5 Canadian/yard. (I admit, the material may have been in fact a satin, not a silk - very hard to say!)
We concluded our trip with a tarot card reading or two and an AMAZING ride on FlyOver Canada, which if you have the ability to do so, I highly recommend. We took a look or two at the gingerbread city in the bottom of our hotel, and Rob and I took a dip in the hot tub, while the winter rain pattered on our heads. We headed home the next day, listening to Christmas carols all the way.
Starting my Catarina:
And this week, finally, I began to work with my velvet! I've made the Colette Catarina before in a lovely eggplant purple knit, but this time I was going to hack the pattern to make an evening gown. (BTW, the Catarina does not look like it does in the website picture on me. I am MUCH taller, so it comes just below my knees and I am also MUCH larger, so it's more boxy on me; as well, I'm between sizes, so I have sized it up, but it's a bit big on me.)
I was a bit scared because as much as I've done darts I don't like to do them, and also because velvet apparently has a notorious reputation of being hard to work with. Finally, auspiciously, my serger footplate broke, and I began to worry that it was a bad sign for the whole project. I took a week to think about it.
The week gave me strength, as did the book Sewing Happiness (thank you so much, Sanae Ishida, you inspire me!) which gave me the impetus I needed to just pick up my scissors and GO. The velvet wasn't terrible. I've worked with worse. But it was slippery, heavy, and a bit unruly.
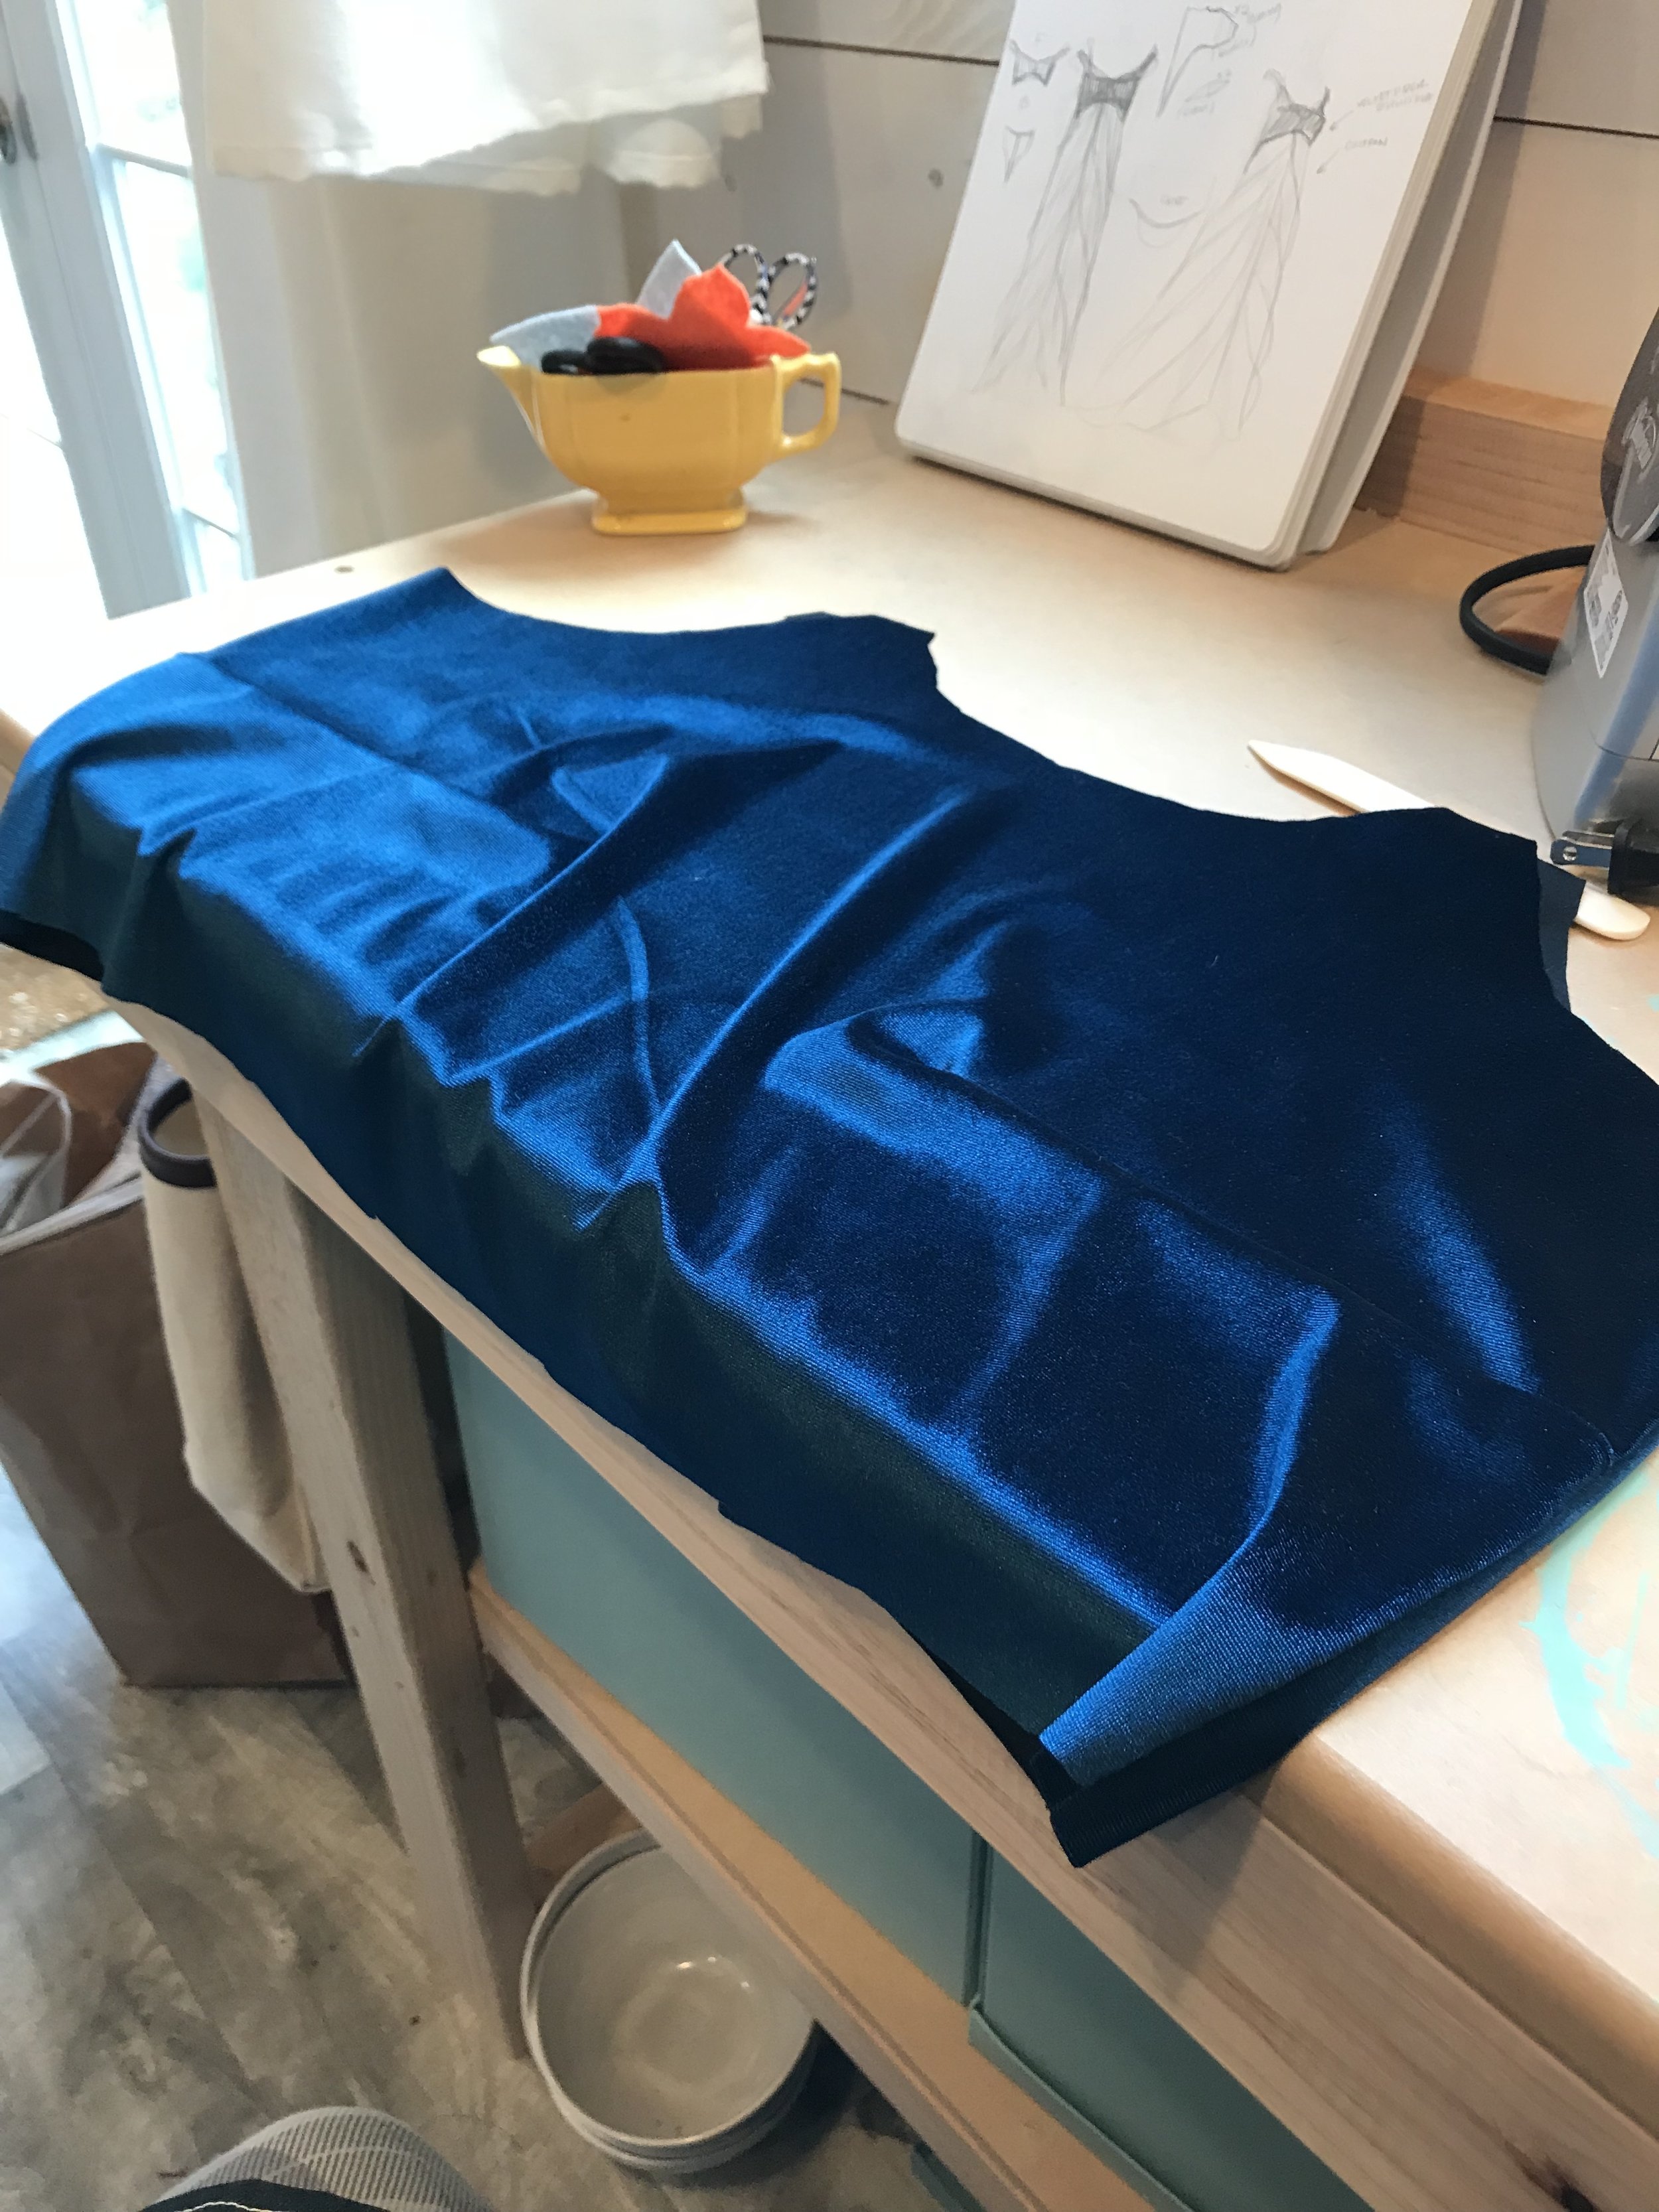
Despite it dragging the entire pattern off the cutting table a couple of times, I did manage to get everything cut! I even successfully hacked the skirt patterns and made it full length (a whopping 49" long on me. I'm all leg.) Pictured: bodice front, 1 of 2. (Behind is a dress I'm designing myself, using Gertie's New Fashion Sketchbook.)
Jumping into the sew-up:
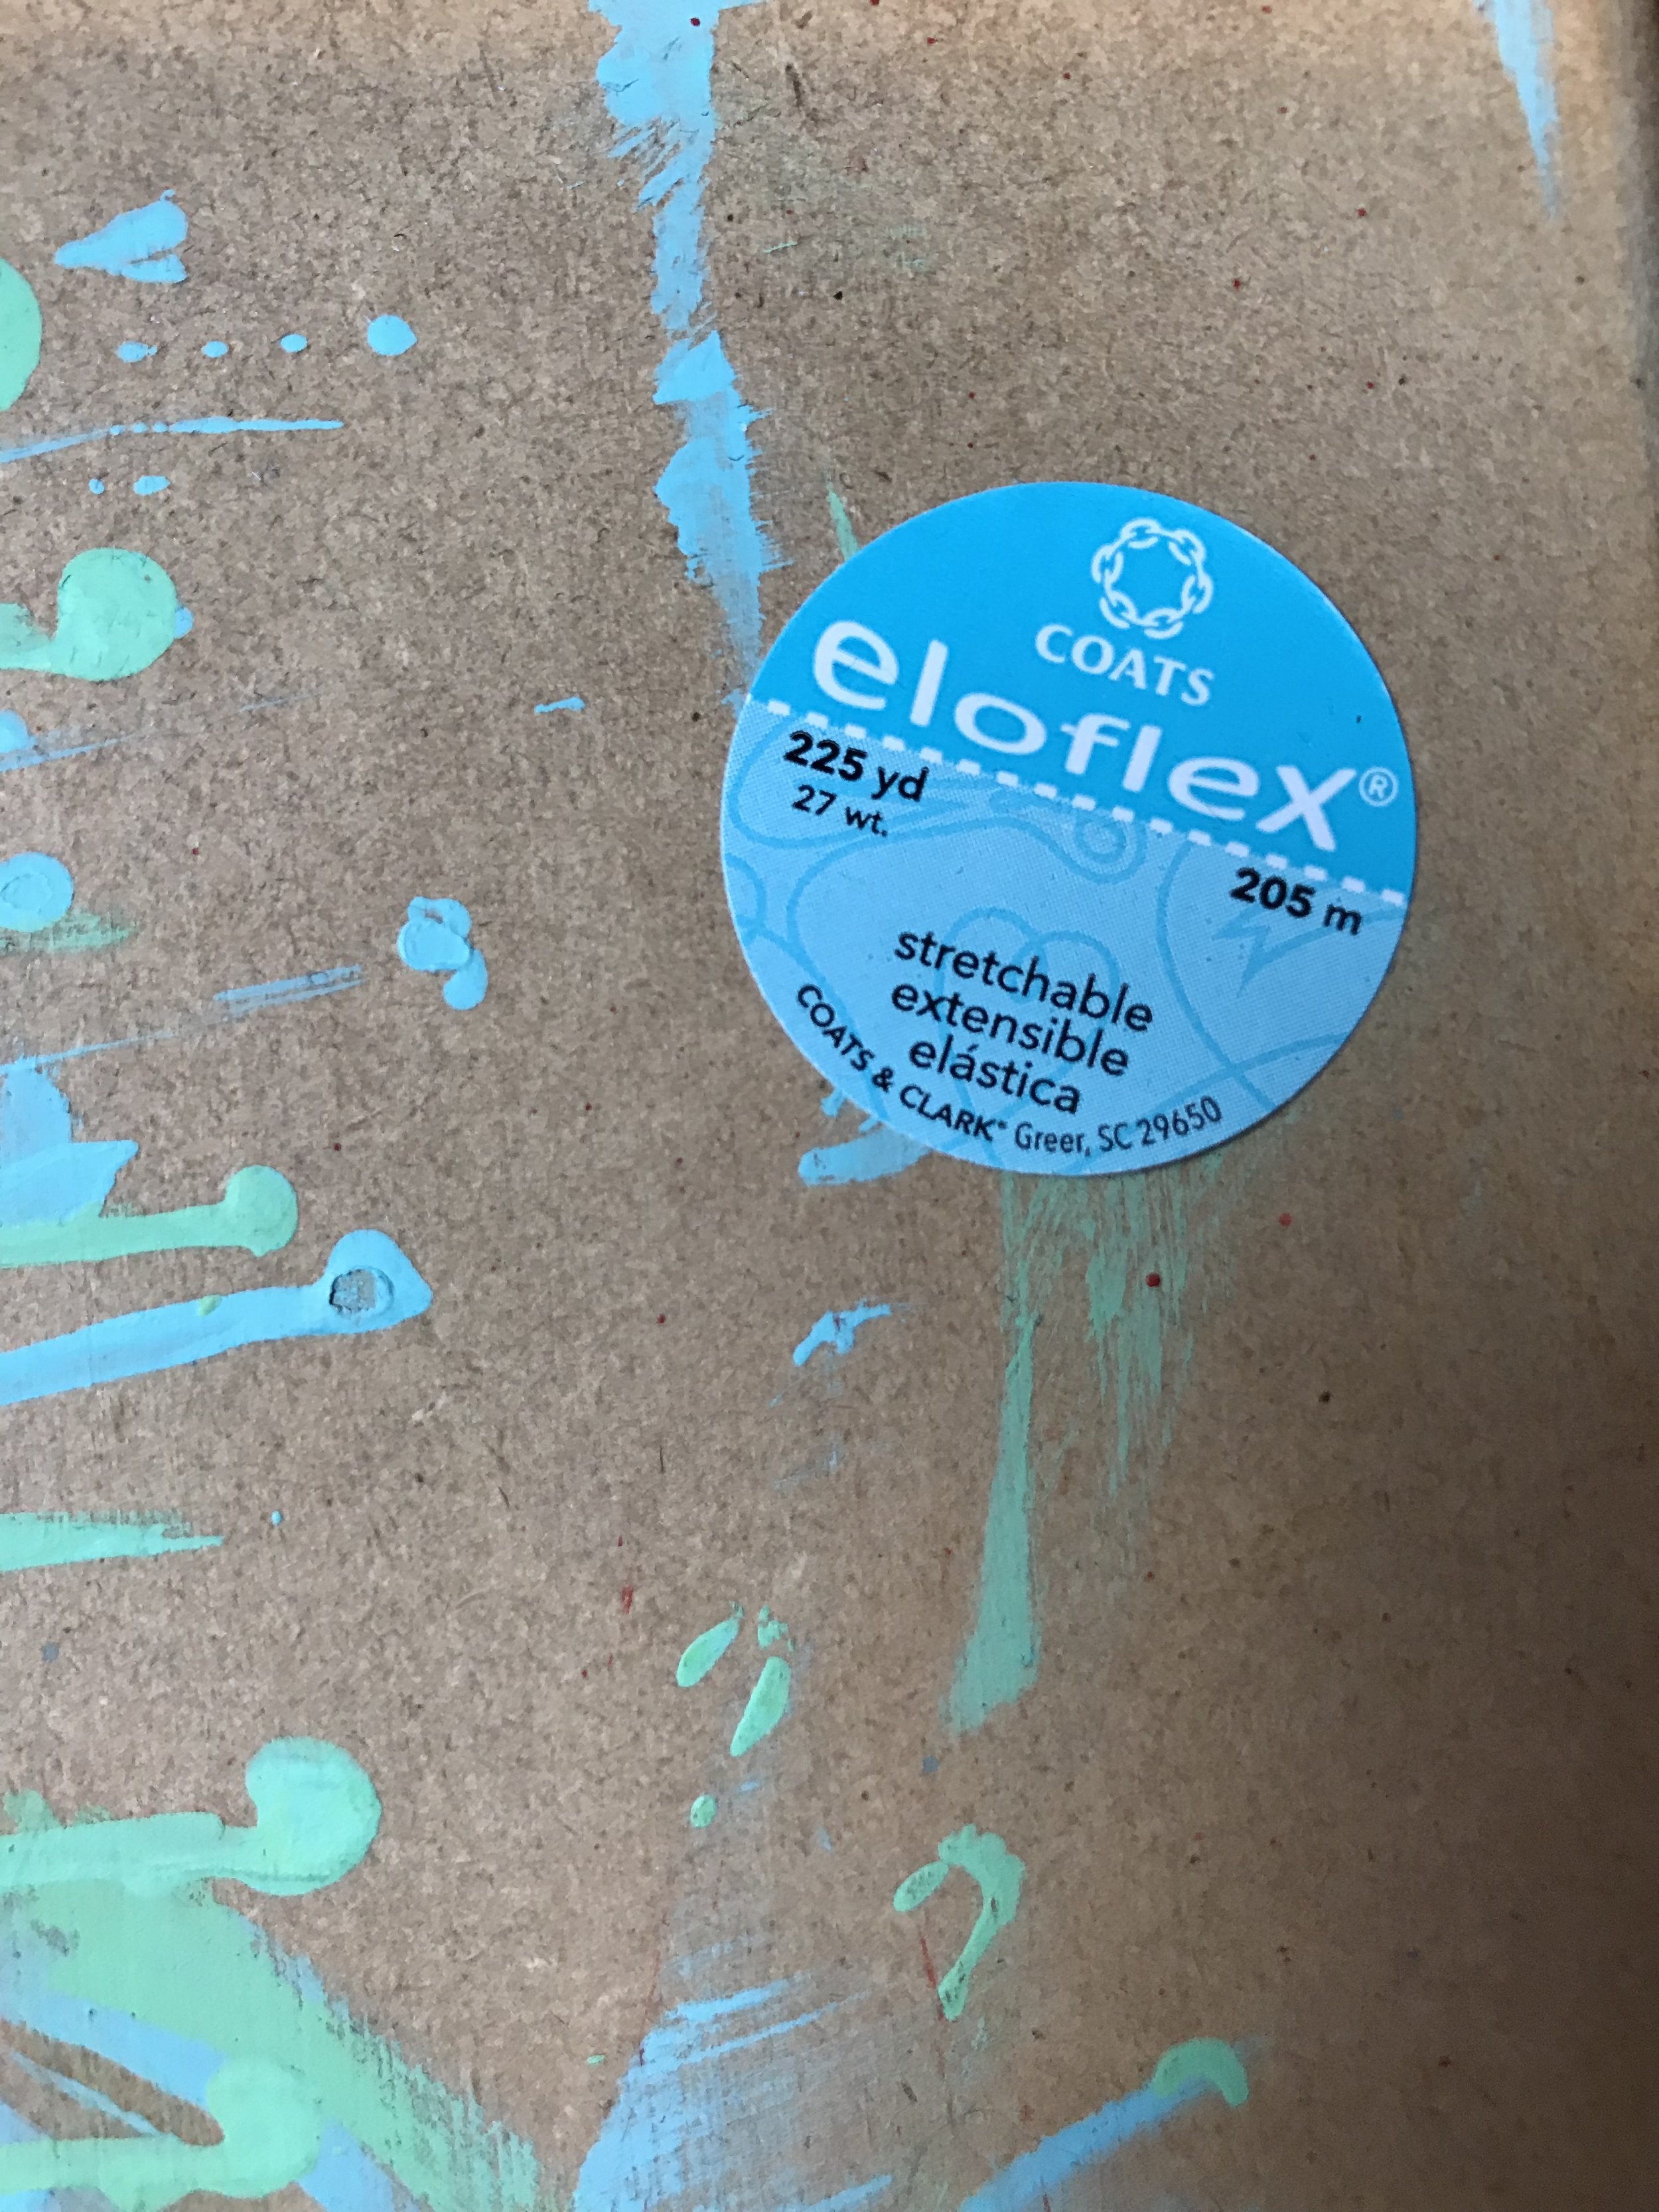
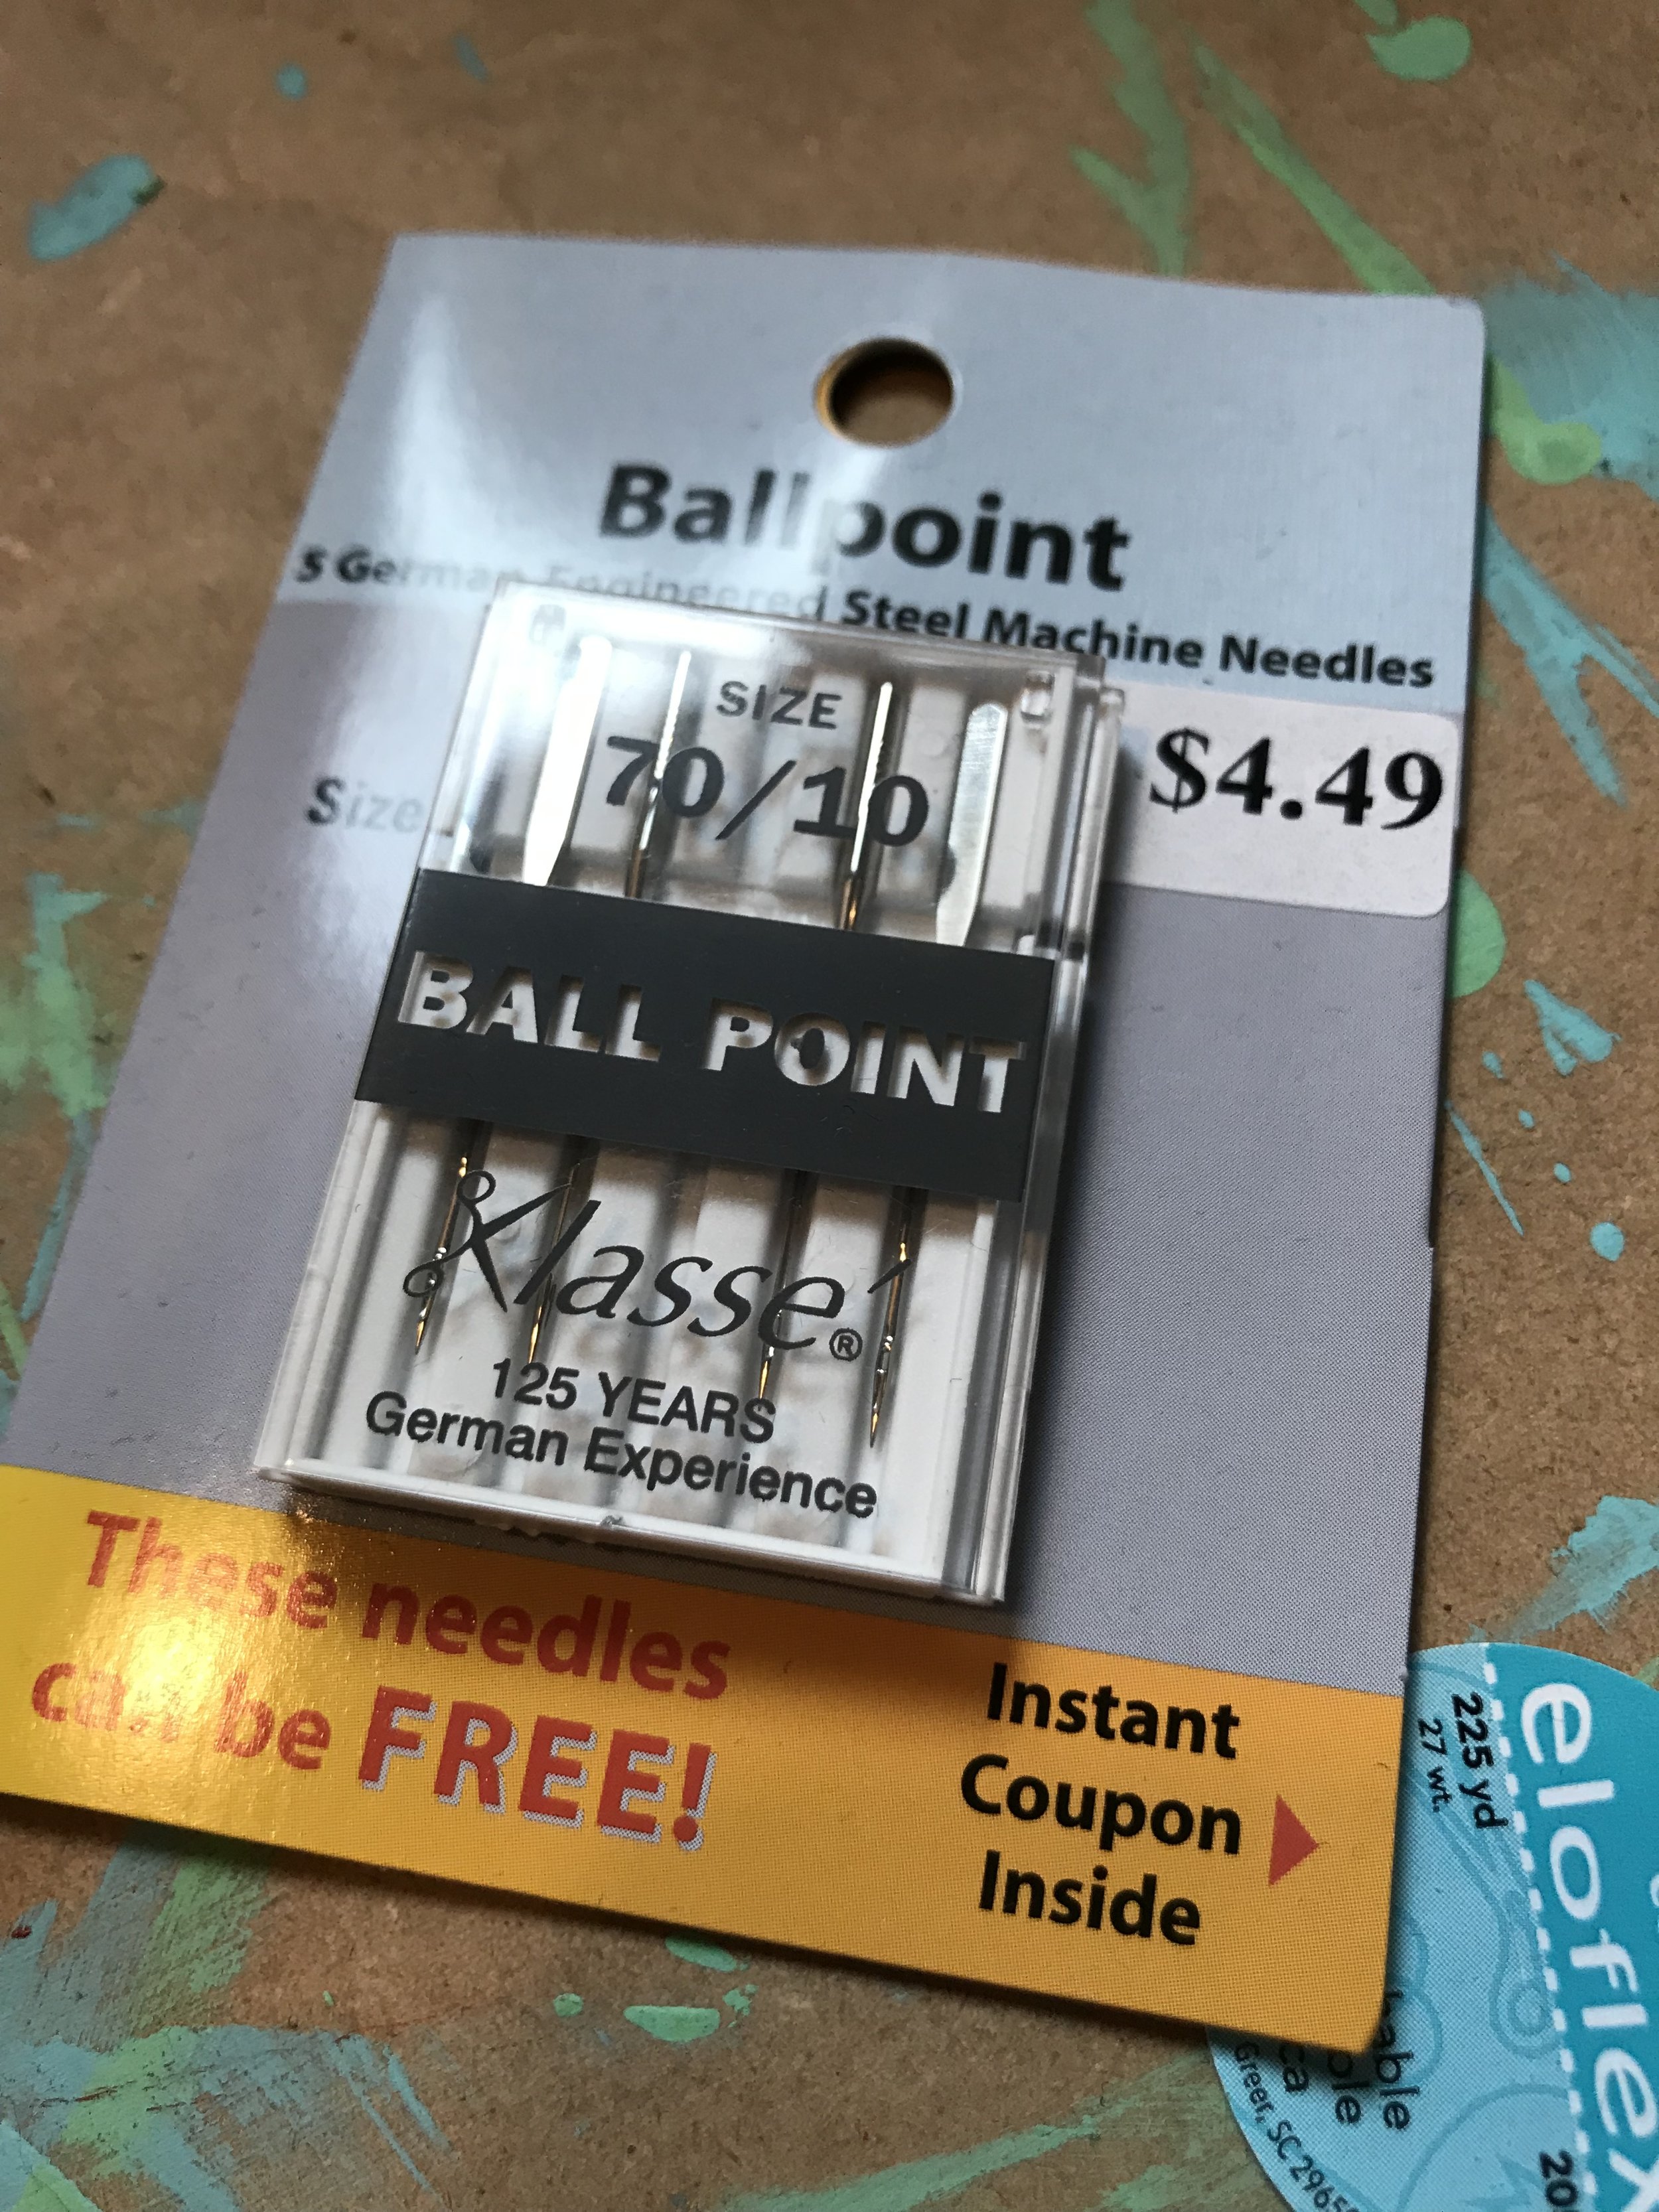
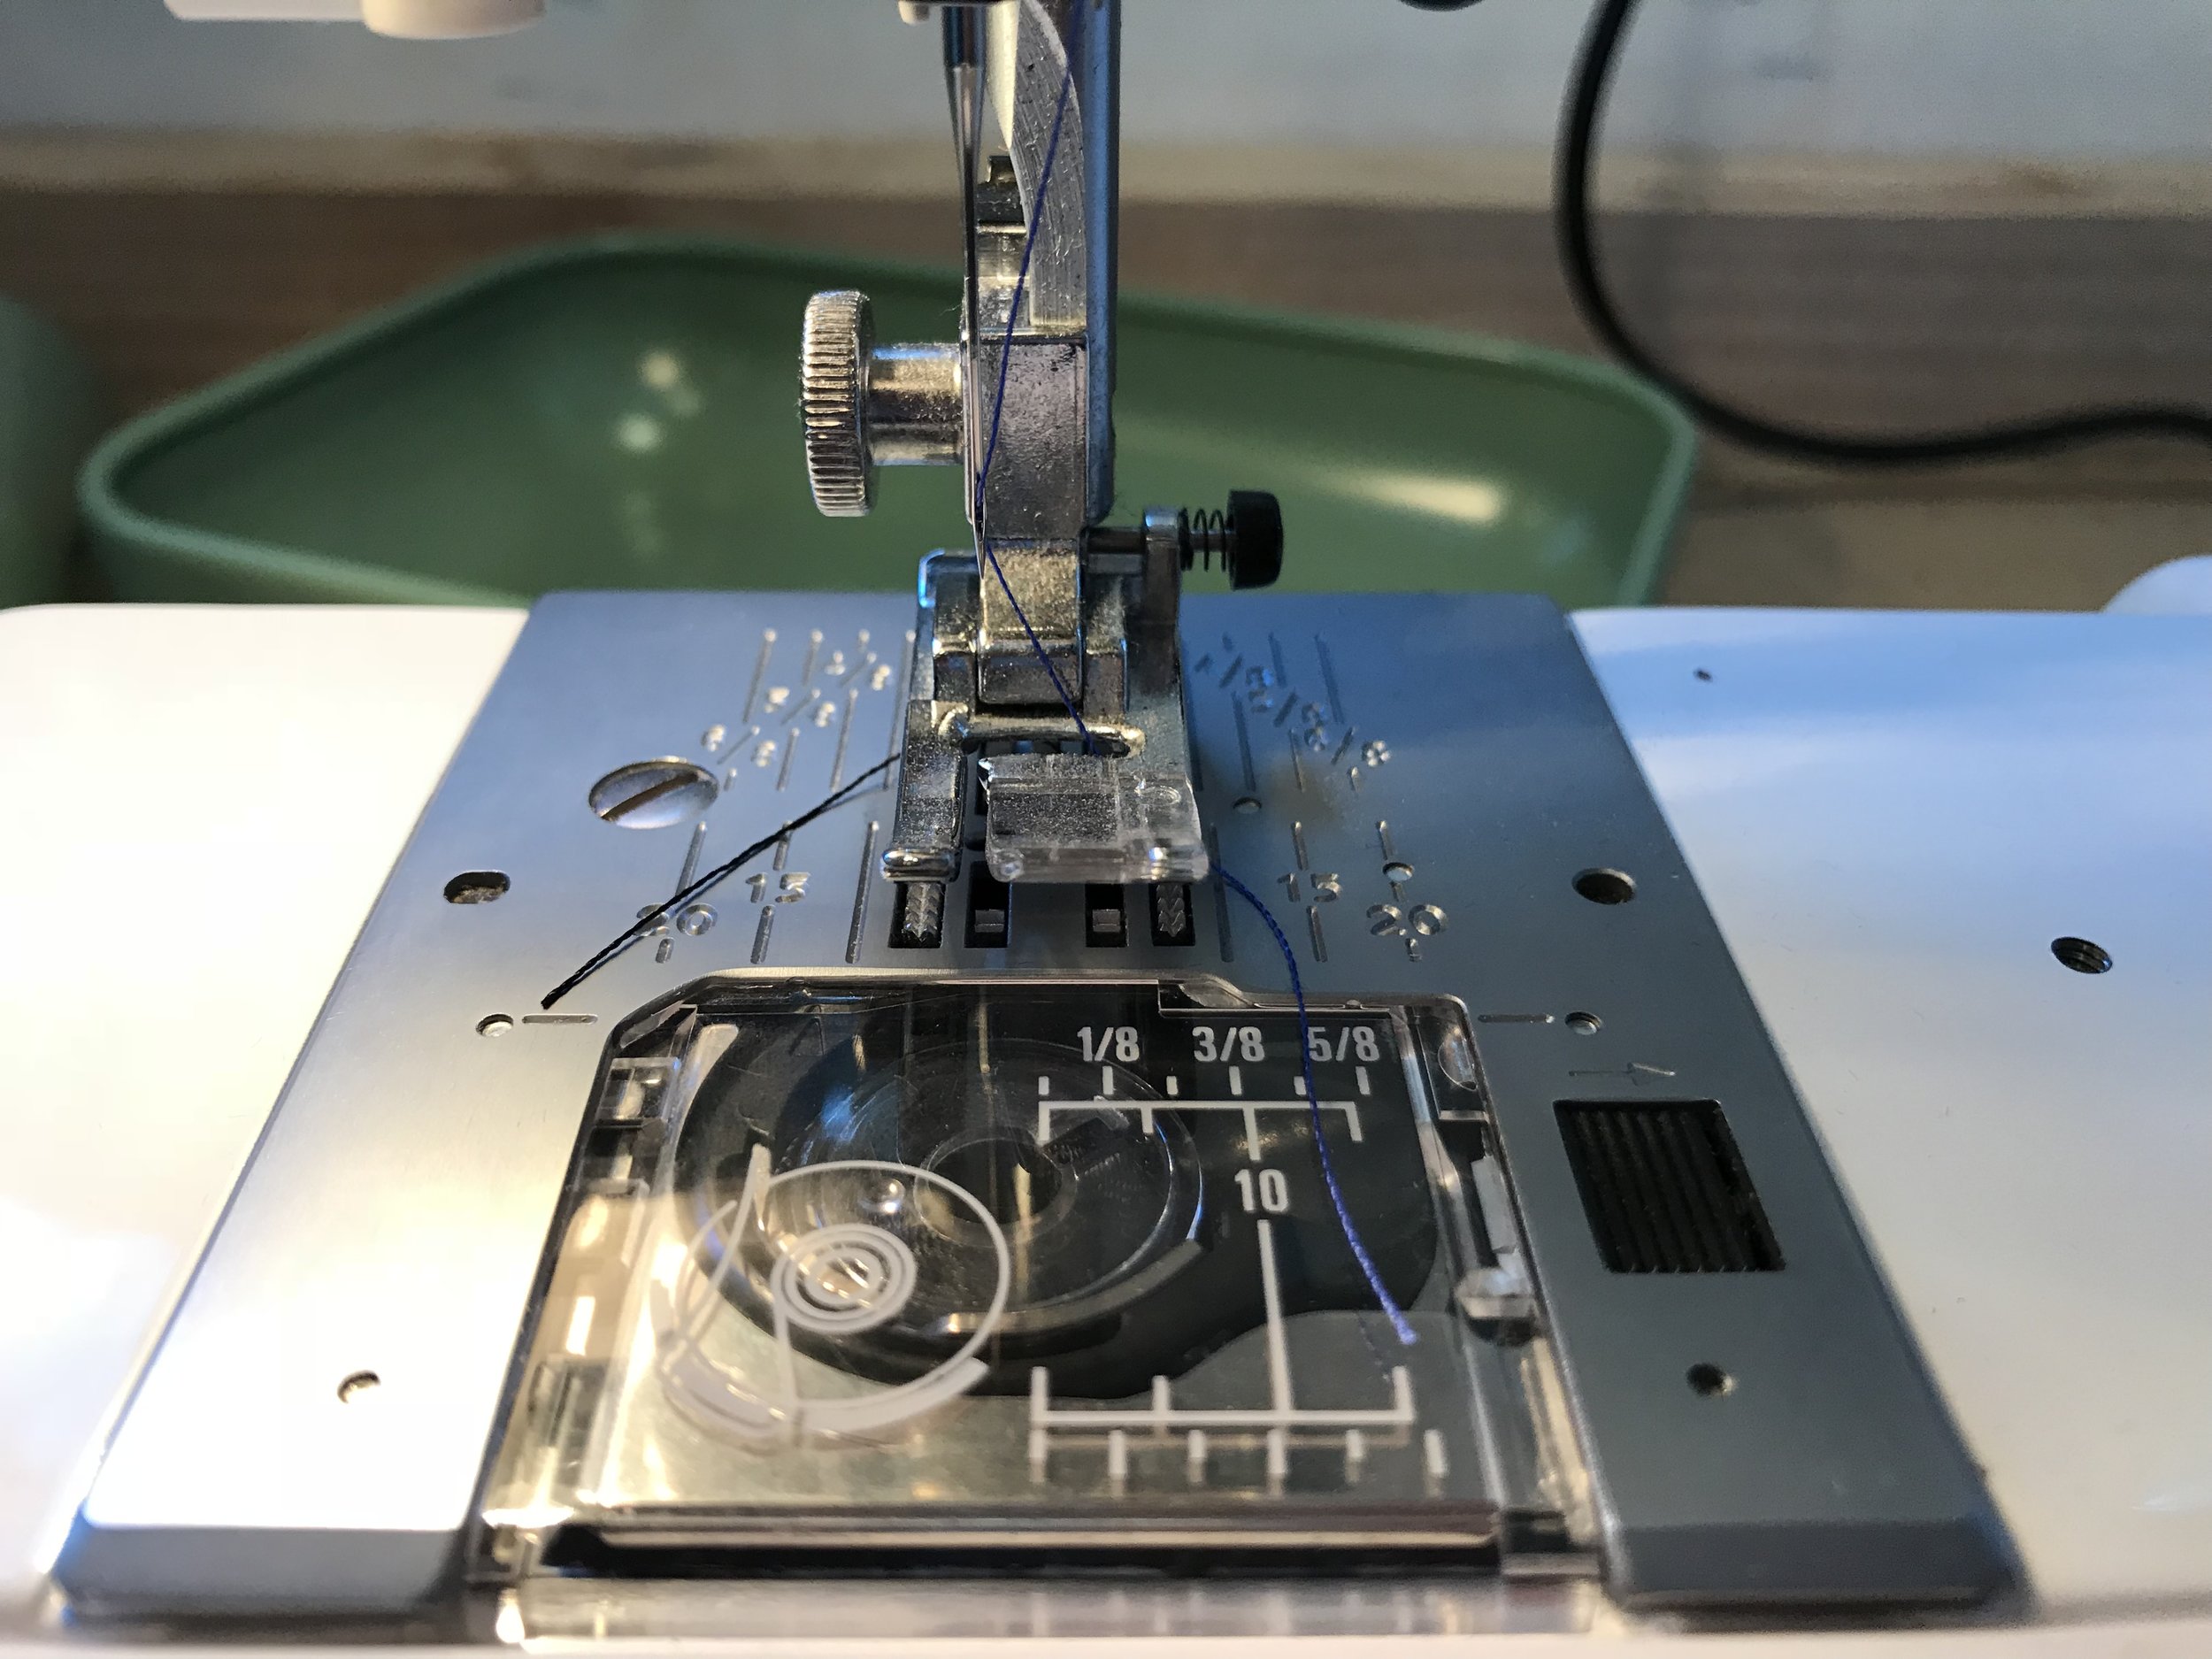
After getting everything cut, then I had to figure out exactly how to sew it together. I decided to take Sanae's advice and use my regular sewing machine. I have a Janome, which I love even if it can be a bit fidly about the thread, and so I bought some ball point needles and some elastic thread just to be safe!
Eloflex (label pictured) was the elastic thread brand, which I loved. The ball point needles definitely worked great. See pictured the finished, threaded foot as well (I used blue thread for the needle and black for the bobbin, to match the fabric.)
Note, I did have to play with the tension a bit to make sure the elastic thread worked. I found that I had to raise it quite a bit (like up to a six or so) to make sure it didn't slip out of the needle over and over. If I made it too tight, then it wouldn't have stretch for the fabric, though, so a balance I skirted a bit.
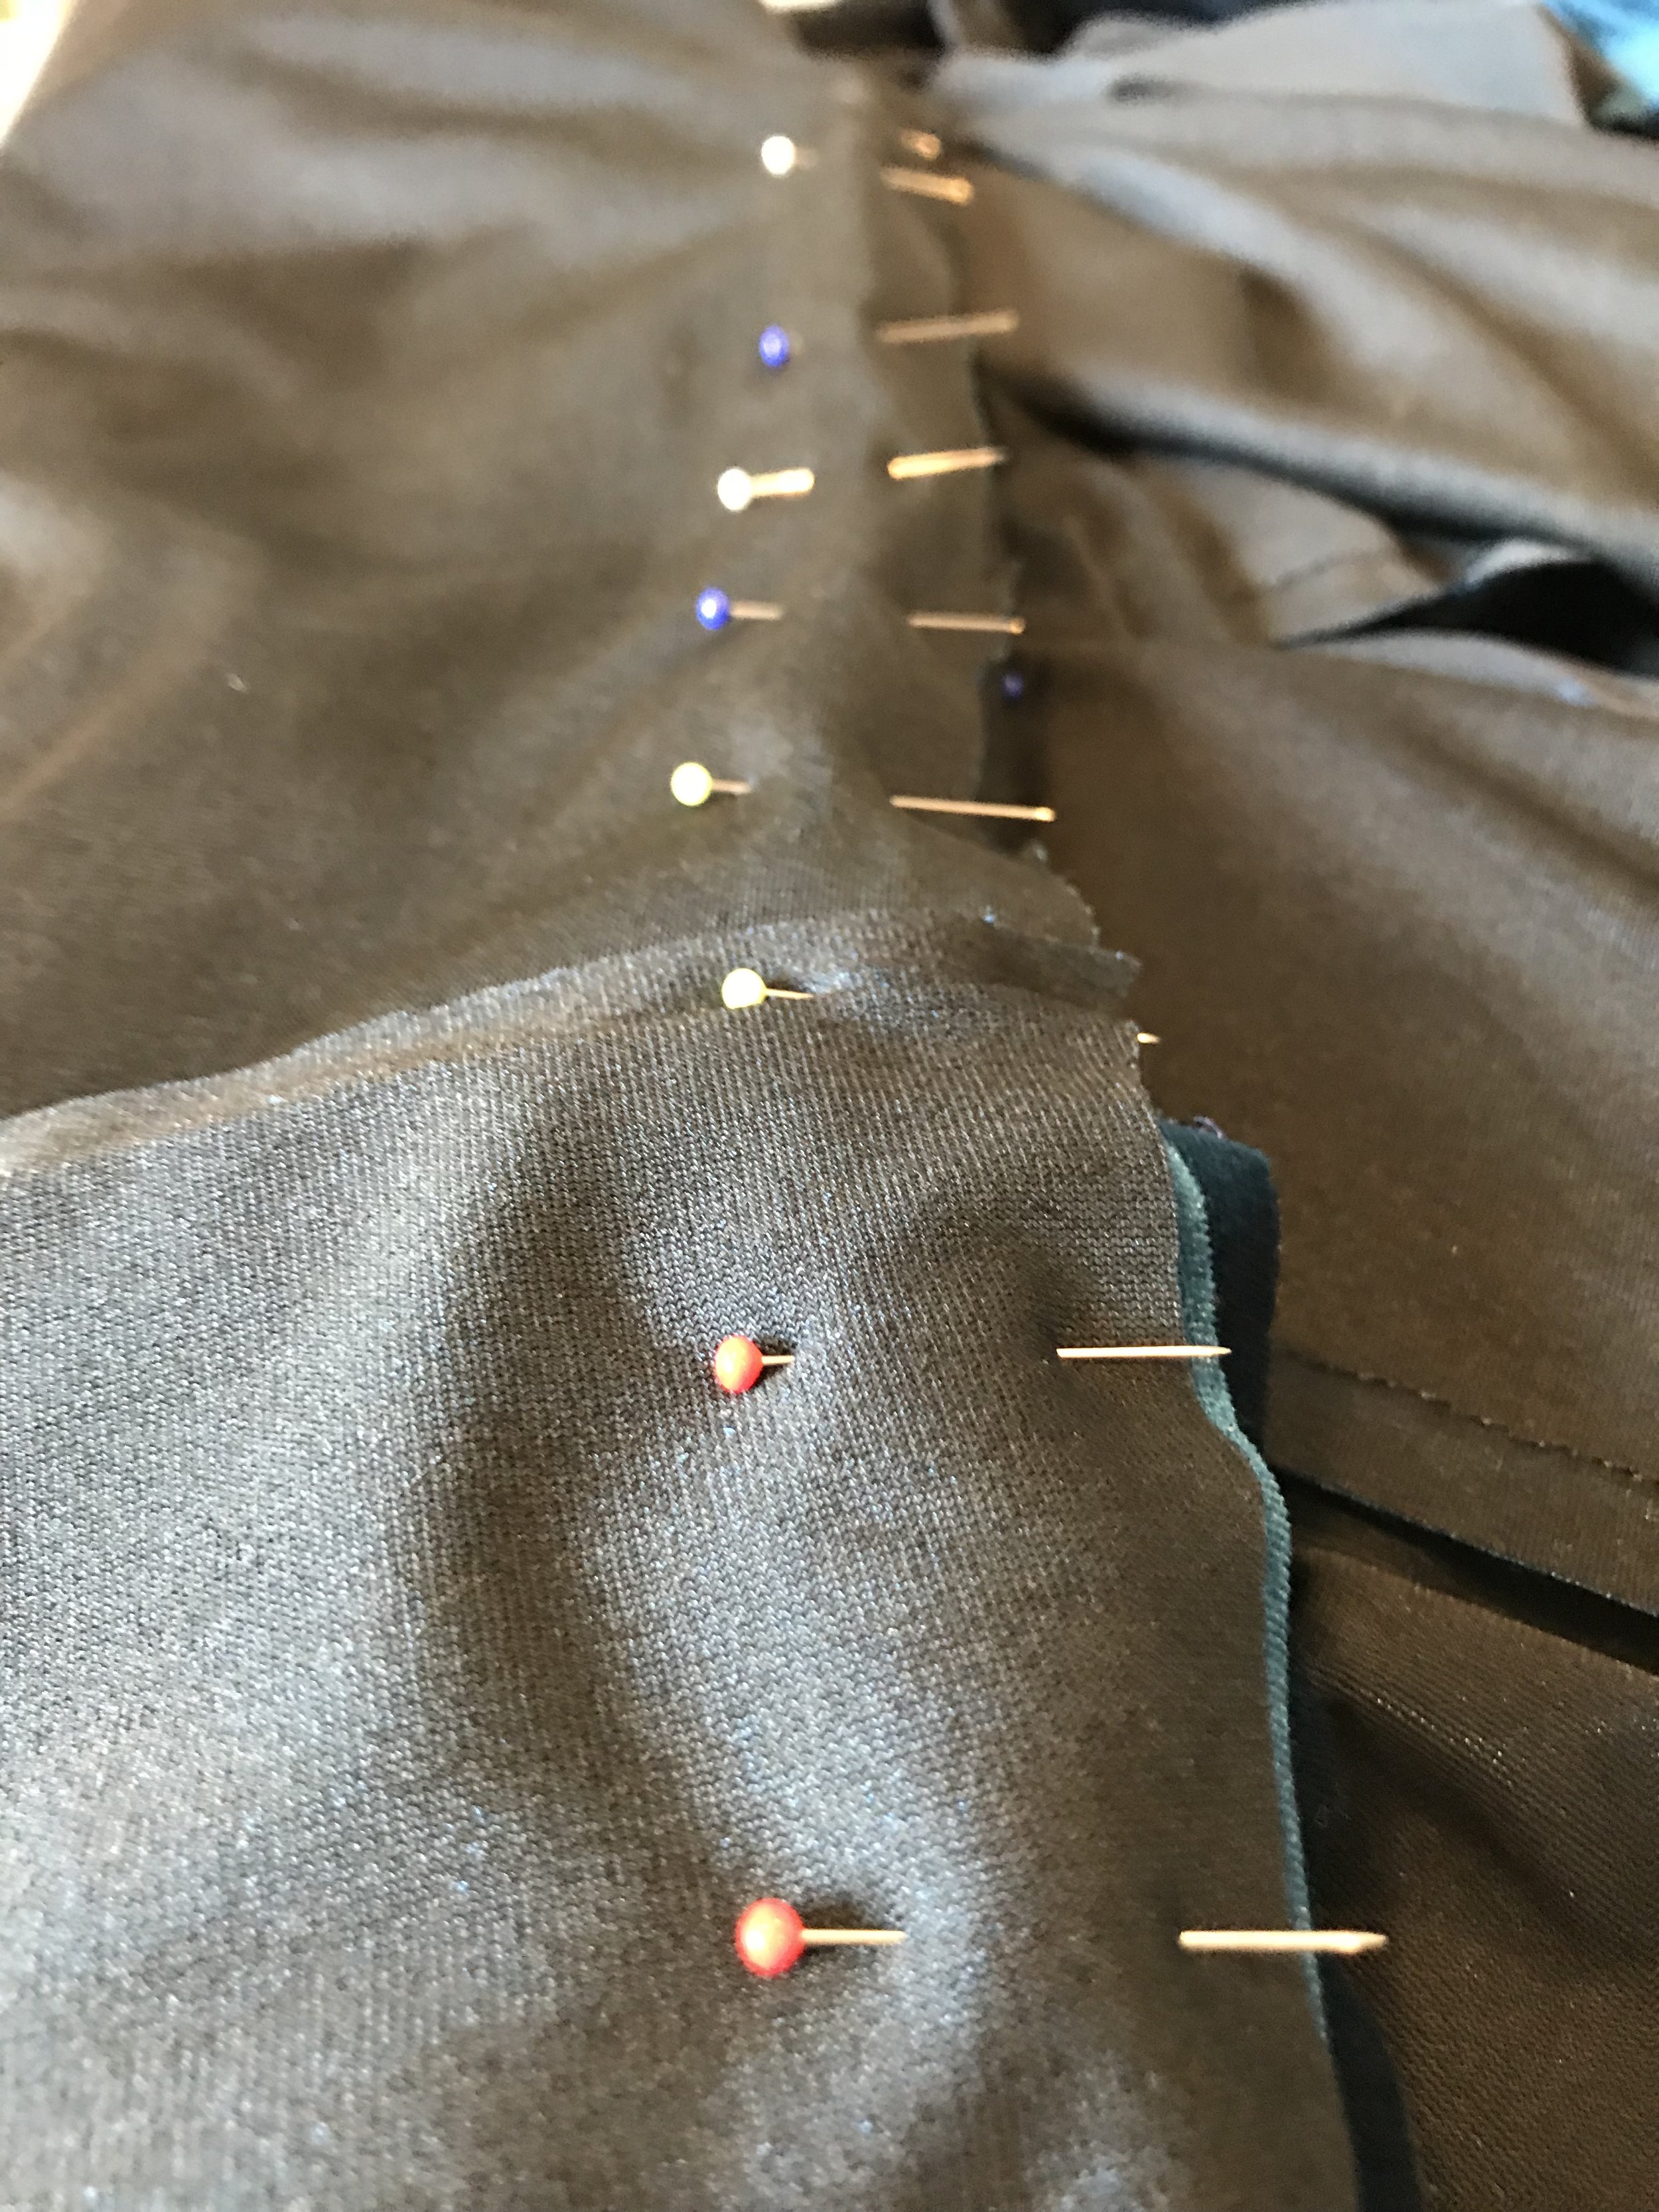
The other key: SO MUCH PINNING! Because velvet has nap, it will travel while sewing, especially if you cut it with and against the nap differently. Apparently, I found out, the nap travels one way and the other, much like a patterned fabric, but you can't tell which way is which very well until you're sewing. When you're sewing you definitely can tell. Either it sits together like a lovely zipper, or it doesn't.
Pinning is ESSENTIAL. Of course, because I decided to risk it and sew right over my pins, I broke my first needle. But it was worth it! Most of my seams were straight. :)
Anxieties and the overcoming thereof:
I have dart anxiety. But instead of taking them out and resewing I just went with the two darts as I marked and sewed them the first time.
The other thing I struggled with a bit were the straps. I should have had my faithful assistant, Rob, help me a bit and measure for me, but I didn't. So when I first did them, they were off by about 3/4" between one and the other, and they were both too long. Remember what I sad about velvet traveling? It happened on the straps. Also - see unexpected stretch in knits for the length issue. But really, it wasn't a big deal, I just cut them, measured everything to 11" (the right measurement for me for this fabric) and hand sewed them back to the bodice. Nothing shows, as velvet is awfully forgiving that way!
Process decisions:
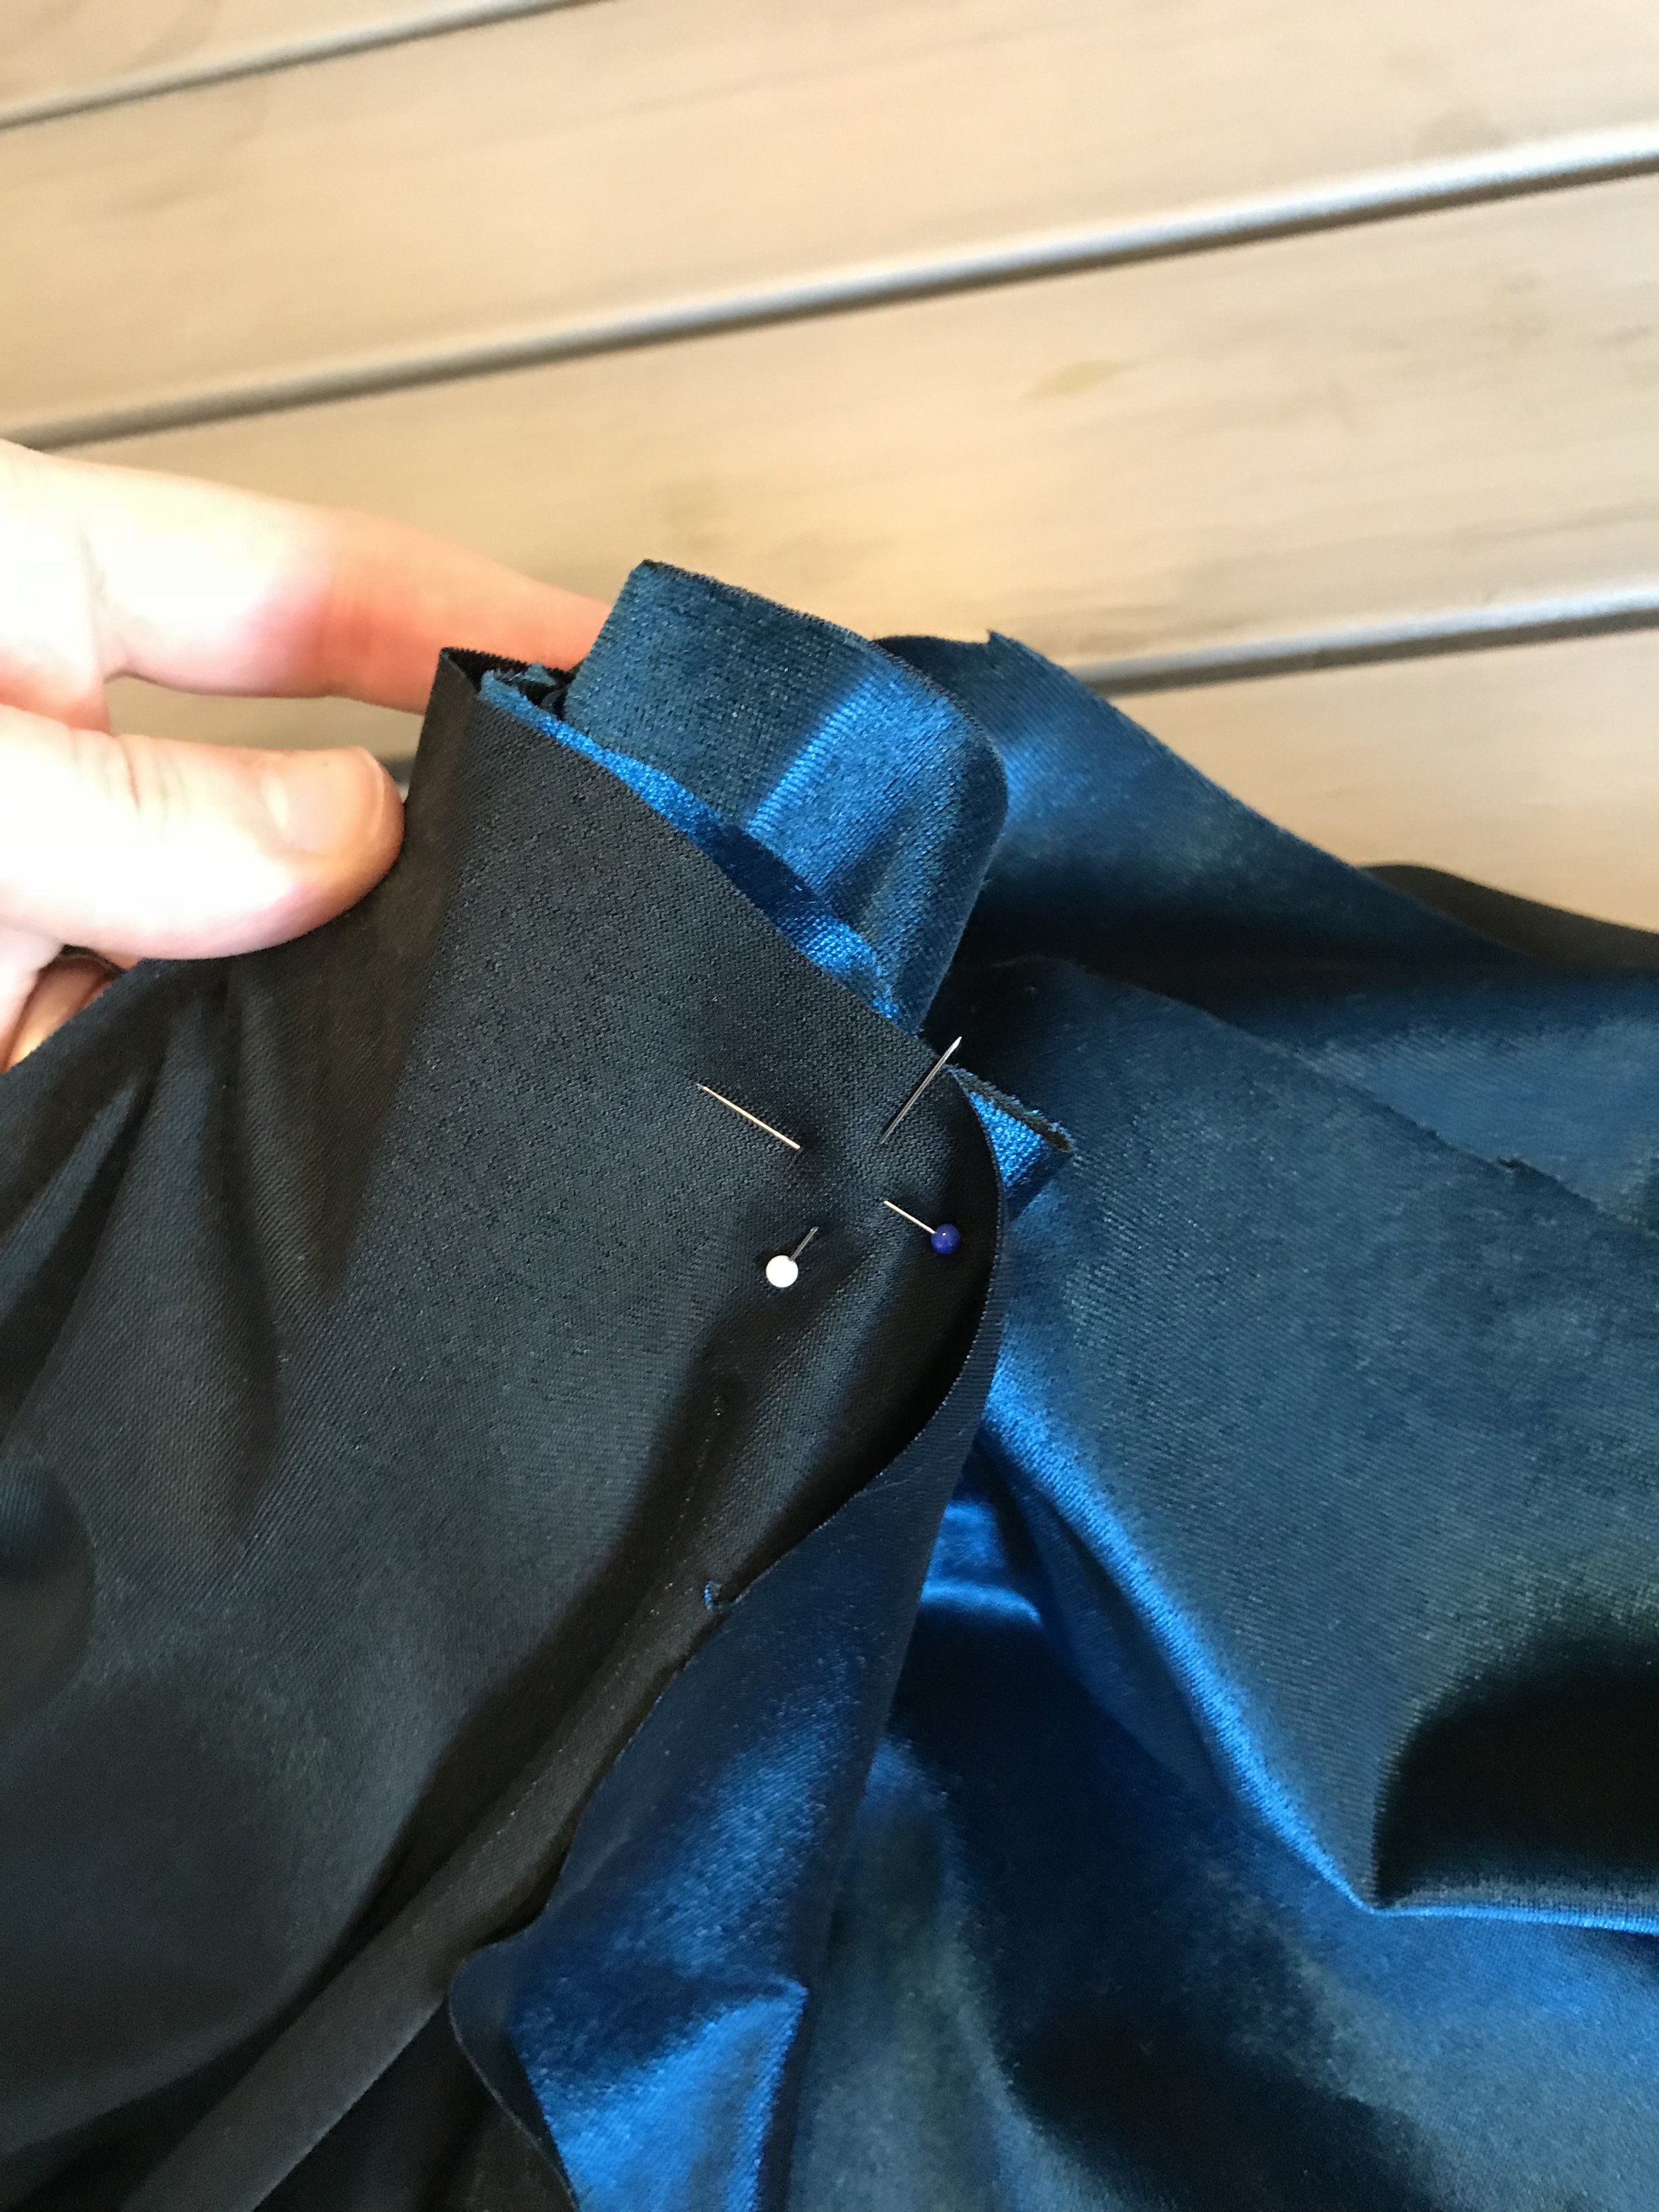
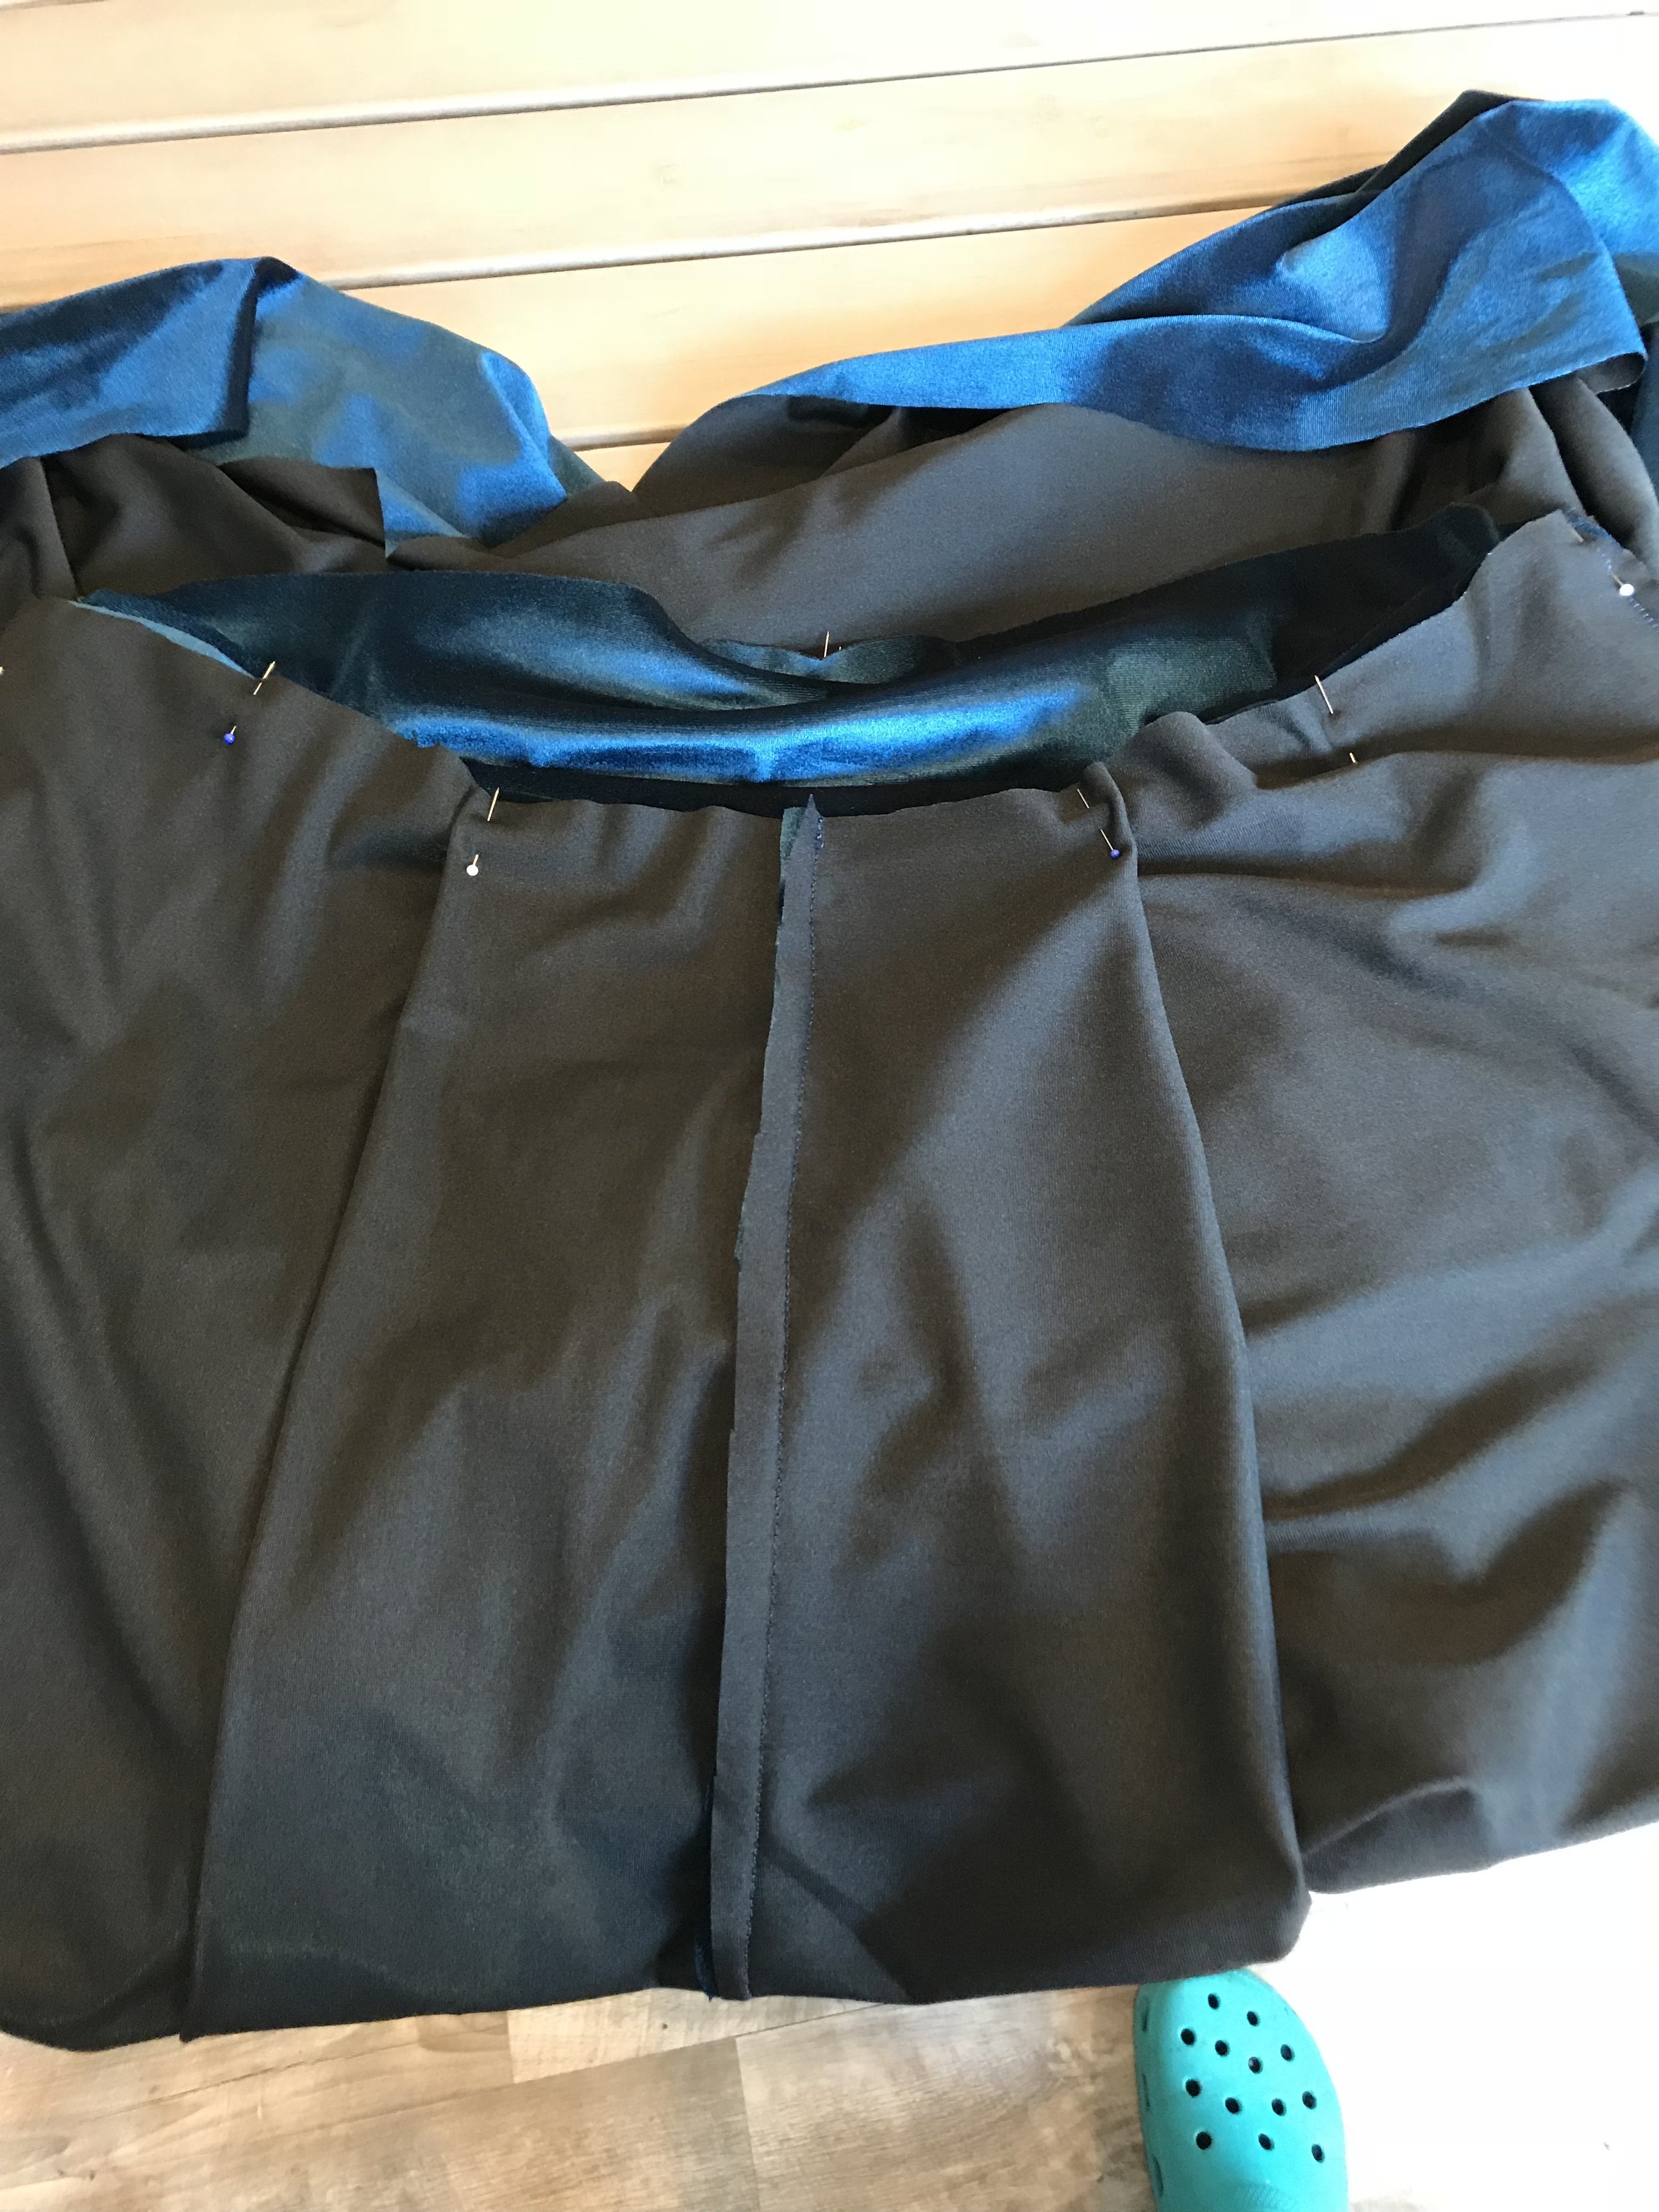
Something I did at this stage was decide how I wanted the fullness of the skirt to lie. With velvet, gathers are questionable, so I decided on three pleats - two on the side, one in the back, and nothing in the front. As I said before, the dress is a bit big on me, so I decided that would make it loose enough.
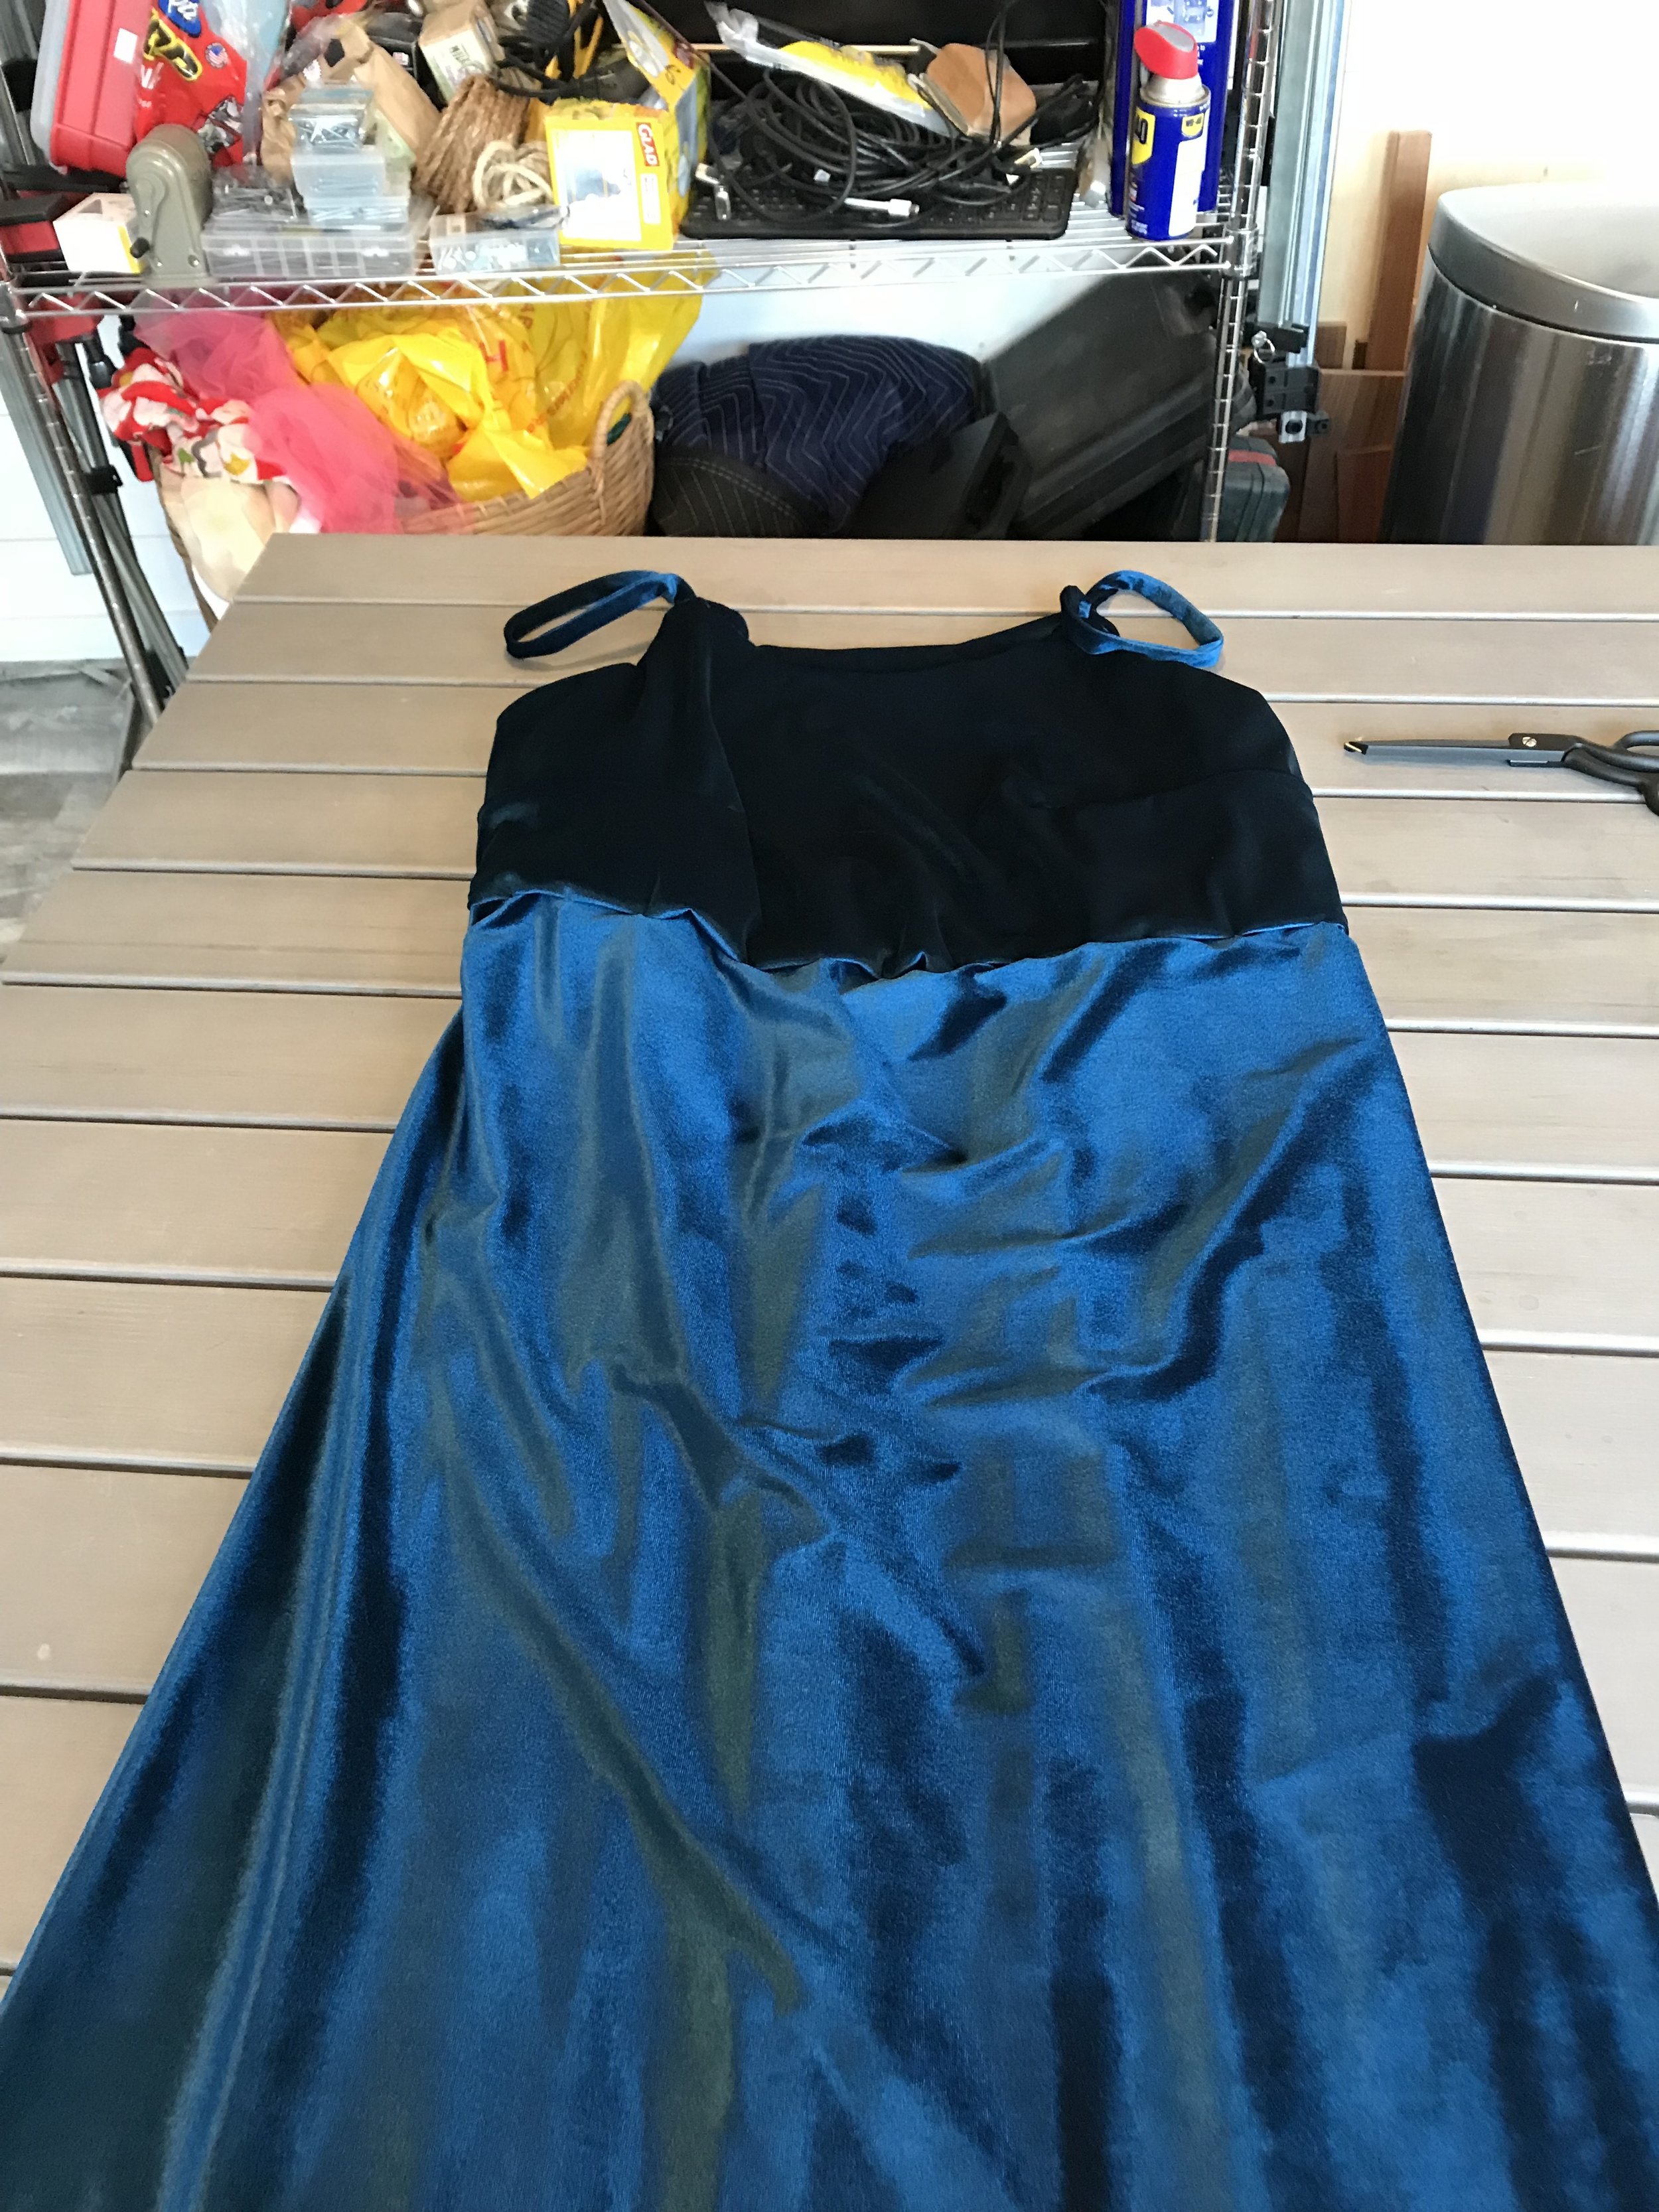
Below: a gallery of process shots. 1) me trying to keep things secure with criss-crossed pins. (BTW, I LOVE these Merchant and Mills glass-headed pins - you can iron right over them!) 2) the pleats in the back (I love making pleats!) and 3) the dress laid out on my cutting table (it's not two colors - it's just the nap catching the light differently)
The end:
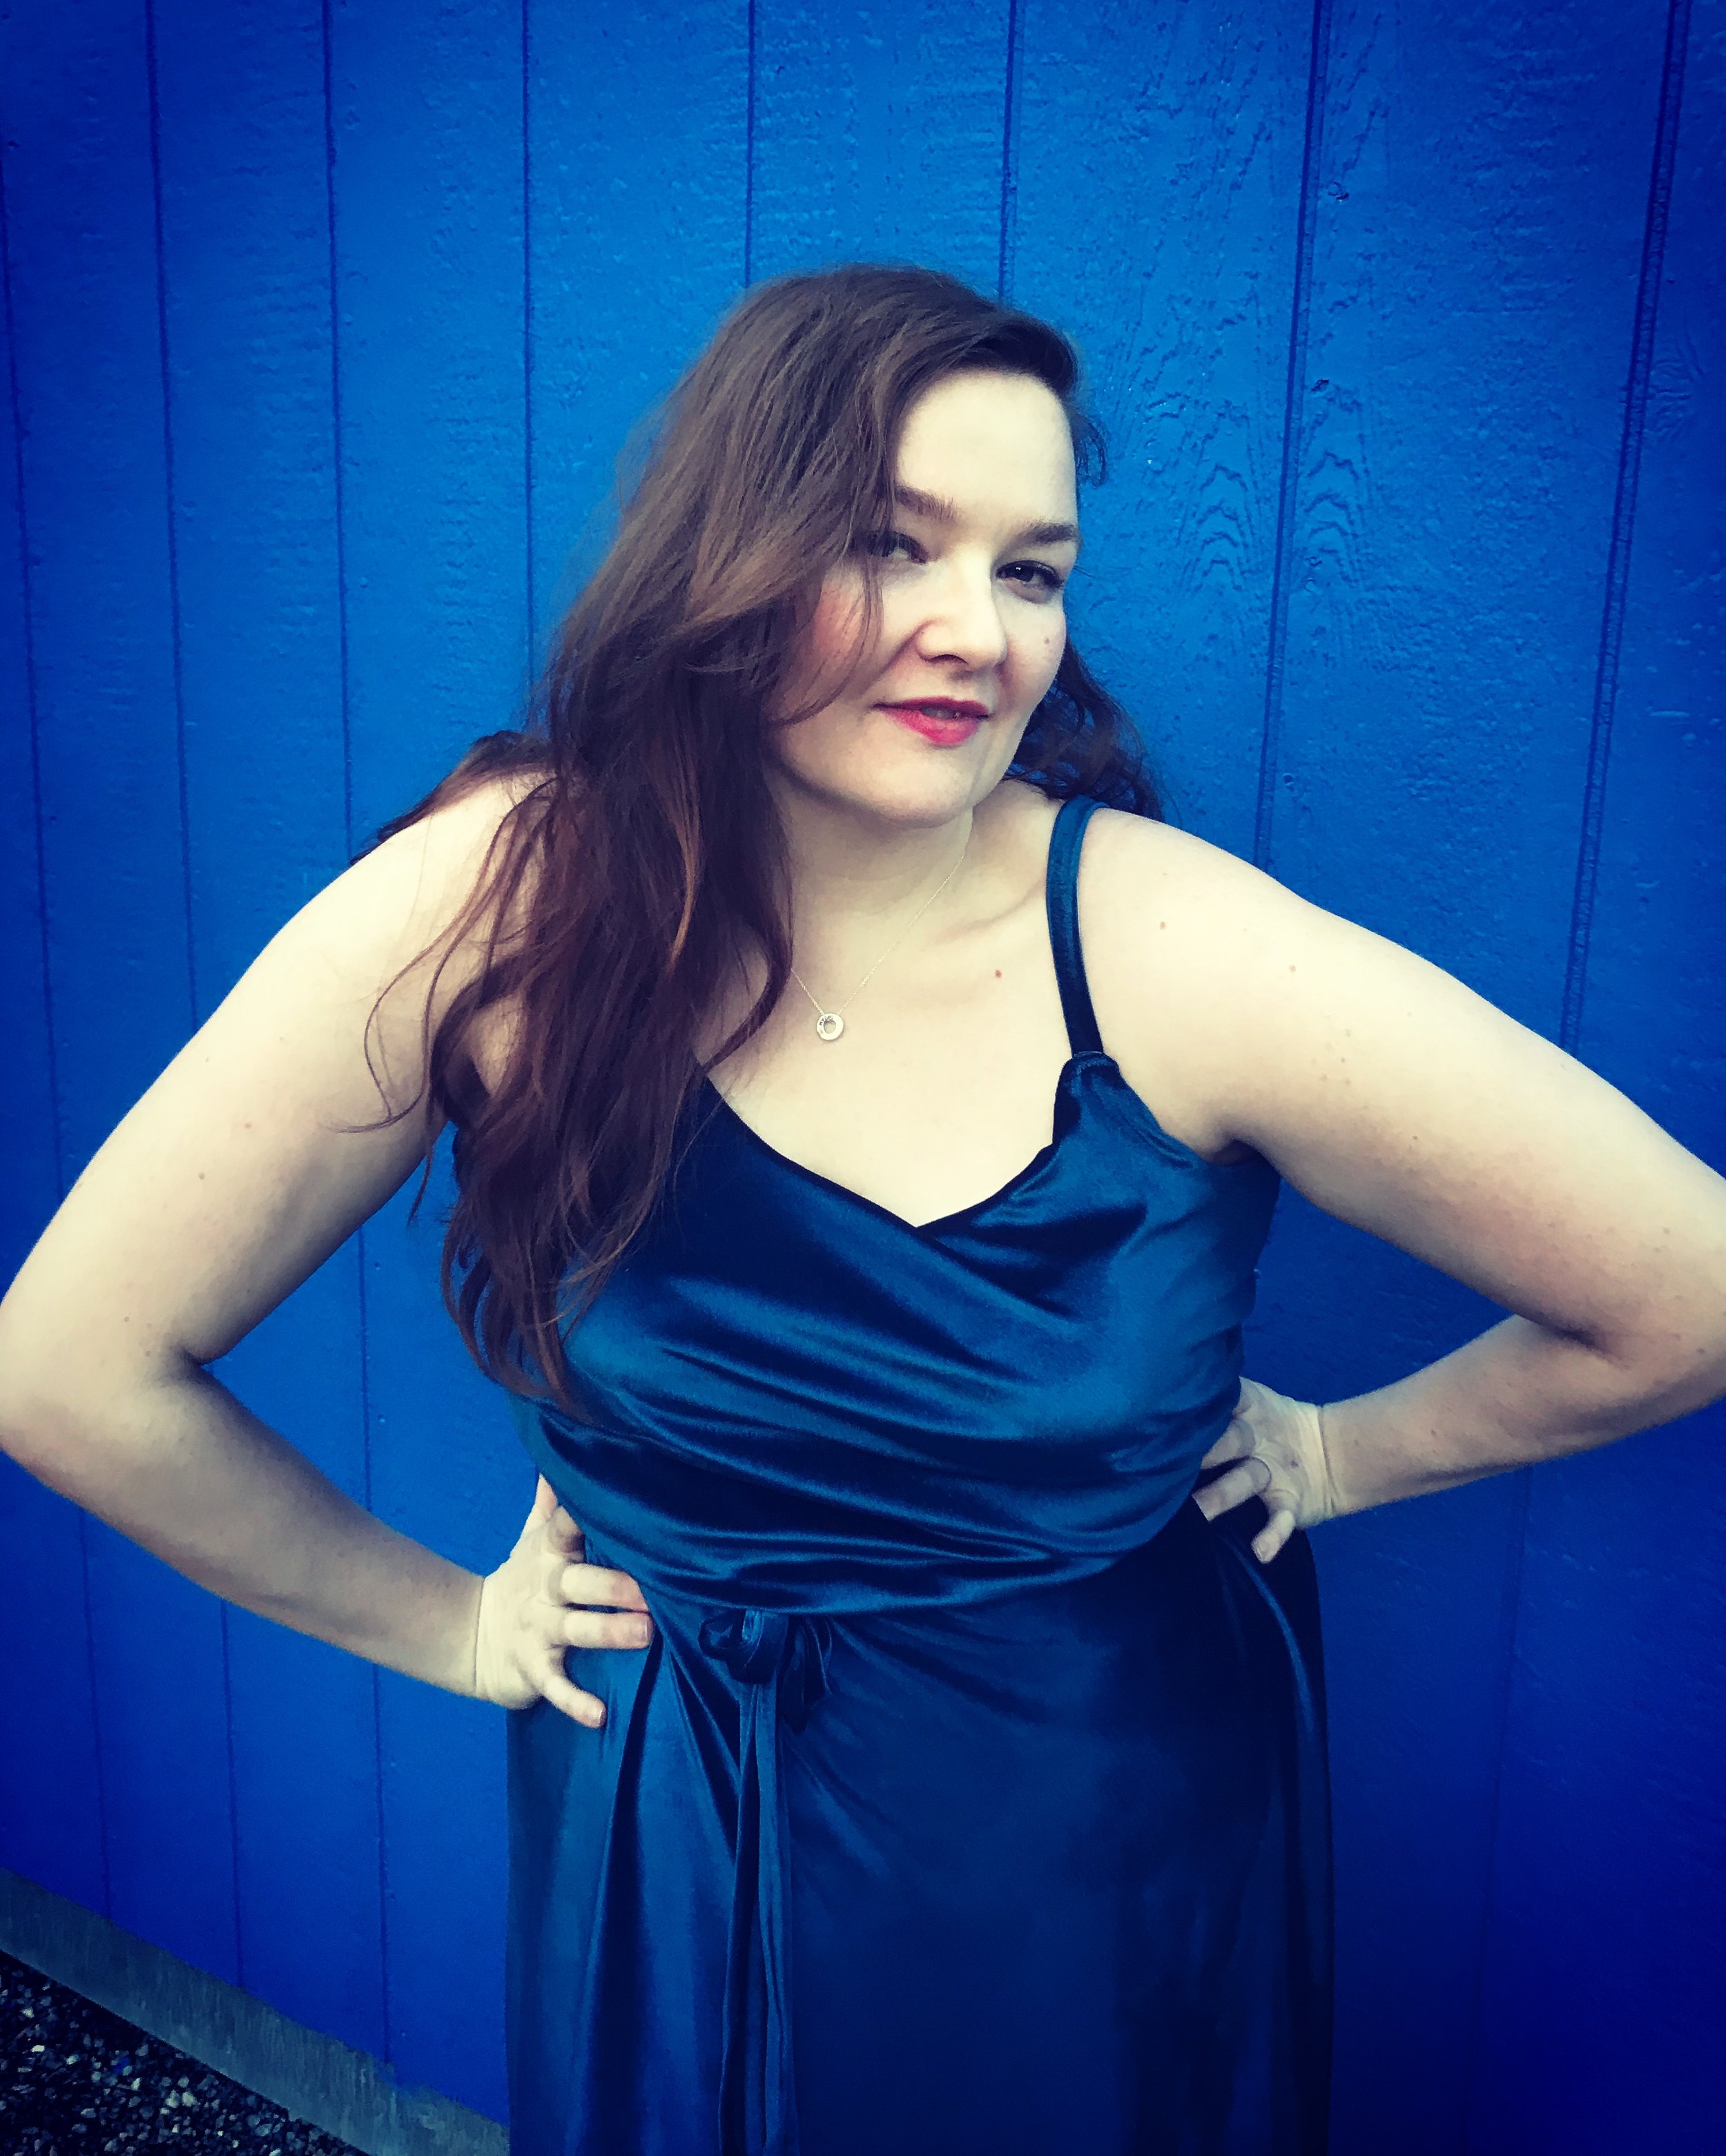
The end result? A STUNNING GOWN! I tried it on the first time and wasn't quite sure, but... giving it a few minutes, looking at it from different angles, and coming to terms (as I do every time) with how I look vs. how I think I look, I realized it's absolutely beautiful. Like most things I make, I think this will last me a long time, and become a go-to piece for formal wear.