Merchant and Mills mania!

A short preface about sewing confidence (skip to next section if this is a bit TLDR)

A short divergence into my struggles with sewing. I've been collecting (slowly) sewing inspo books for some time, and trying to find ones with patterns that I thought I would actually MAKE. Merchant and Mills books (like this one and this one) were always on the list. Not only for their patterns, but for the design, the layout, the simplicity, the approach. I just love looking through them! But I hadn't dared to really make one until...

Remember that trip up to BC with my dear friend and colleague? My husband, who accompanied us, encouraged me to buy a Merchant and Mills The Dress Shirt pattern as I sat in a beautiful store on Granville Island and tortured myself over spending more money when I might not make anything. (You can shop online for Merchant and Mills things on their website, too: https://maiwa.com/collections/merchant-mills) 

Photo courtesy of Maiwa Supply blog: http://maiwahandprints.blogspot.com/2016/09/

Photo courtesy of Maiwa Supply blog: http://maiwahandprints.blogspot.com/2016/09/

And then I just did it. I bought it. A week or so later, I sat and cut out the pattern one evening as a something to do that wasn't actually testing my sewing skills. And a week or so ago, over my Christmas-New Year's break, I just marched into Pacific Fabrics and bought some amazing cotton chambray. And the next day (after throwing it in the washer and dryer) I cut the pattern out, and began to sew. I finished it over a day and half, and loved every. Single. Minute. Weird!

So what flipped the switch? Well, much like Sanae Ishida's book Sewing Happiness, the Love to Sew podcast has really inspired me to water and feed my sewing habit, to value the worth of making in my life, and to honor my own talent, interest, and ability.

I think more than any other piece of the making journey, having two ladies talking to me every morning (I listen to it on the way into work) about sewing ups and downs, their lives, and their passion has given my a sense of belonging and acceptance that I've never had in a hobby.

The journey to sewing confidence is long and circuitous, and knowing other people who love it and do it really helps in a magical way that's hard to explain, especially for me, an autodidactic introvert. Seriously, check out Love to Sew if you want to hang with two sewing geeks who are adorable.

The Dress Shirt, image courtesy of Merchant and Mills (http://merchantandmills.com/store/patterns/the-dress-shirt/

The Dress Shirt, image courtesy of Merchant and Mills (http://merchantandmills.com/store/patterns/the-dress-shirt/

The actual project

First off, I love Merchant and Mills, as I said above (but you may have skipped) but I've always worried that the rather boxy patterns might not flatter me. I'm not tiny, and I tend to look to things that accentuate that I have a waist because otherwise it can get a bit lost and I feel like a pair of shoulders directly connected to generous hips. Despite this, alongside my making confidence I've been working to build more BODY confidence and/or body love/appreciation/adoration/acceptance/tolerance/managed despair depending on the day, and the success of my velvet dress really inspired me to branch out and try the rather boxy The Shirt Dress pattern. 

Fabric selection

Merchant and Mills has a very clean and simple look, inspired (it looks to me) by sixties factory fashion and menswear. It's super cool, and I love the feeling of effortless smarts it gives off.

If you wear this stuff, you obviously are intelligent and probably wear a lot of handsome brogues and perhaps own a vintage VW bug and travel around eating only locally sourced meats while also writing about your experience for yourself and not to be shared with anyone because you're just so confident you don't NEED anybody to read it. (Let's be clear - this is not me.)

Needless to say, this kind of coolness calls for a matching level of fabric quality.

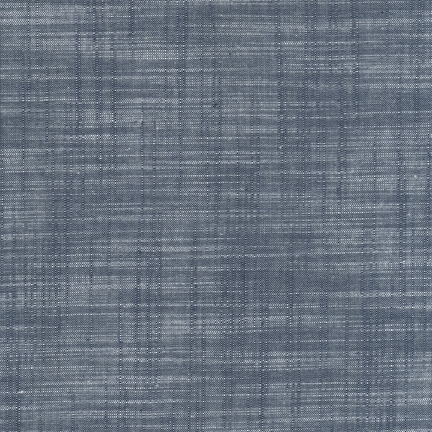
Disappointed that the adored Nancy's Sewing Basket on Queen Anne has closed (WHY?!) I went to my second-favorite fabric store, Pacific Fabrics in Northgate. And I found a truly lovely, simple, soft cotton chambray (like the one pictured)  that always looks a little unfinished, so that wrinkles - which for me are inevitable and a part of life - will look like a part of the whole thing. 

Chambray Union Cross Indigo; I think I bought something slightly different, but it's pretty close!

Chambray Union Cross Indigo; I think I bought something slightly different, but it's pretty close!

The cut

Not surprisingly, the chambray was a dream to cut out, so cutting was no issue.

TIP: One thing I've been trying if I have a yoke pair to cut out, or something else that really has to match up to ensure a good sew up,  is to cut one piece and then use it as the template for the second piece, then make sure that they really do match up with a final critical eye. This, with the same seam allowance used, should help ensure that things go smoothly. In this case, I'm happy to report that they did! But more of that later.

The sew up

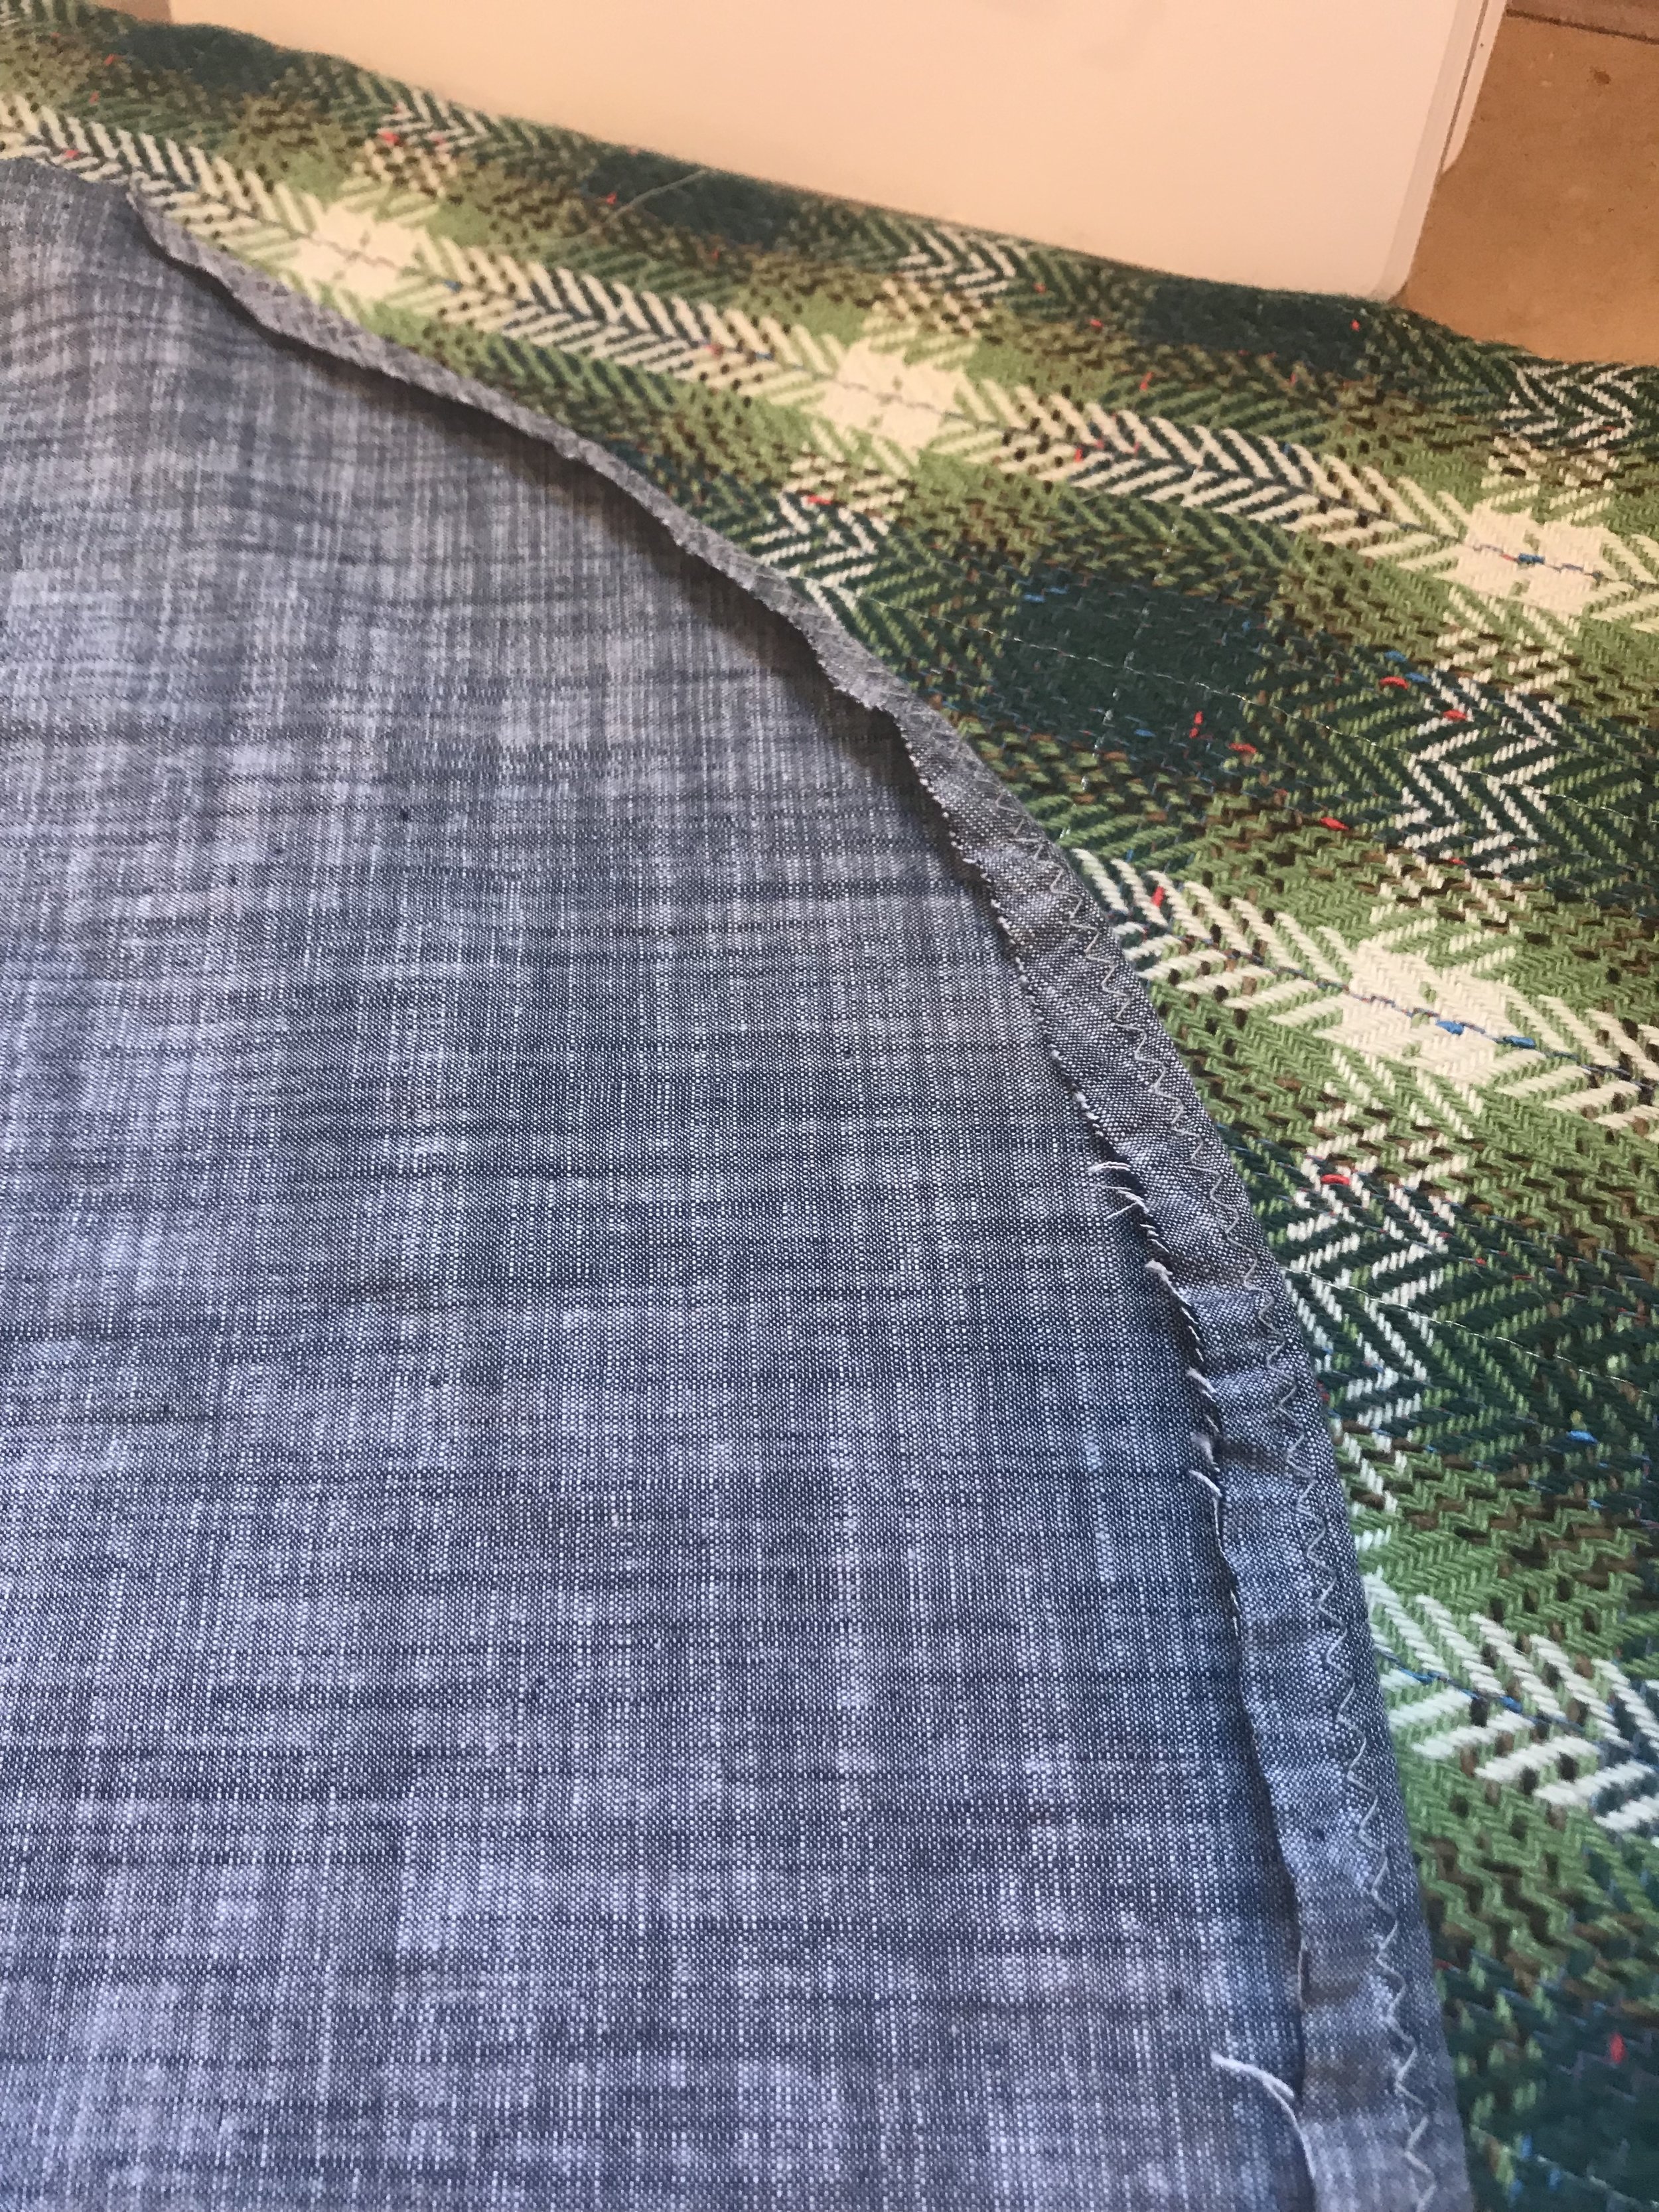
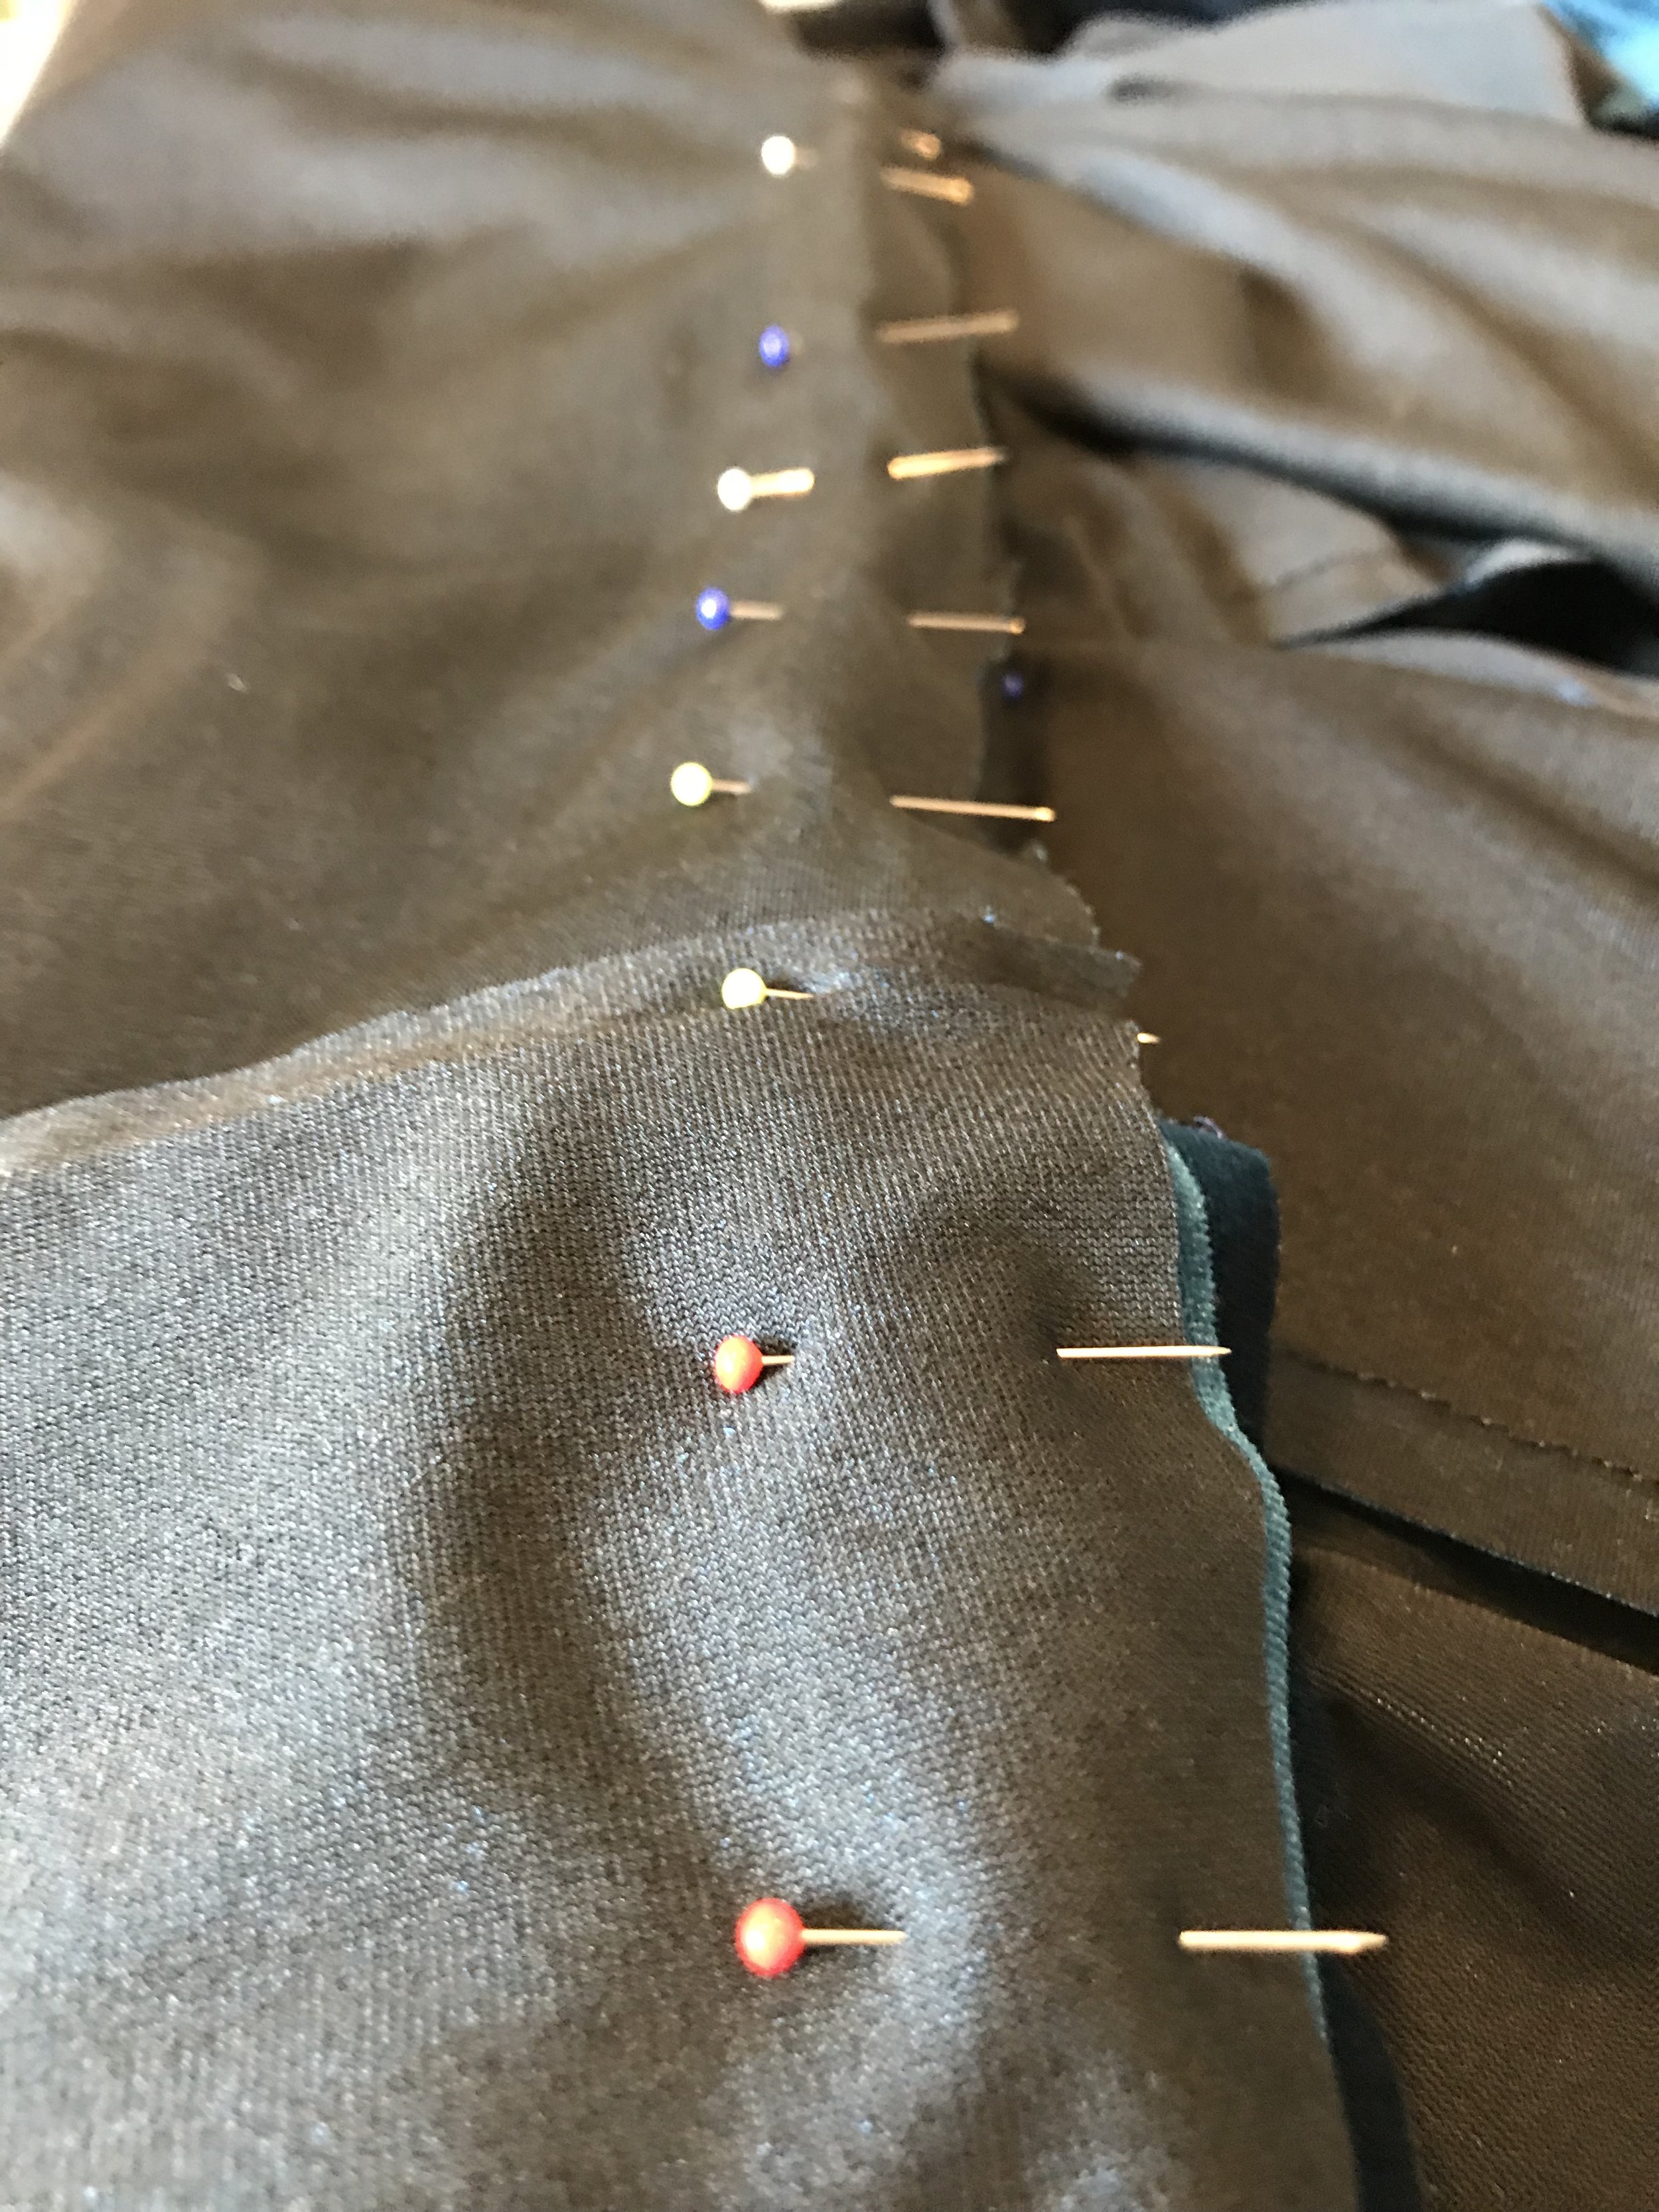
One begins this sew up with one of the hardest part first: fitting the yoke to the front panel. This  entails matching outside curves, which, as any quilter knows, isn't the easiest thing in the world. I used my old friend: (over?)pinning to help me ensure that all went swimmingly. Even so, I still had a few tucks where the fabric of the front panel had folded while I sewed. I wished very much that I had pinned the PANEL side so I could better control it. This is in general a lesson that I've started to learn - there are strategic decisions to be made about which side to sew on.

After I sewed up the front yoke, I also pinned a bit to do the topstitching and ensure that the seam allowance on the inside was neatly sewn down by the beautiful topstitching.

Look at all those beautiful glass-headed Merchant and Mills pins!

Look at all those beautiful glass-headed Merchant and Mills pins!

The front dress panel with yoke affixed, seam allowance pinned.

The front dress panel with yoke affixed, seam allowance pinned.

The next step is to put on the yoke - you know, the thing that goes over the shoulders of the dress and/or dress shirt to create a smooth line across the shoulders and connects the sleeves. 

PATTERN TIP: The tricky part on this particular pattern was that the yoke has slightly more fabric over the shoulder seam than the dress panel, and the pattern isn't super clear where to put it. Should it fall to the outside (sleeve side)? Or inside (neck side)? For future reference IT GOES ON THE INSIDE!

(I made this mistake and unpicked the pattern and resewed it. Thankfully, the seams were short and I love working with the fabric, so whatever you do with it is fun. It goes on the inside because that way when you sew the back neck seam together, it makes a perfect little line with the front neck.)

See? IT GOES ON THE INSIDE!

See? IT GOES ON THE INSIDE!

Next stop on our Merchant and Mills journey: putting in the back panel. Not hard at all, and I learned a new technique for gathering. This is probably an old technique to everyone else, but if not, let me tell you and future me about it! 

You put your stitch at it's biggest/widest, then, sew two lines of stitches. For the first row, you backstitch on one side; for the second row, you backstitch on the other. This way, you can pull from either side creating gathers. Thanks for the info, Merchant and Mills! #neverstoplearning

After putting together the back panel, they have you hem both sides before sewing together the side seams, which seemed a bit odd to me, until I realized that they really do rely on good engineering to ensure that everything works. Trust them - if you hem to the right 5/8" seam allowance, all really will be well.

One issue I have when hemming is inside curves - they can be tricky because of the fabric's wont to gather and rebel, unfolding on inside curves. I used the iron on a light steam setting to see if I could shrink the inside curve hem fabric, and IT WORKED!!! I'm so excited. This was one of the high points of my day. I'm curious to try out more shrinking of ease with iron vs. gathering. Reading through a couture sewing techniques, I hear it's quite the thing - but takes a long time.

Practicing steaming my curved inner seams.

Practicing steaming my curved inner seams.

Iron on light steam setting.

Iron on light steam setting.

I was really worried about the sleeves because sleeves aren't my forte - but I was really pleased that with a little care, the sleeves weren't hard at all. I got to polish up my gathering again for the ease on the top curves, and decided on the longer length of the sleeves, which goes to about the elbow on my very long arms!

The End

I'm SO pleased with how this dress turned out. It's in weekly rotation and I LOVE it. I get compliments on it all the time, and every time I wear it I feel super cool and unique (because that's just how Merchant and Mills makes you feel.)

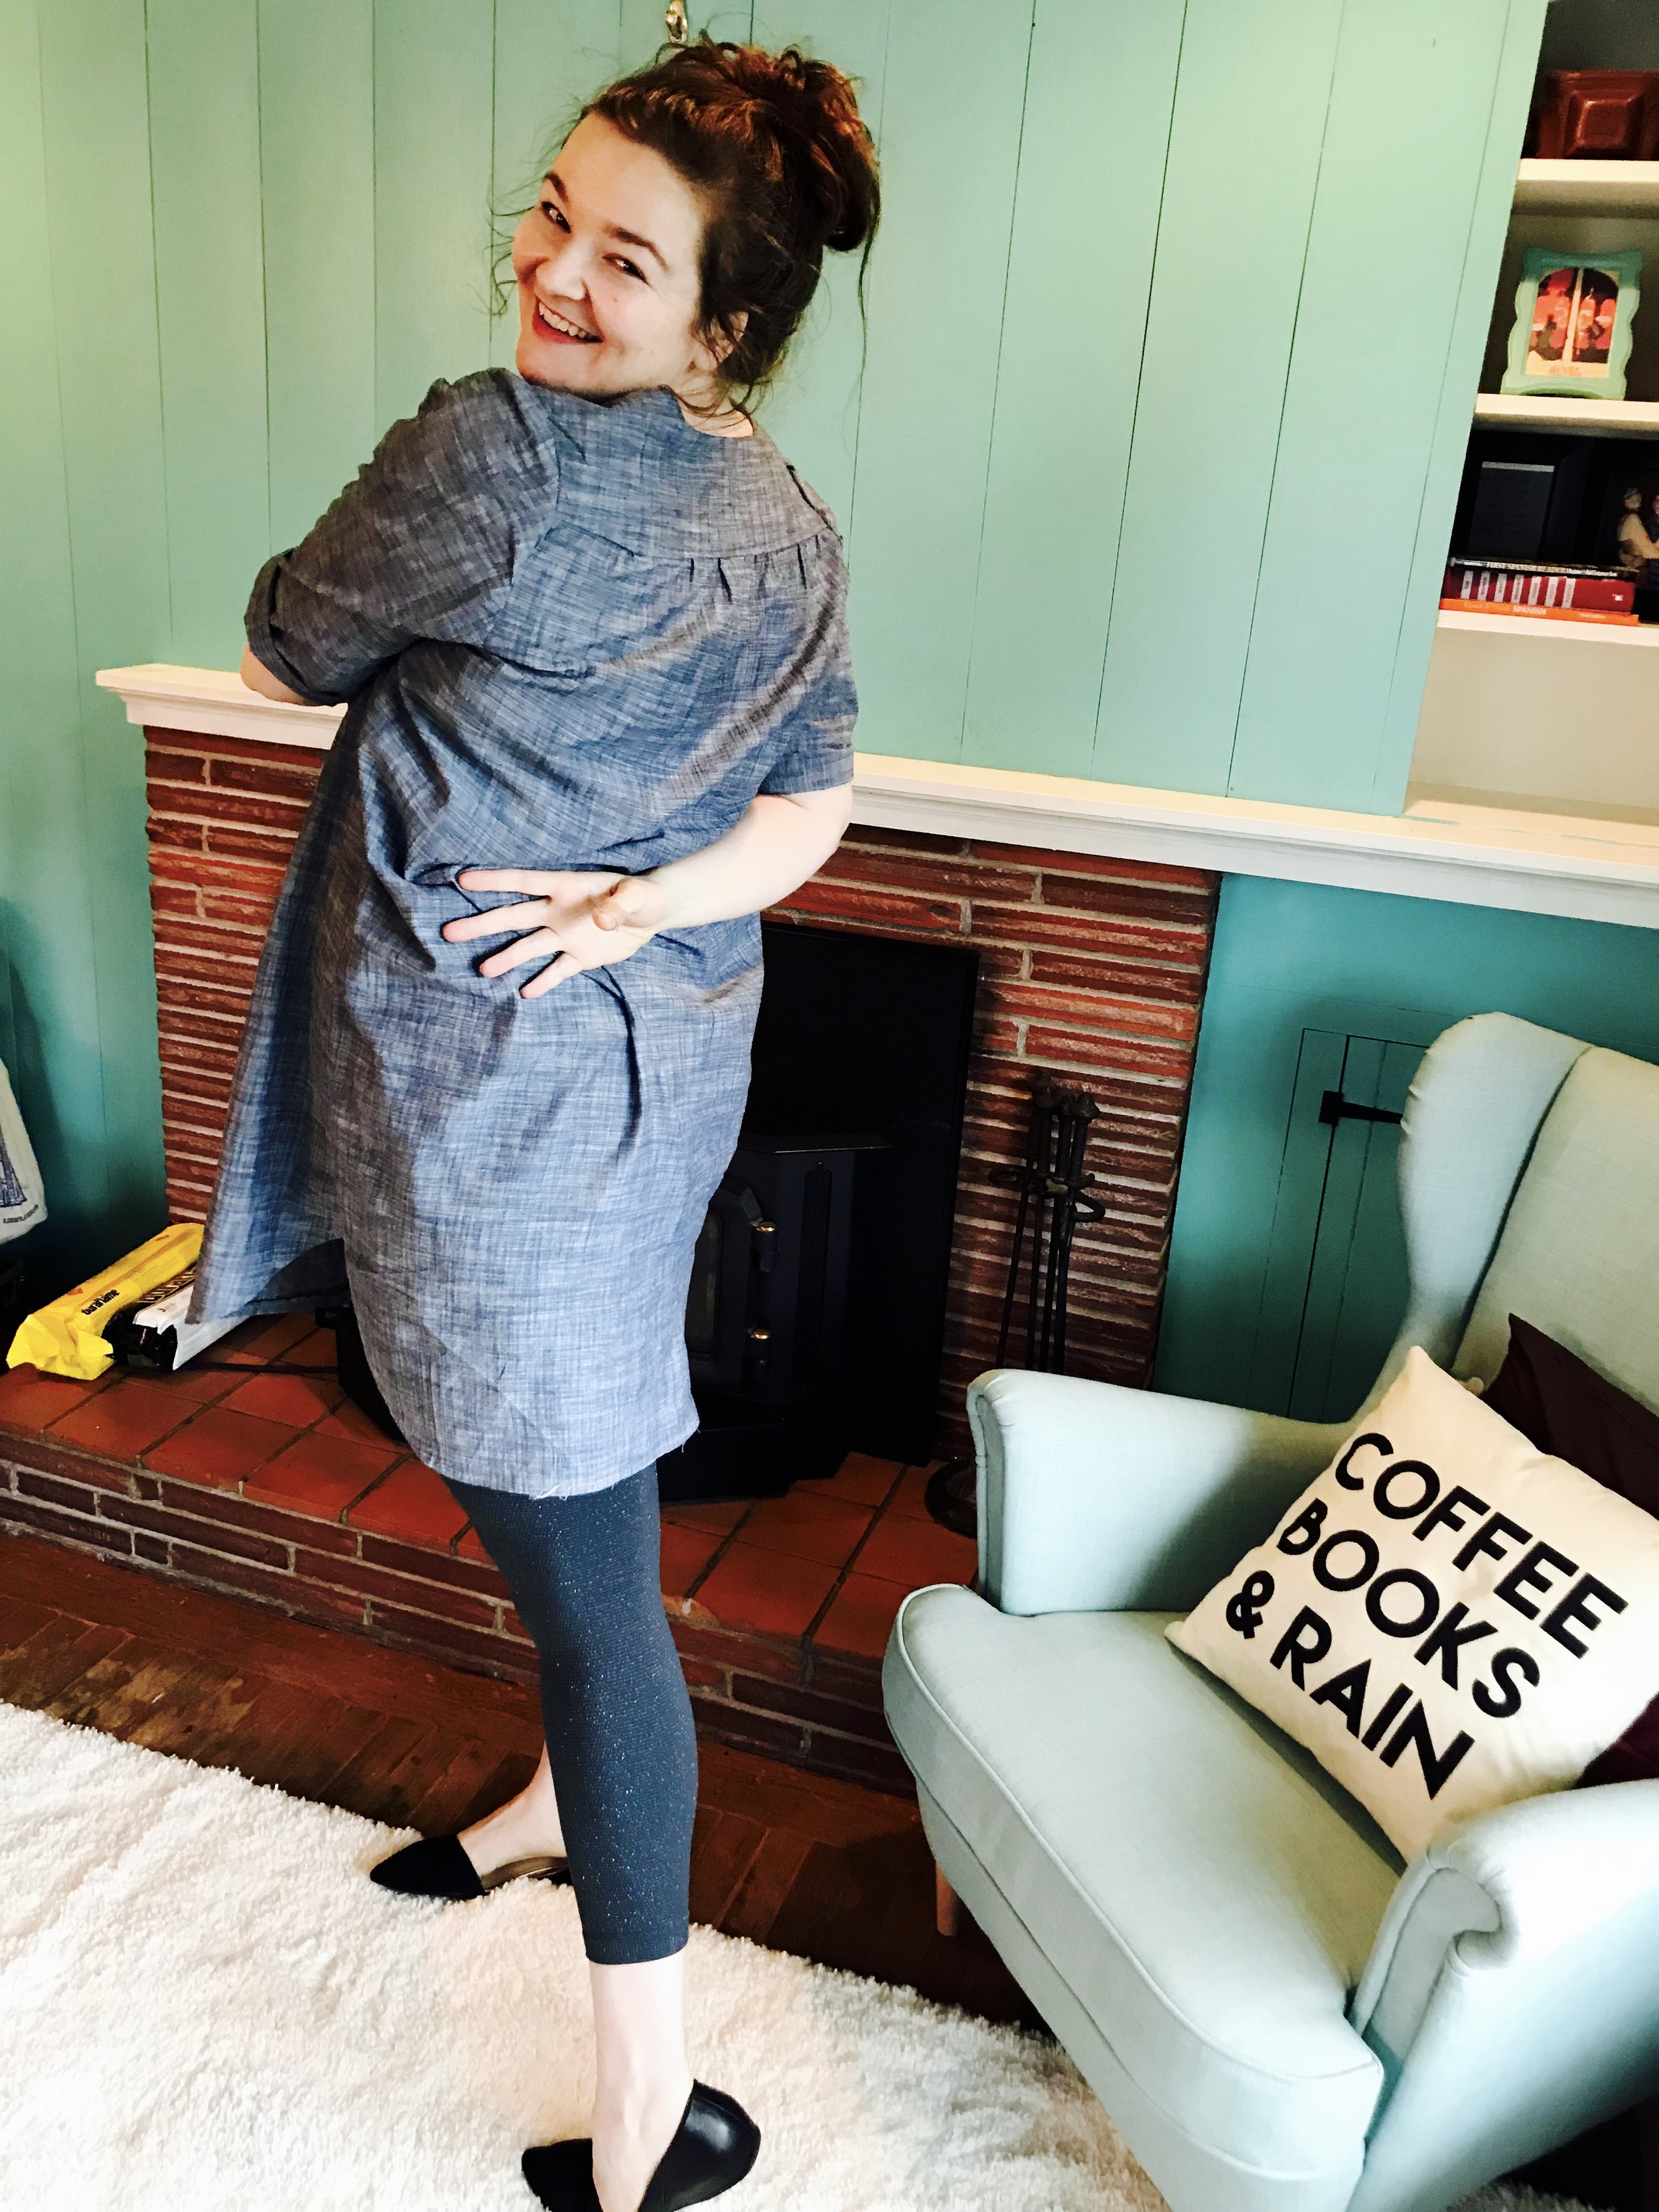
Here I am, enjoying the dress in front of my fireplace!

Full length, head-on Merchant and Mills beauty.

Full length, head-on Merchant and Mills beauty.

With a twirl.

With a twirl.

Rolling up my sleeves. Because I CAN!

Rolling up my sleeves. Because I CAN!

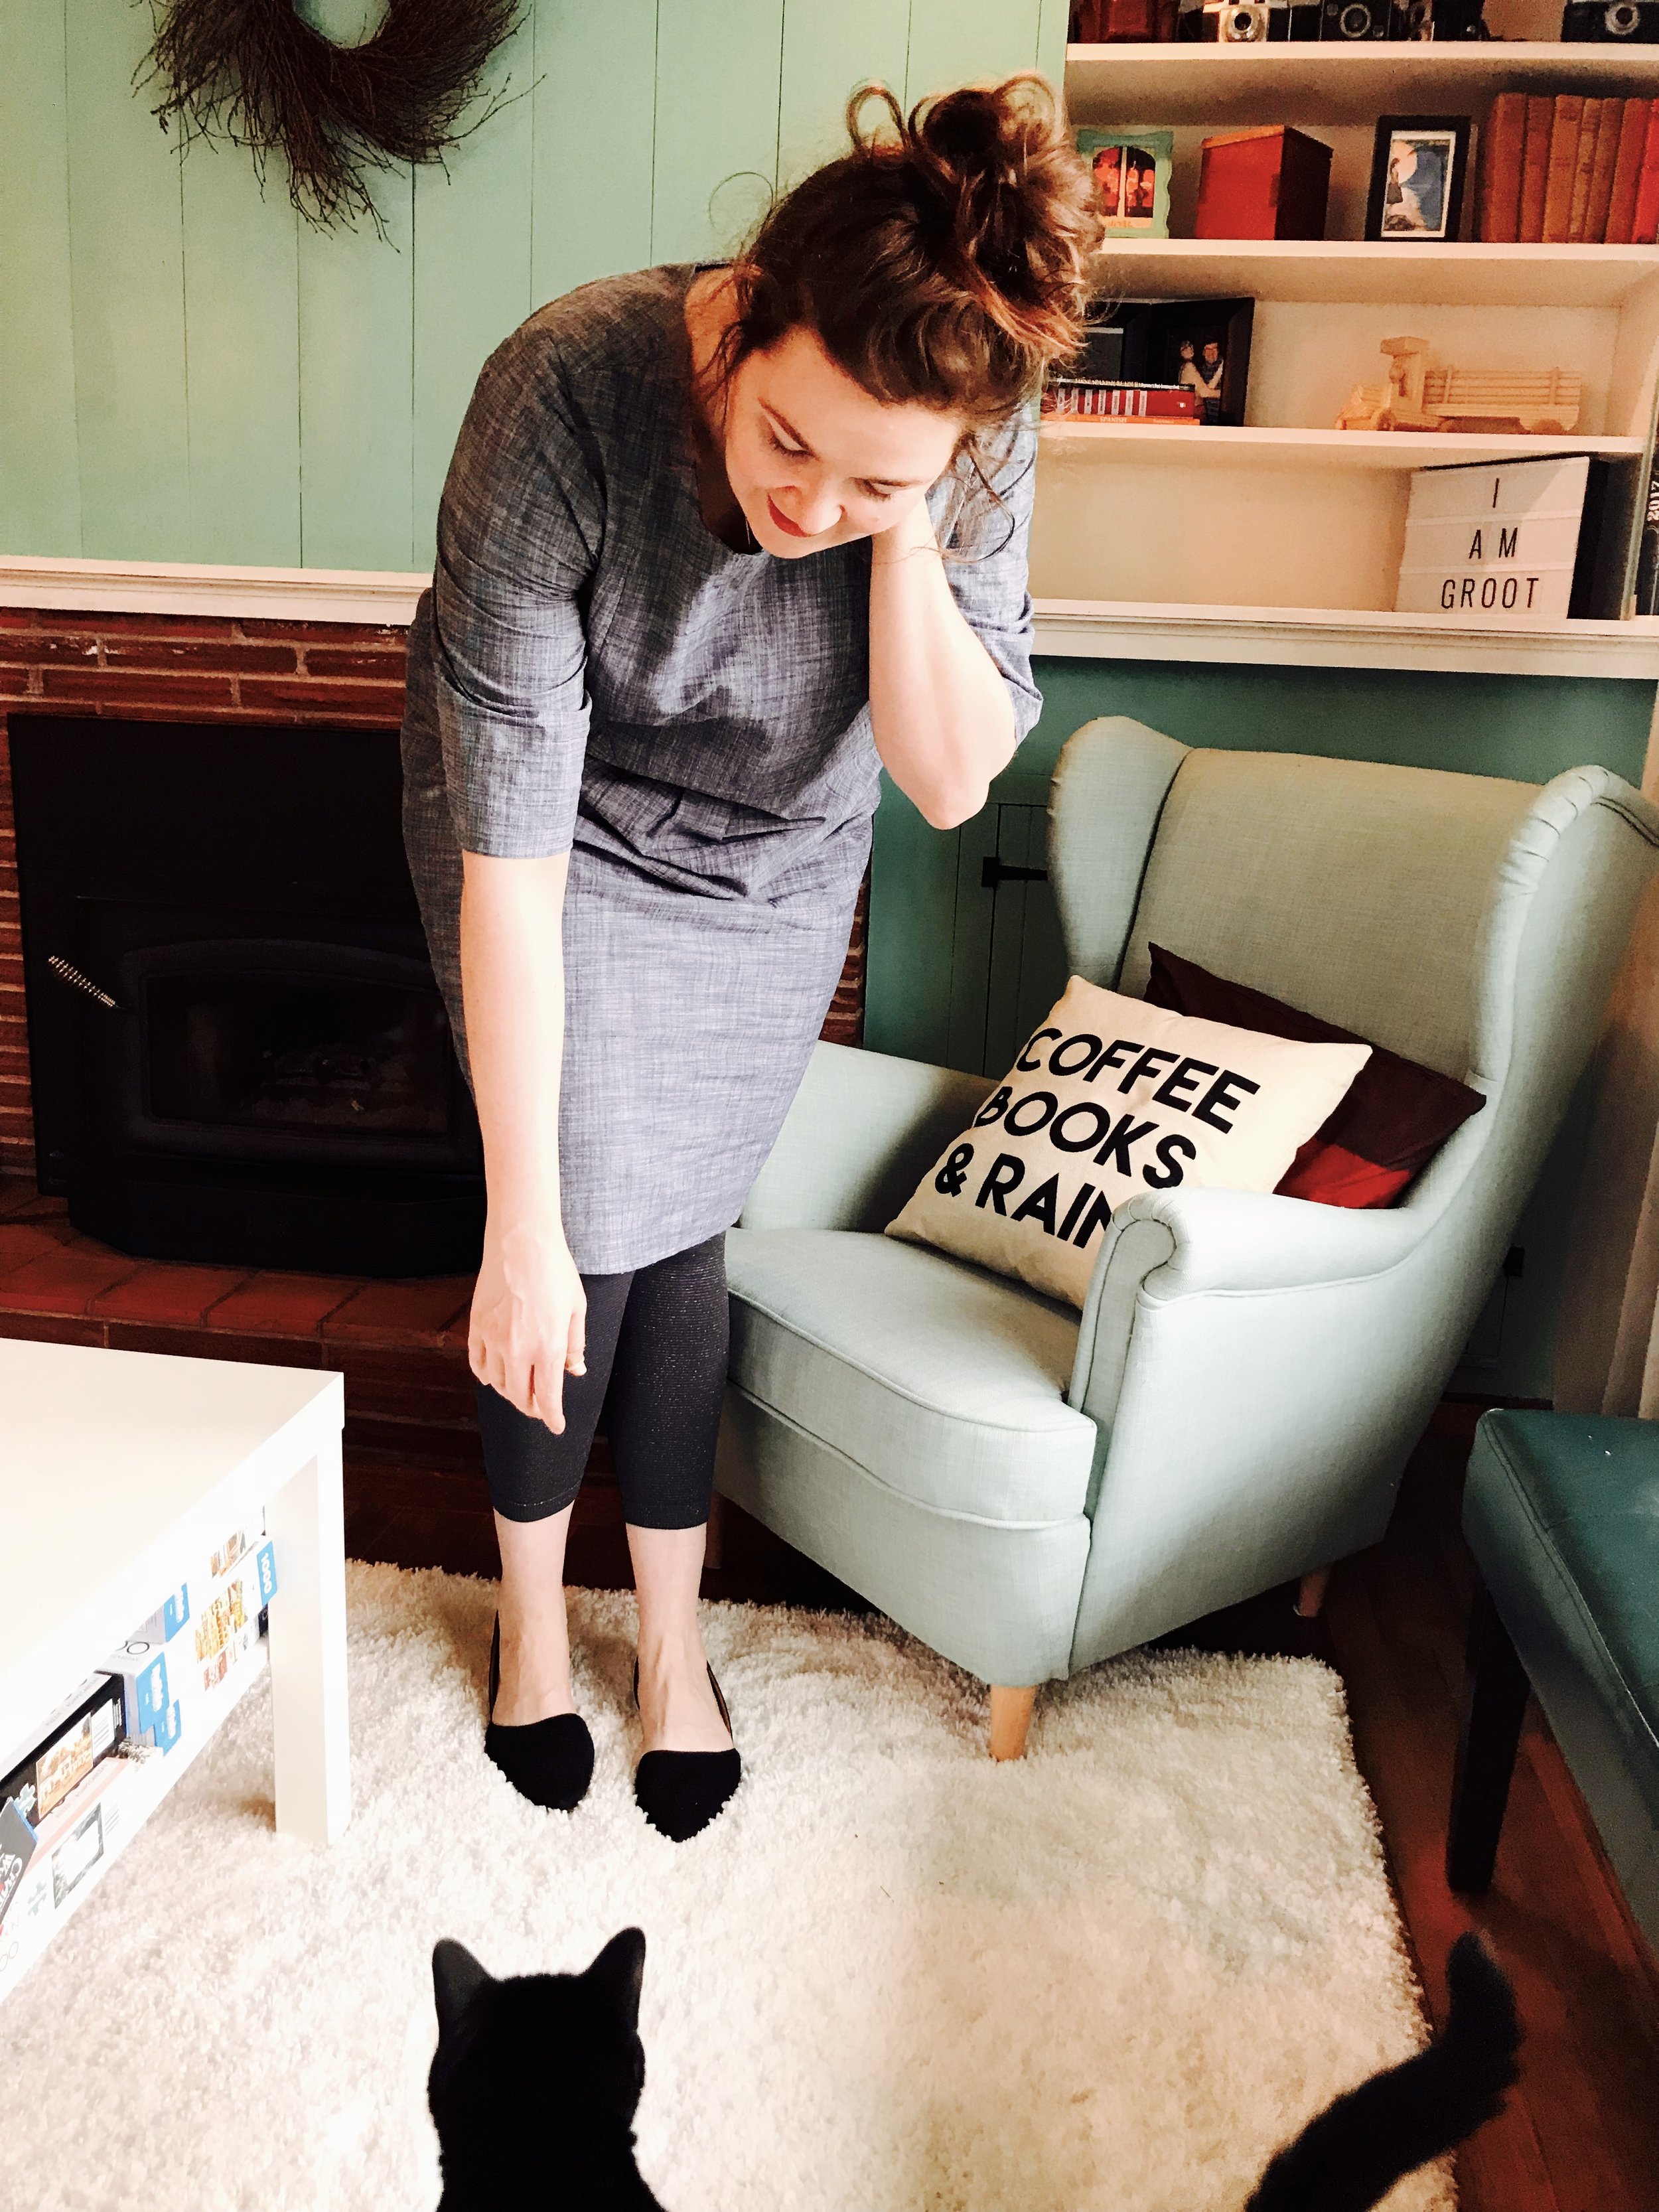
Hello!

Hello!

Kitty!
Kitty!


Crepe-rie (but not that kind)

A few months ago, inspired by the Love to Sew podcast, I decided to try my hand at another Colette/Seamwork pattern (other than the Catarina, which I've worn for months and months). The Crepe is a pretty pattern, but I wondered how it would look on me (this is starting to be a theme!) as I've never worn anything like it. It is sort of an A-line wrap-dress, with the wrap in the back and a wide sash. Here's a shot from the pattern site. 

Photo courtesy of Seamwork (https://www.seamwork.com/catalog/crepe

Photo courtesy of Seamwork (https://www.seamwork.com/catalog/crepe

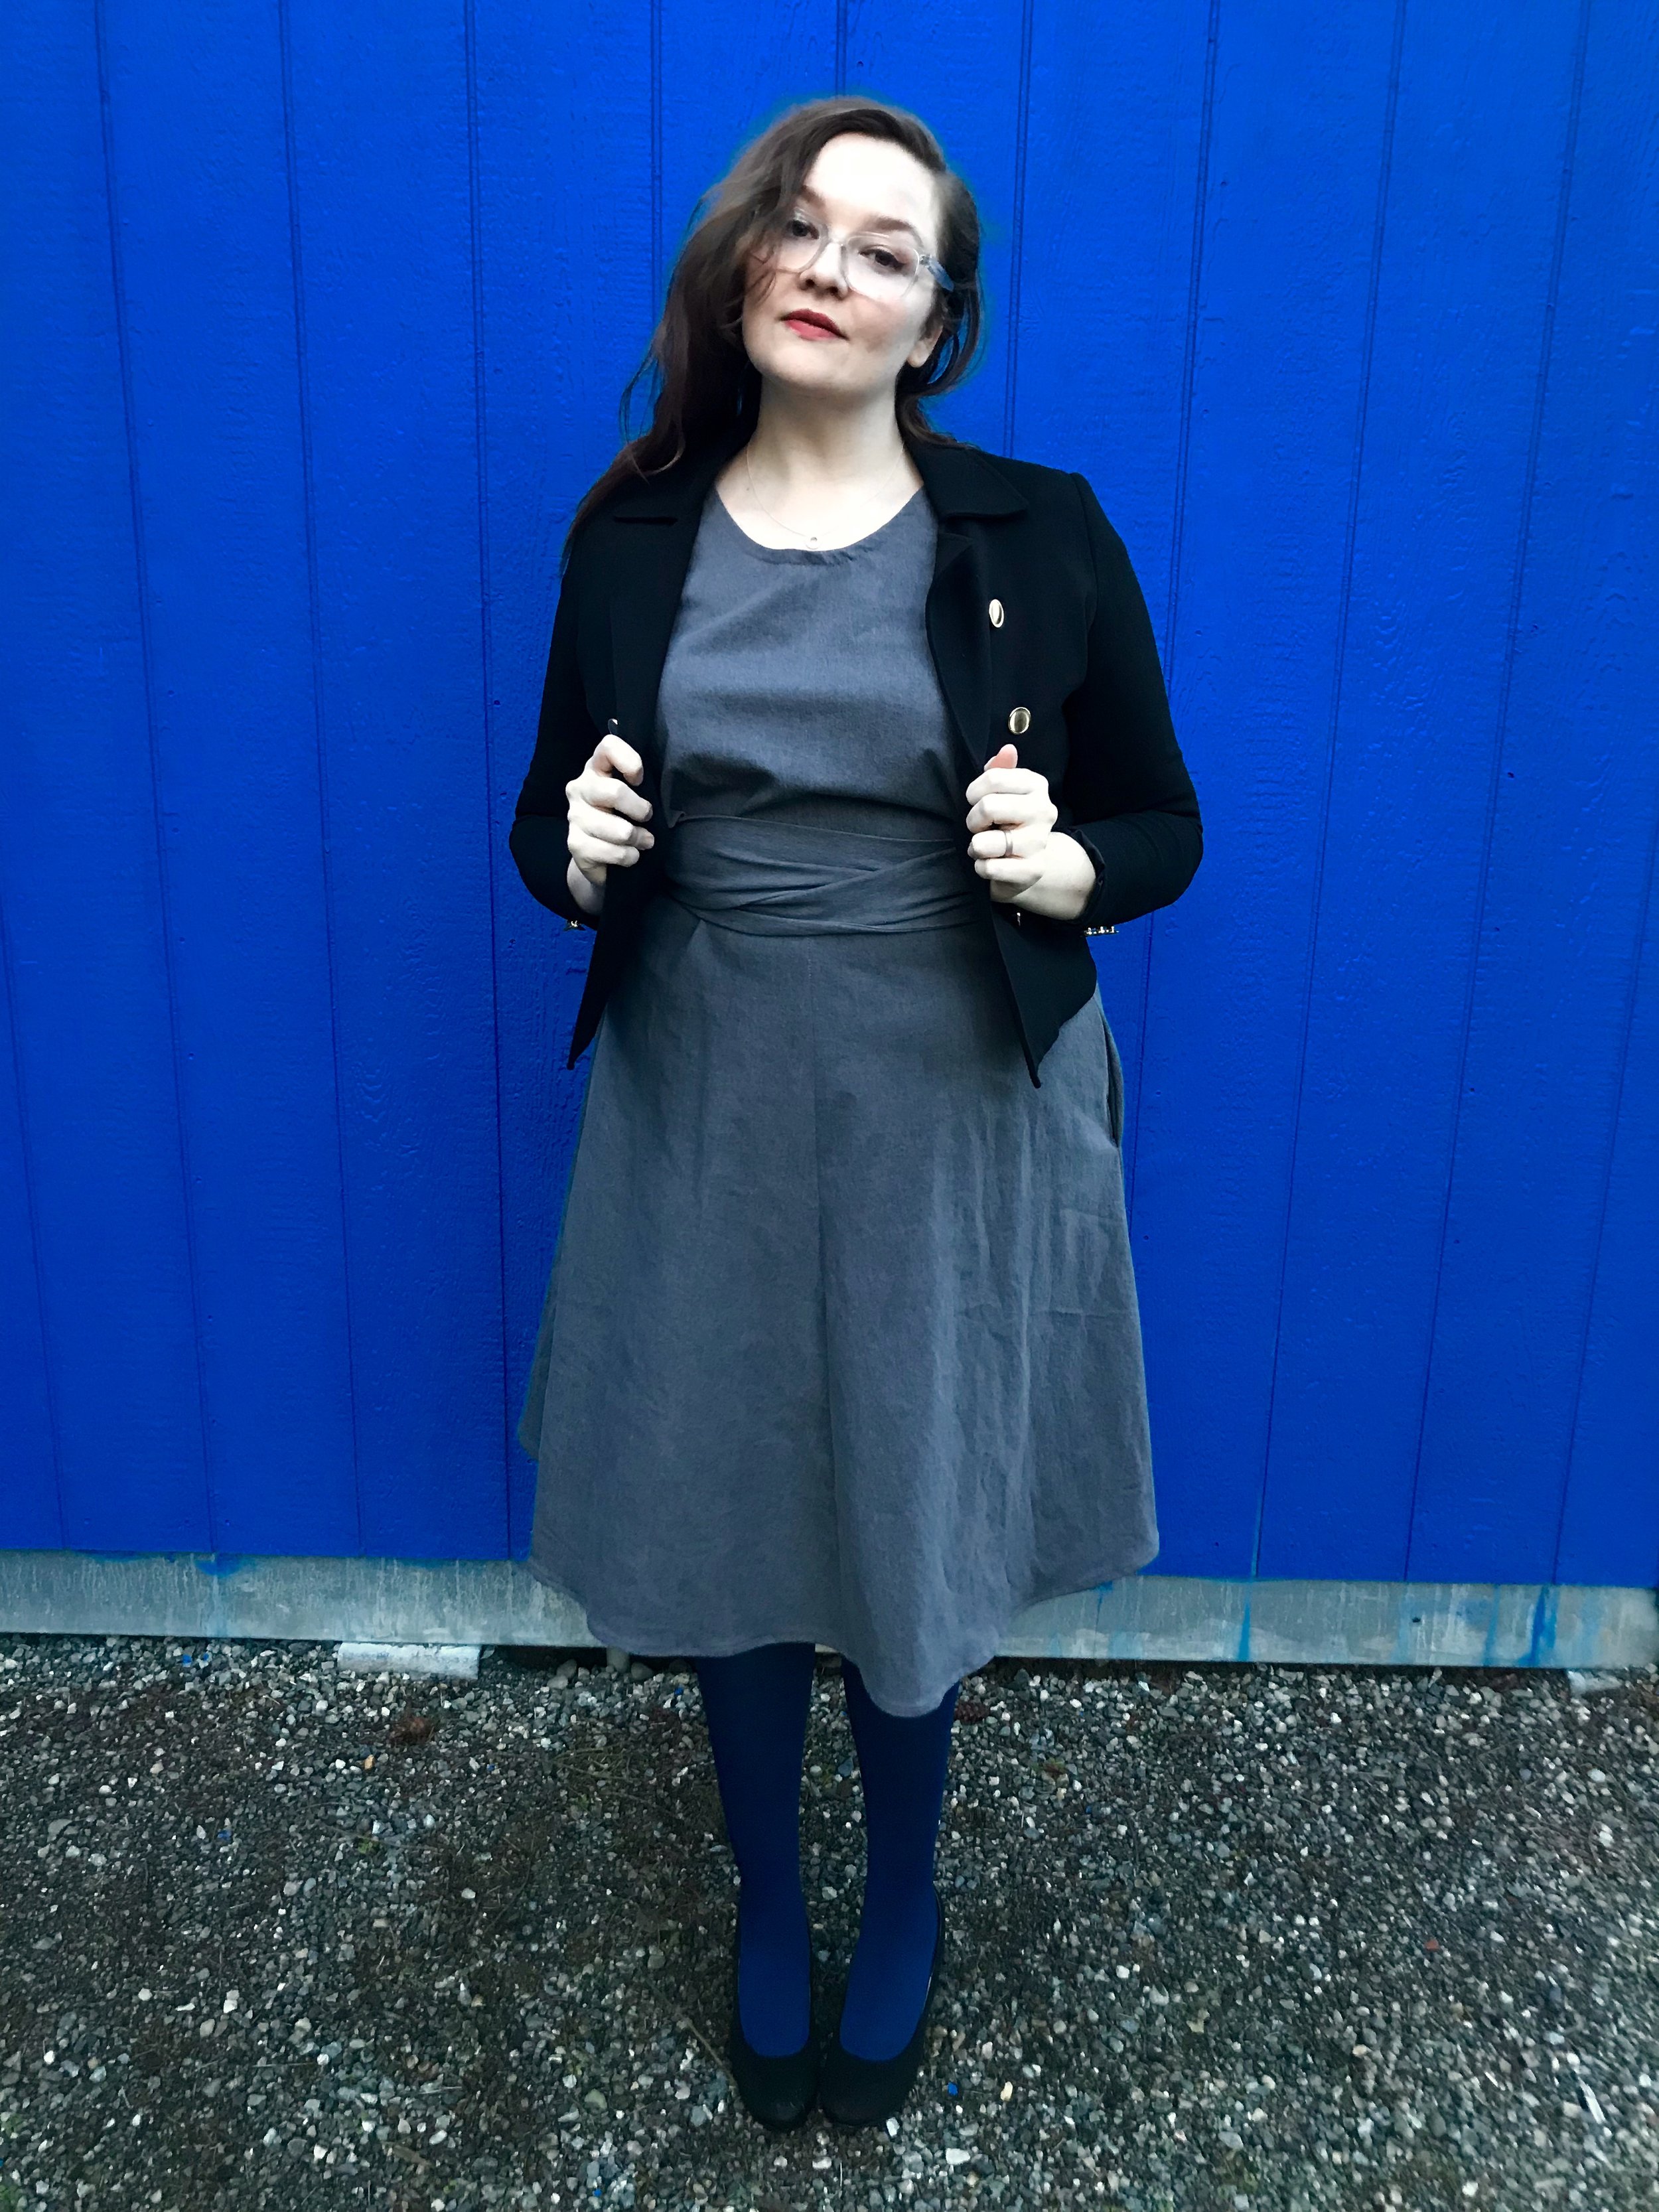
And here it is on me!

I love this dress.

I love this dress.

The pattern states it is a 'sweet and easy wrap dress with no closures to sew.' I think that's about right - it really isn't very hard, and there are no closures (zippers, buttons, etc.), which makes it pretty quick. 

Fabric selection

I wanted something that I could wear to work and feel really comfortable in. I LOVE gray and I wear it to work a lot, as it's a fav neutral. I also have been exploring denims lately after watching a Project Runway where the designer did amazing things with denim.

I found a lovely gray semi-stretch denim at Joann's that was pretty reasonable and I got it discounted with a coupon! Despite this, I still smarted at the $50+ price tag (5 yards is my usual length cut for dresses) wondering if it would all be wasted once I cut it out and potentially messed it up. Spoiler alert - this did not happen!

The gray is really pretty and the denim is both light and heavy enough for me to wear in seasonal transition months, which in Seattle are most of the months. it also has some nice stretch to it, which makes it comfier than a regular denim.

Feeling confident in my pretty denim Crepe

Feeling confident in my pretty denim Crepe

One area that worried me a bit - though it shouldn't have - were the pockets. The Colette instructions were great, and easy to follow. The result? Pockets of course!

POCKETS!!!

POCKETS!!!

If I had to do it again, I think I'd do some things differently. The pattern is big - even in a stiff fabric - so I'd size down (I'm between sizes and had sized up and as you can see, it bags a bit.) Also, I'd probably press more throughout the sewing process so that there might be less rippling in my seams. Finally, I might do more beautiful topstitching and/or detail, as this dress allows for some of that, which is one of my favorite things on clothes.

The bust is slightly baggy, but I don't mind too much, as it lends a rather blousey look to the dress.

The bust is slightly baggy, but I don't mind too much, as it lends a rather blousey look to the dress.

Annnd finally - the back! Here's where you can see that I really could have sized down a bit. Oh well! I still love the criss-cross wrap dress look, and I actually love the look of it reversed with this in the front.

Annnd finally - the back! Here's where you can see that I really could have sized down a bit. Oh well! I still love the criss-cross wrap dress look, and I actually love the look of it reversed with this in the front.

Blue velvet adventures

A few months ago, my coworker and dear friend asked me if I'd like to go to Vancouver, BC, to go shopping for antique sari. She was on the look out for silk - an indigo dyer, she's always trying to find good stuff to work with, and indigo dying requires pure, natural fibers. I, of course, said YES! Because if you know sari, you know there's yards and yards of fabric in them, and lots of wonderful things to make with that much lovely silk.

A month or so later, we ended up at a place called the Punjab Cloth Warehouse, in Surrey, BC. The sari were not as plentiful as I would have imagined - at least not antique ones - but they had miiiiiles of fabric at very inexpensive prices. I browsed and ran my hands over all the things and then decided on two five-yard lengths: 1) soft, dark blue stretch velvet ($8 Canadian/yard) and some lovely silver crushed taffeta for $5 Canadian/yard. (I admit, the material may have been in fact a satin, not a silk - very hard to say!)

We concluded our trip with a tarot card reading or two and an AMAZING ride on FlyOver Canada, which if you have the ability to do so, I highly recommend. We took a look or two at the gingerbread city in the bottom of our hotel, and Rob and I took a dip in the hot tub, while the winter rain pattered on our heads. We headed home the next day, listening to Christmas carols all the way.

Starting my Catarina:

And this week, finally, I began to work with my velvet! I've made the Colette Catarina before in a lovely eggplant purple knit, but this time I was going to hack the pattern to make an evening gown. (BTW, the Catarina does not look like it does in the website picture on me. I am MUCH taller, so it comes just below my knees and I am also MUCH larger, so it's more boxy on me; as well, I'm between sizes, so I have sized it up, but it's a bit big on me.)

I was a bit scared because as much as I've done darts I don't like to do them, and also because velvet apparently has a notorious reputation of being hard to work with. Finally, auspiciously, my serger footplate broke, and I began to worry that it was a bad sign for the whole project. I took a week to think about it.

The week gave me strength, as did the book Sewing Happiness (thank you so much, Sanae Ishida, you inspire me!) which gave me the impetus I needed to just pick up my scissors and GO. The velvet wasn't terrible. I've worked with worse. But it was slippery, heavy, and a bit unruly.

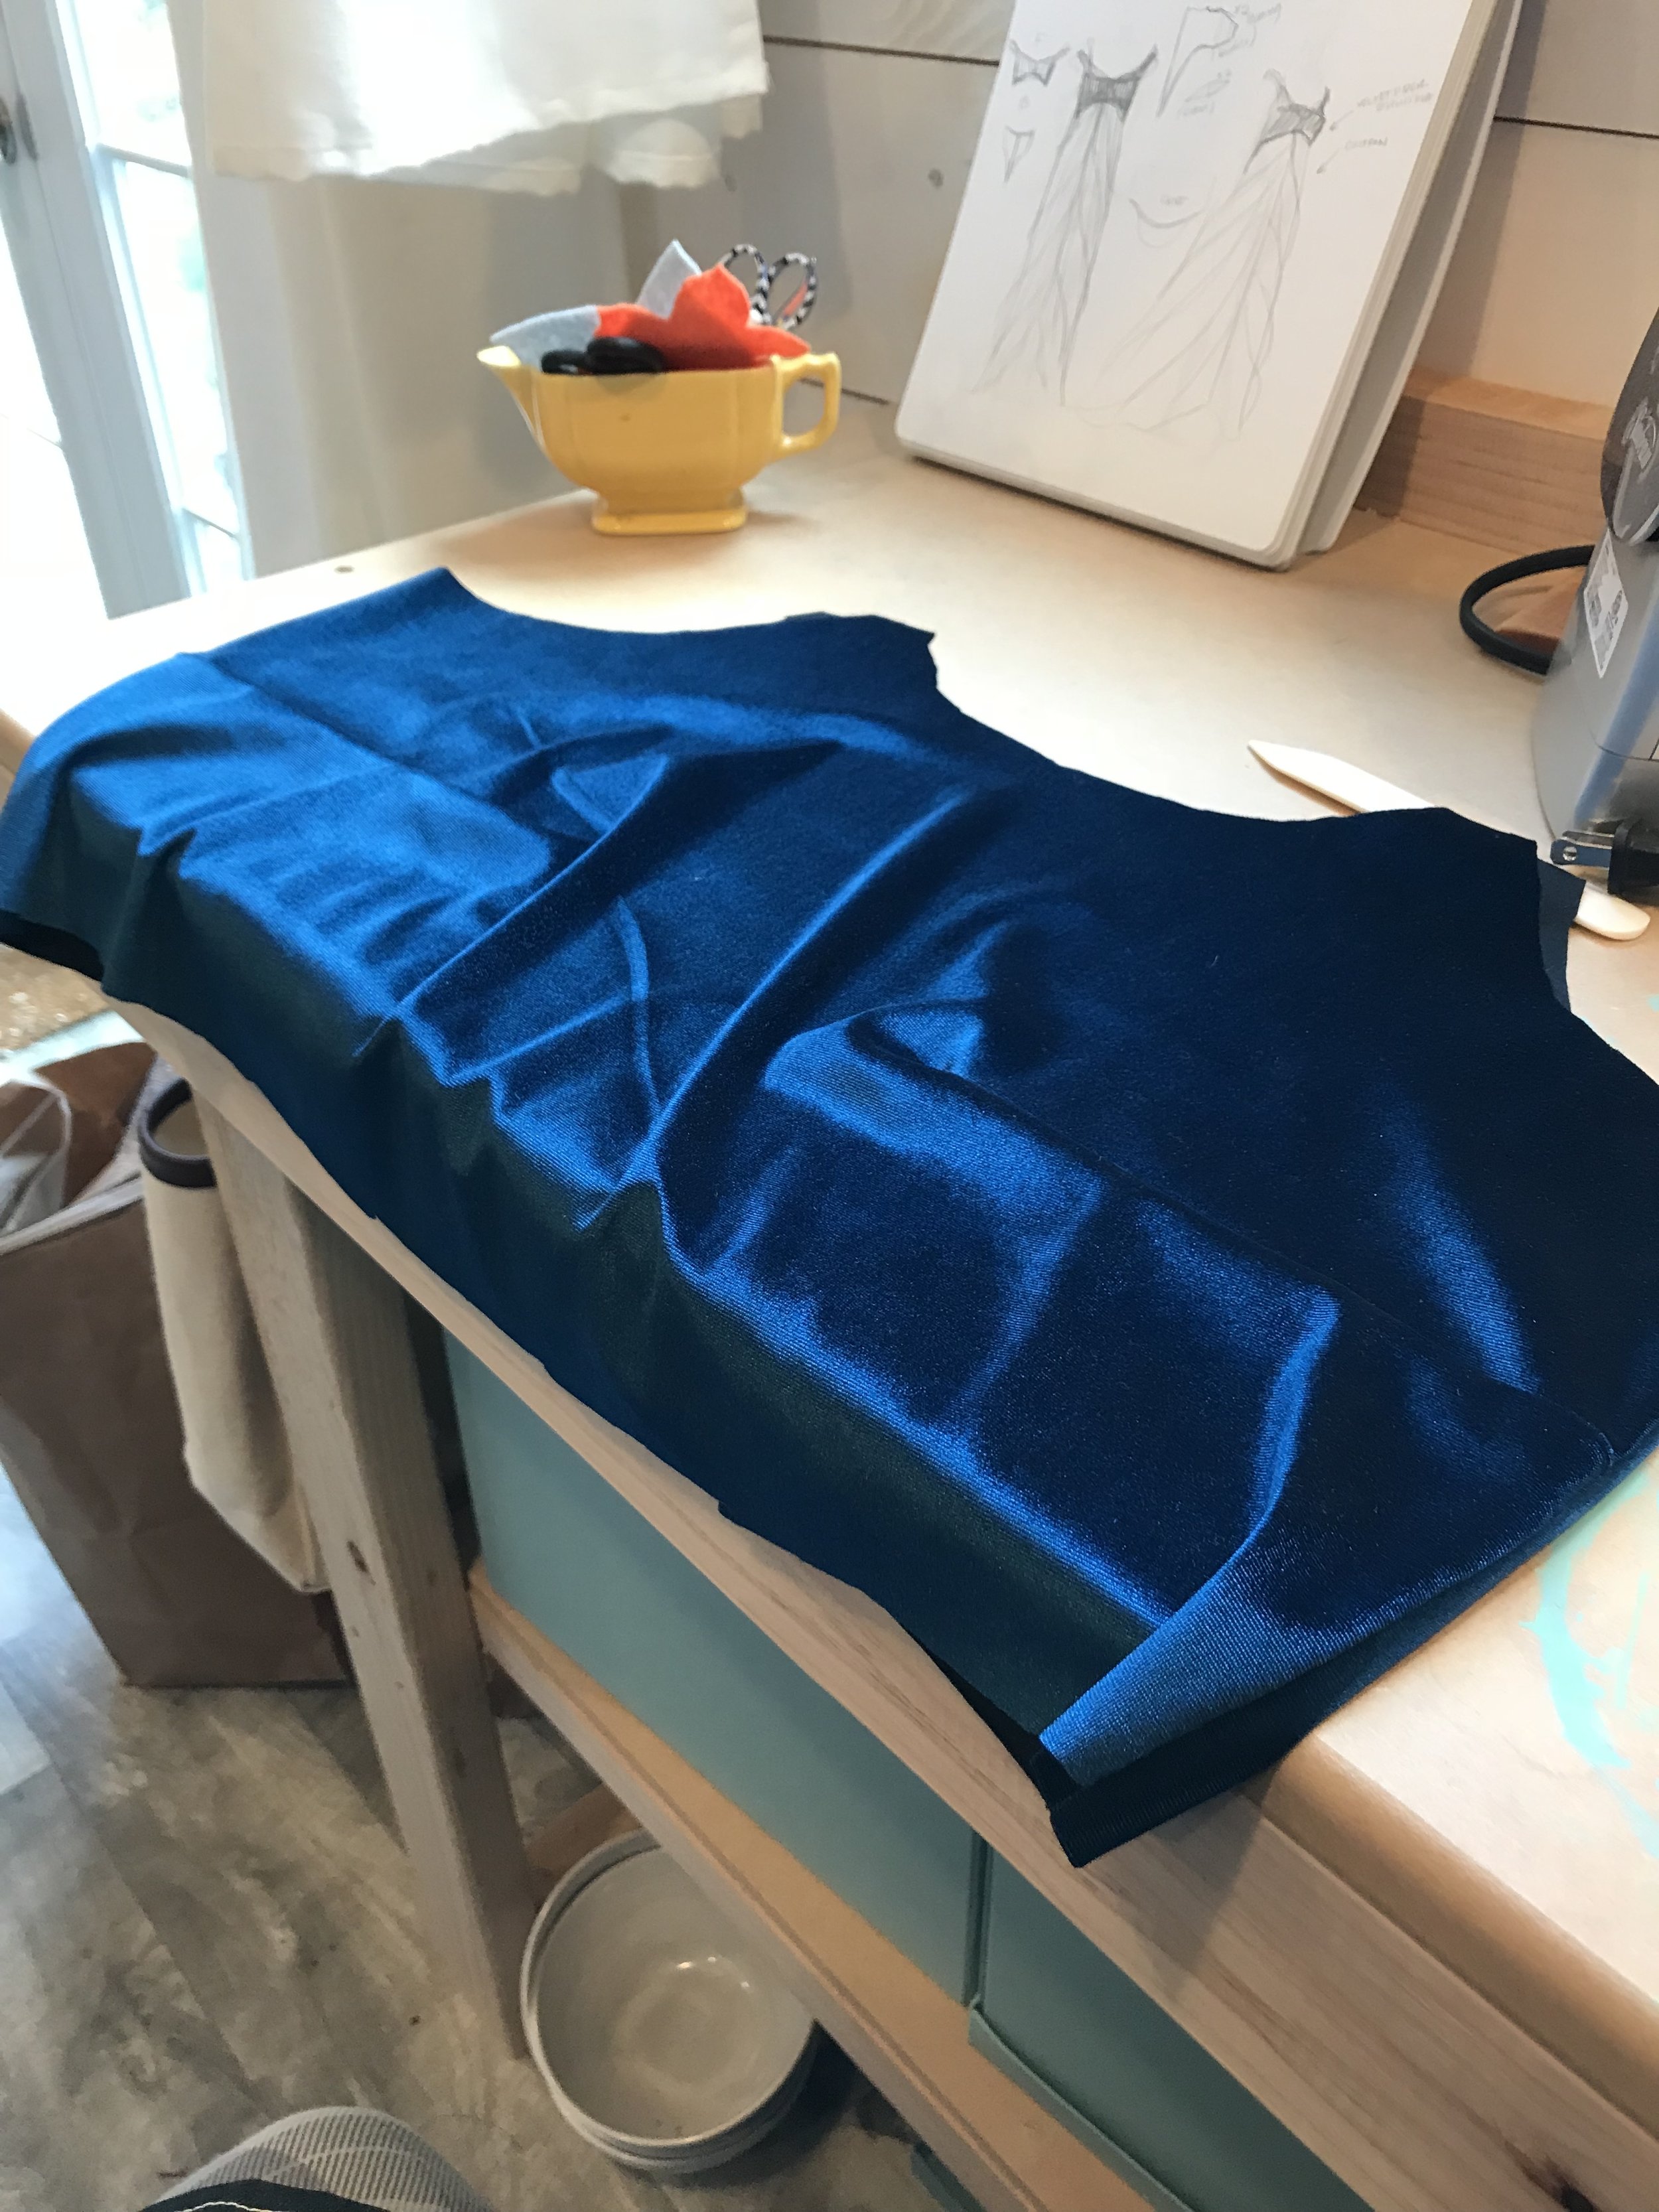
Despite it dragging the entire pattern off the cutting table a couple of times, I did manage to get everything cut! I even successfully hacked the skirt patterns and made it full length (a whopping 49" long on me. I'm all leg.) Pictured: bodice front, 1 of 2. (Behind is a dress I'm designing myself, using Gertie's New Fashion Sketchbook.)

Exhibit a: a cut bodice front!

Jumping into the sew-up:

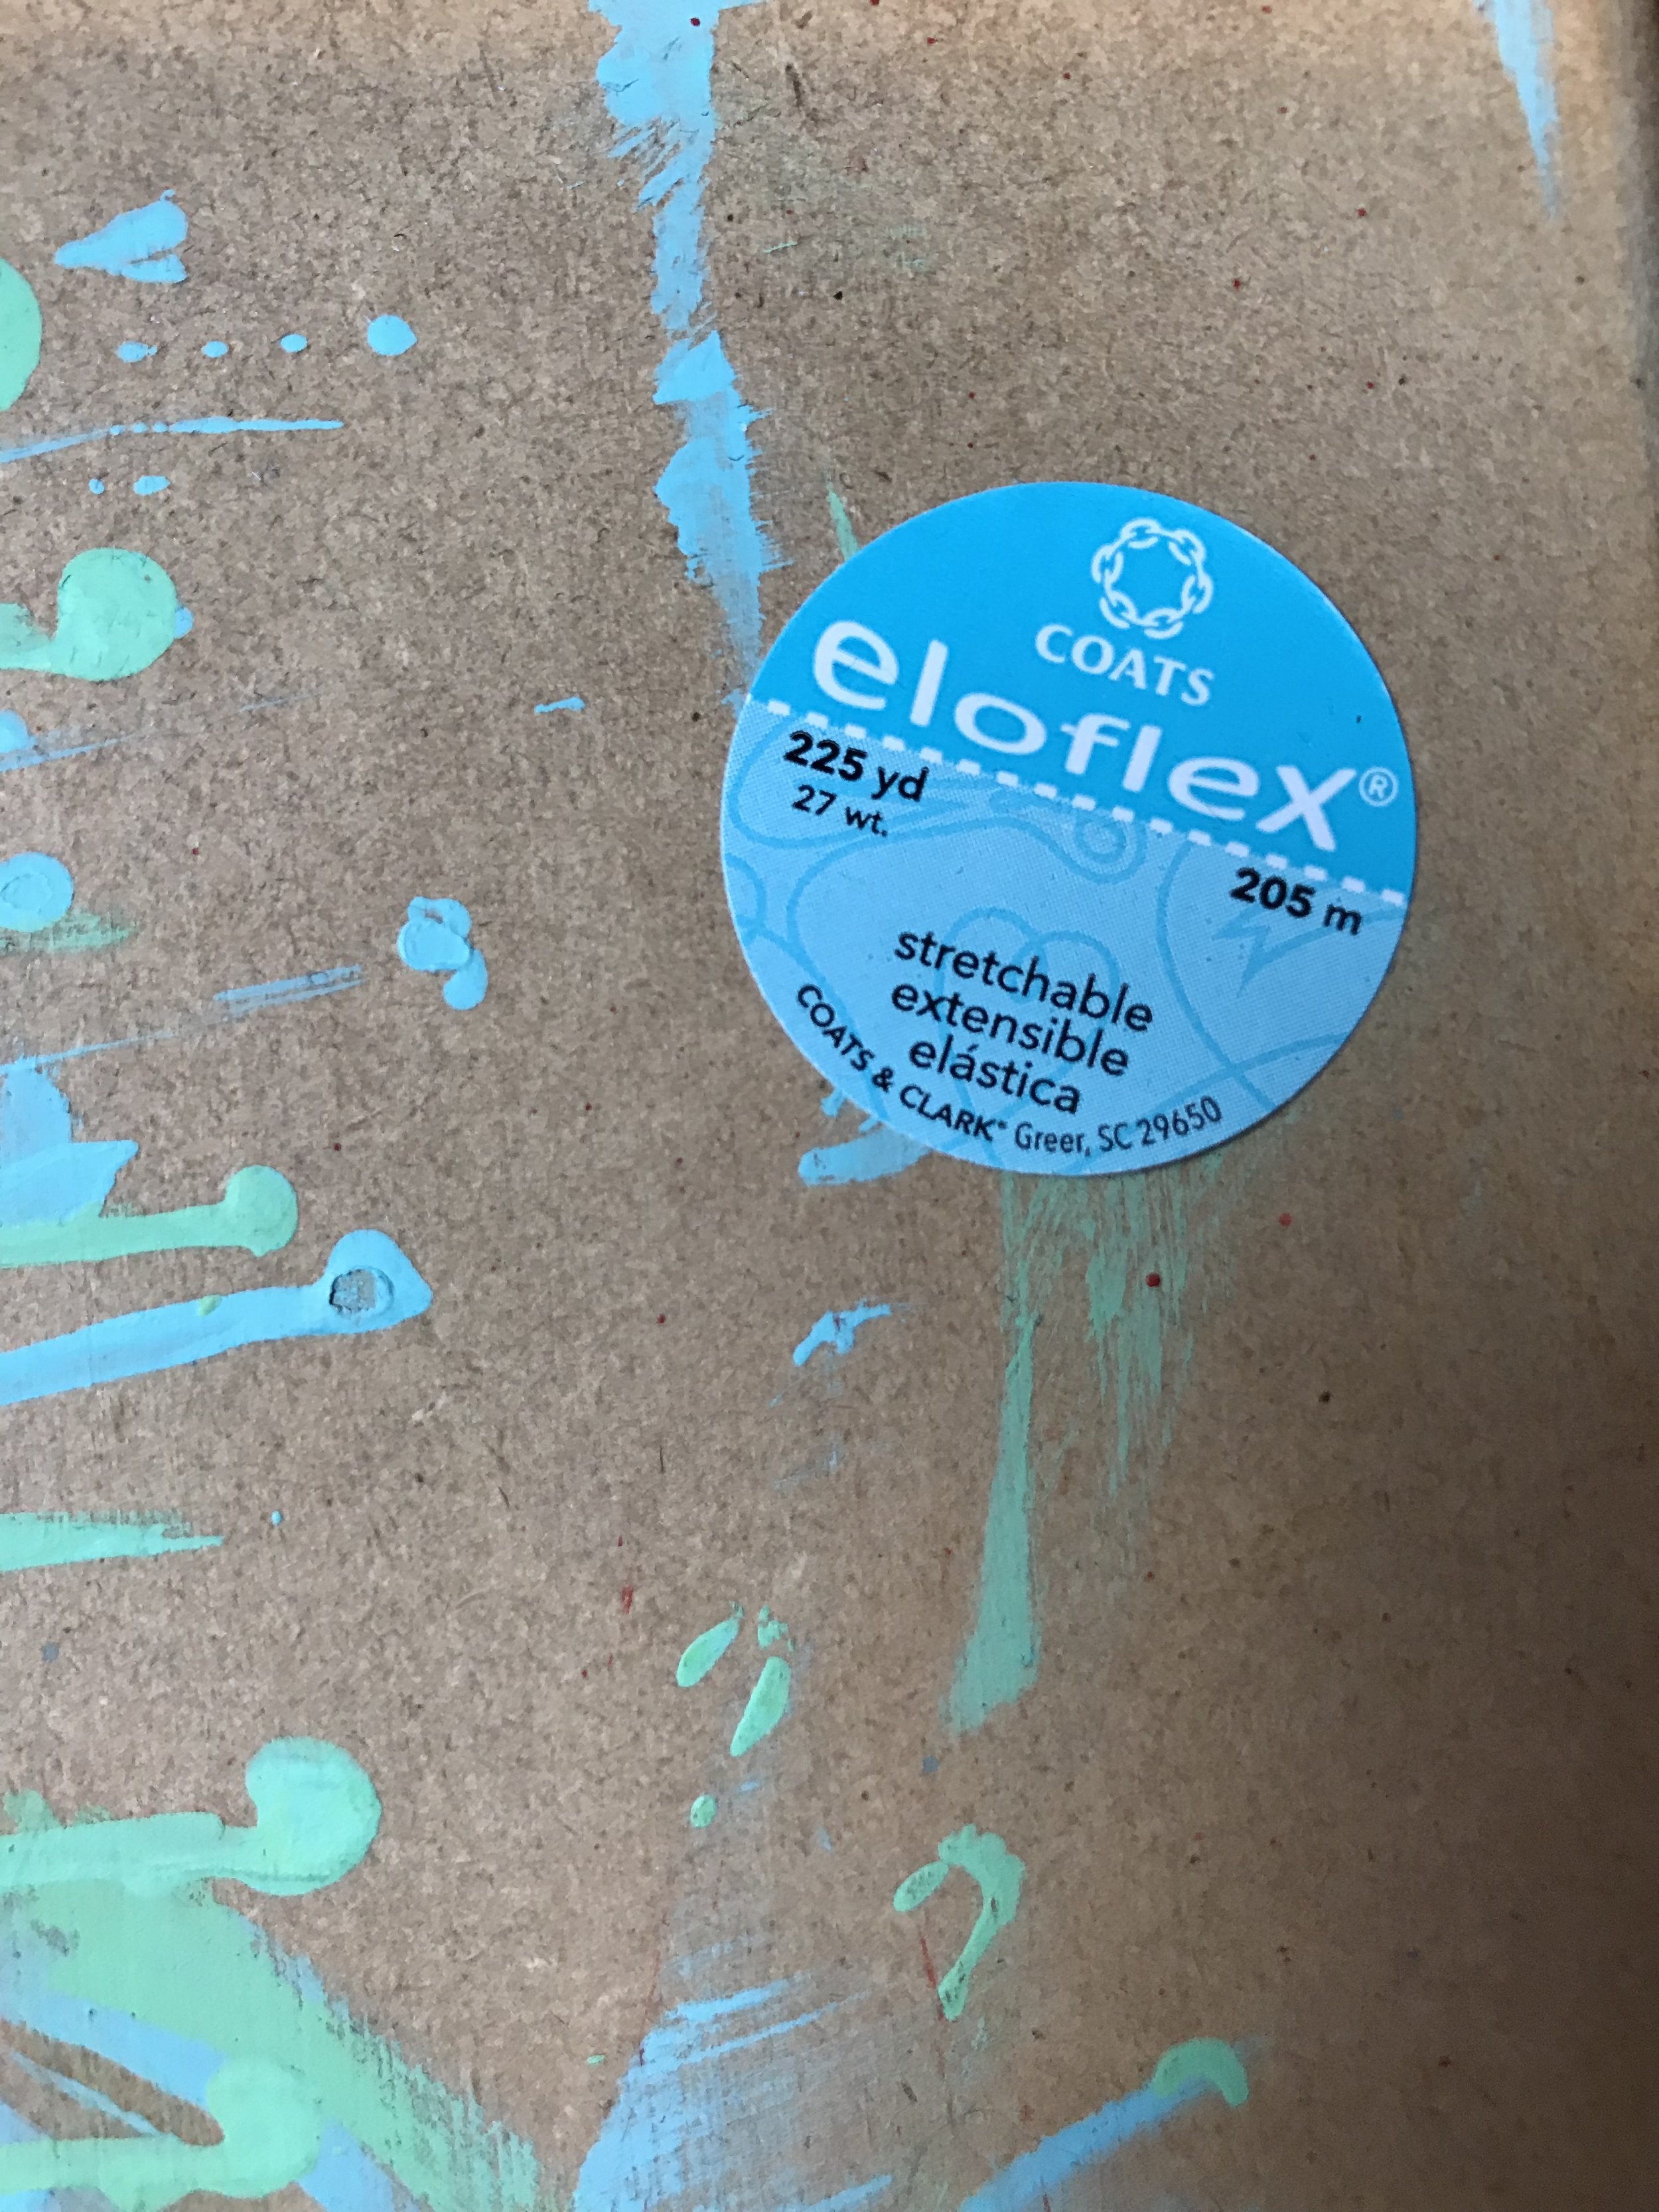
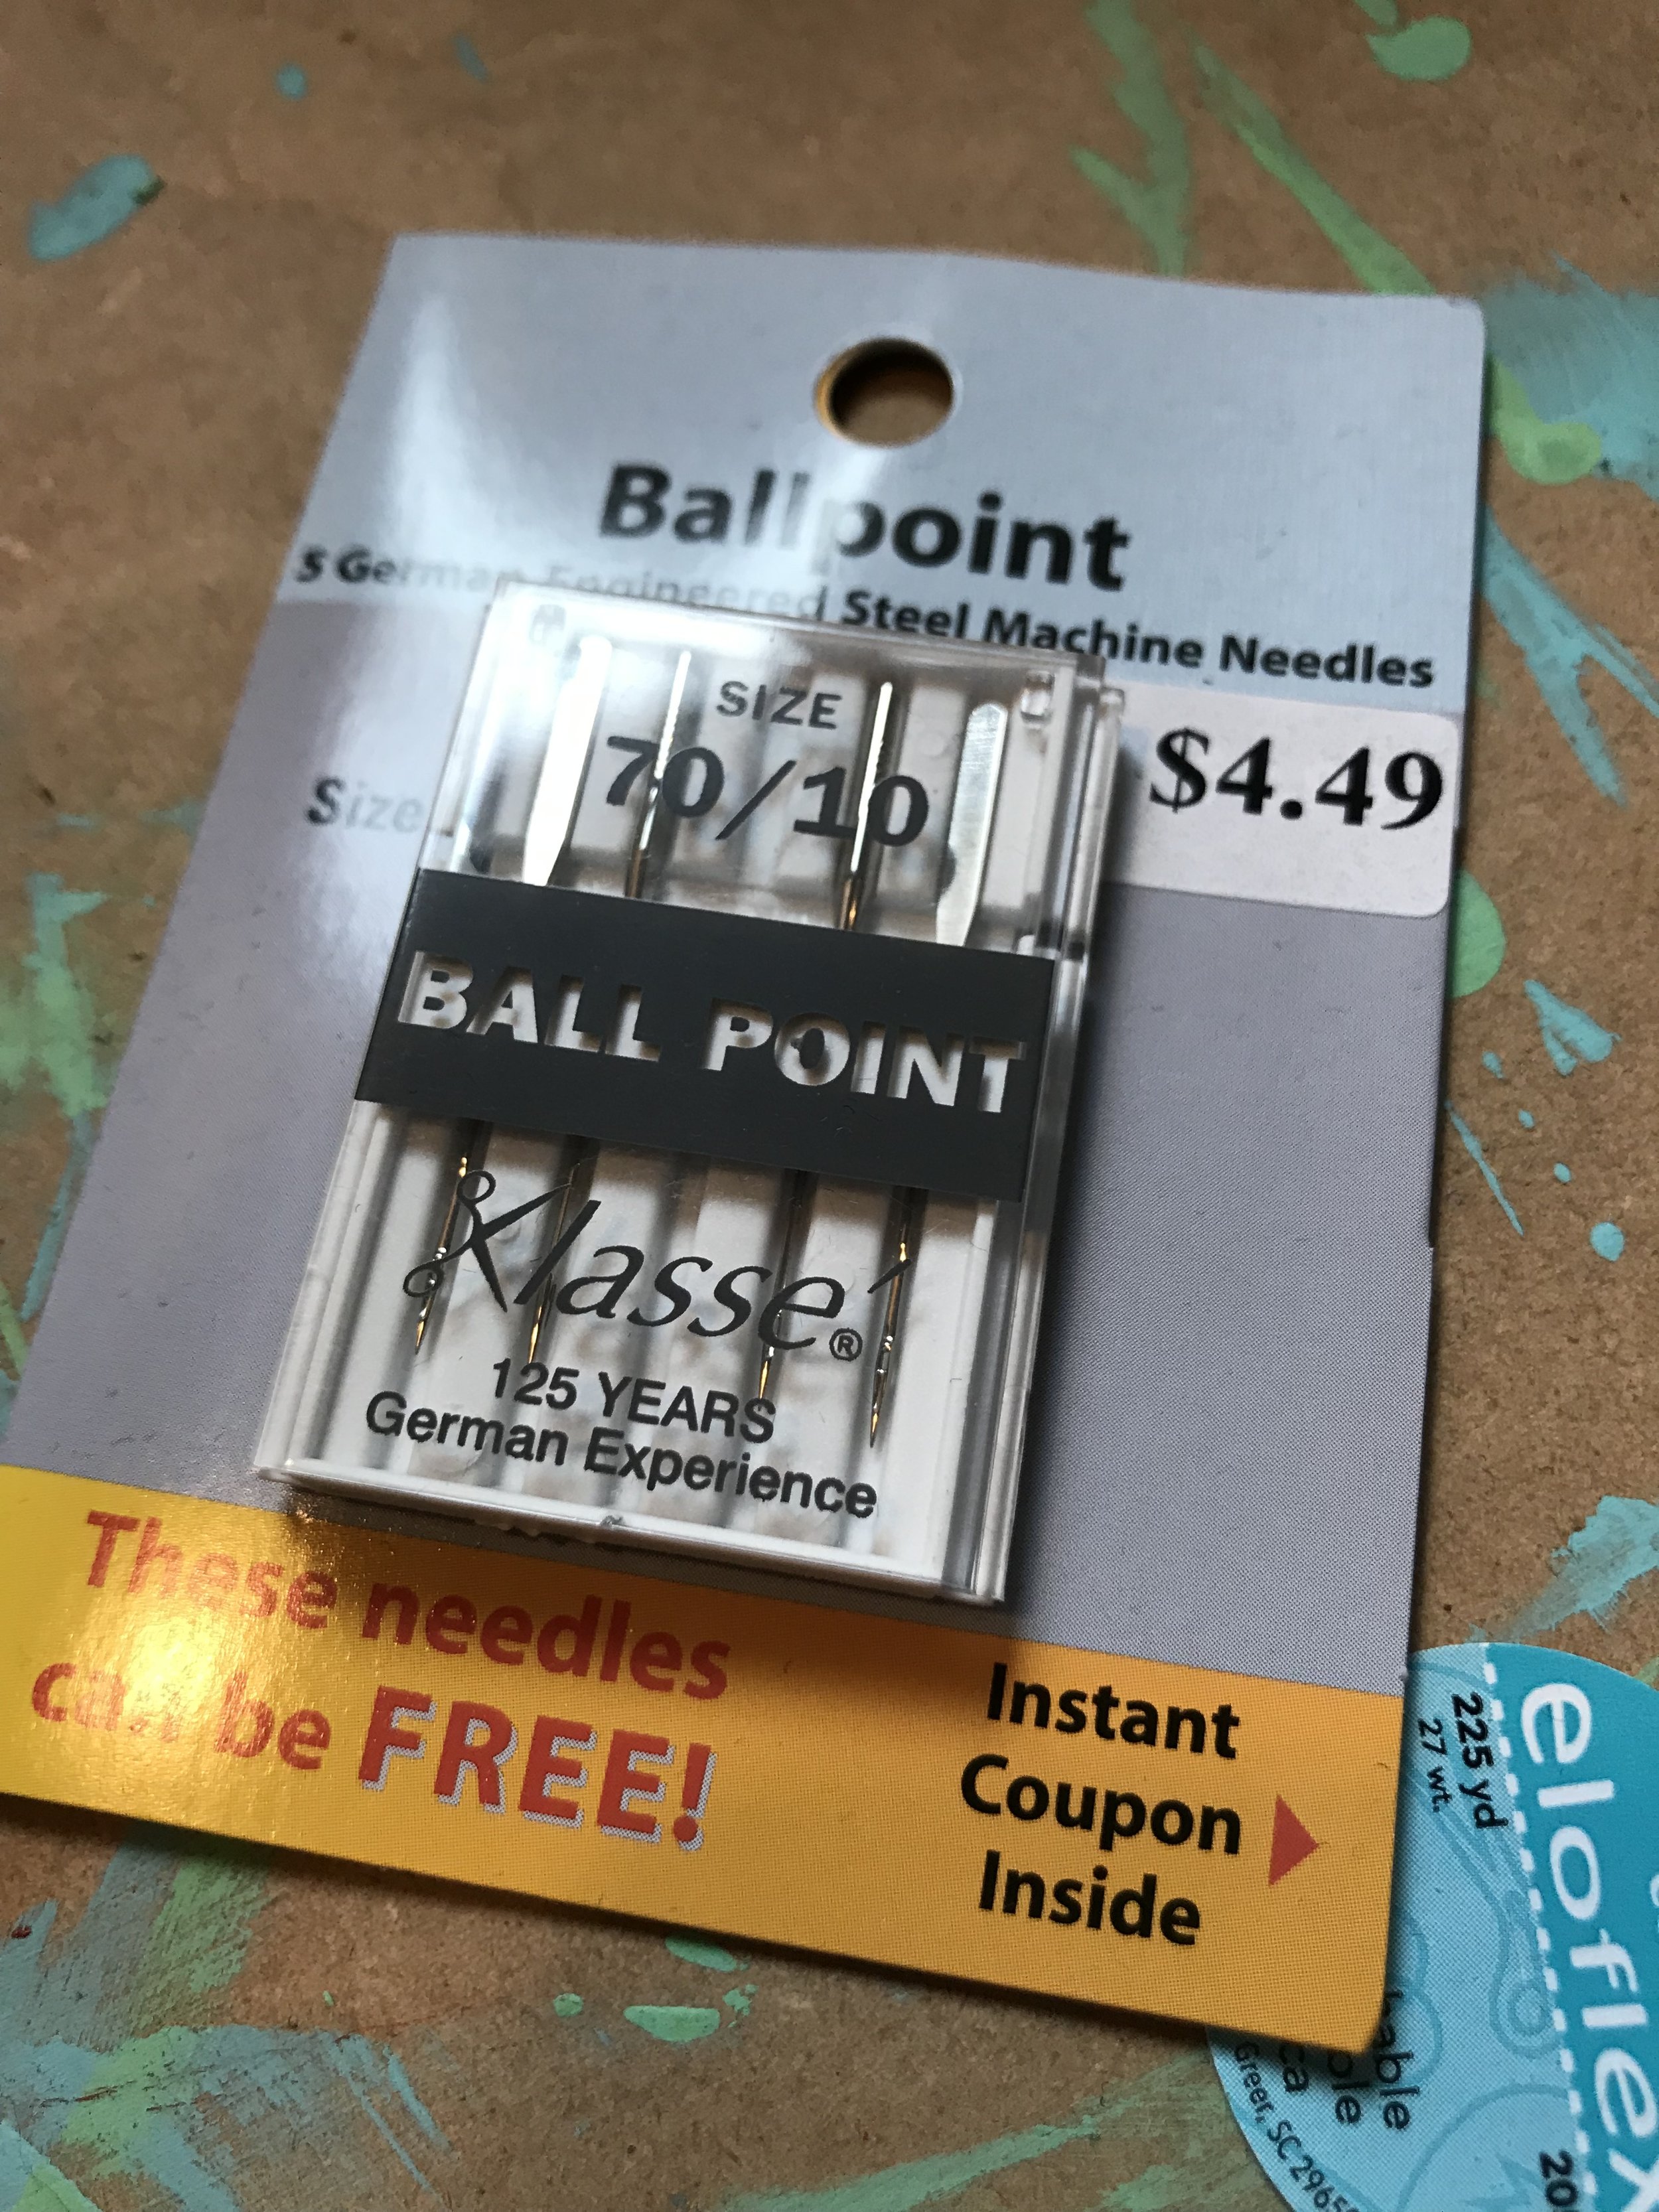
After getting everything cut, then I had to figure out exactly how to sew it together. I decided to take Sanae's advice and use my regular sewing machine. I have a Janome, which I love even if it can be a bit fidly about the thread, and so I bought some ball point needles and some elastic thread just to be safe!

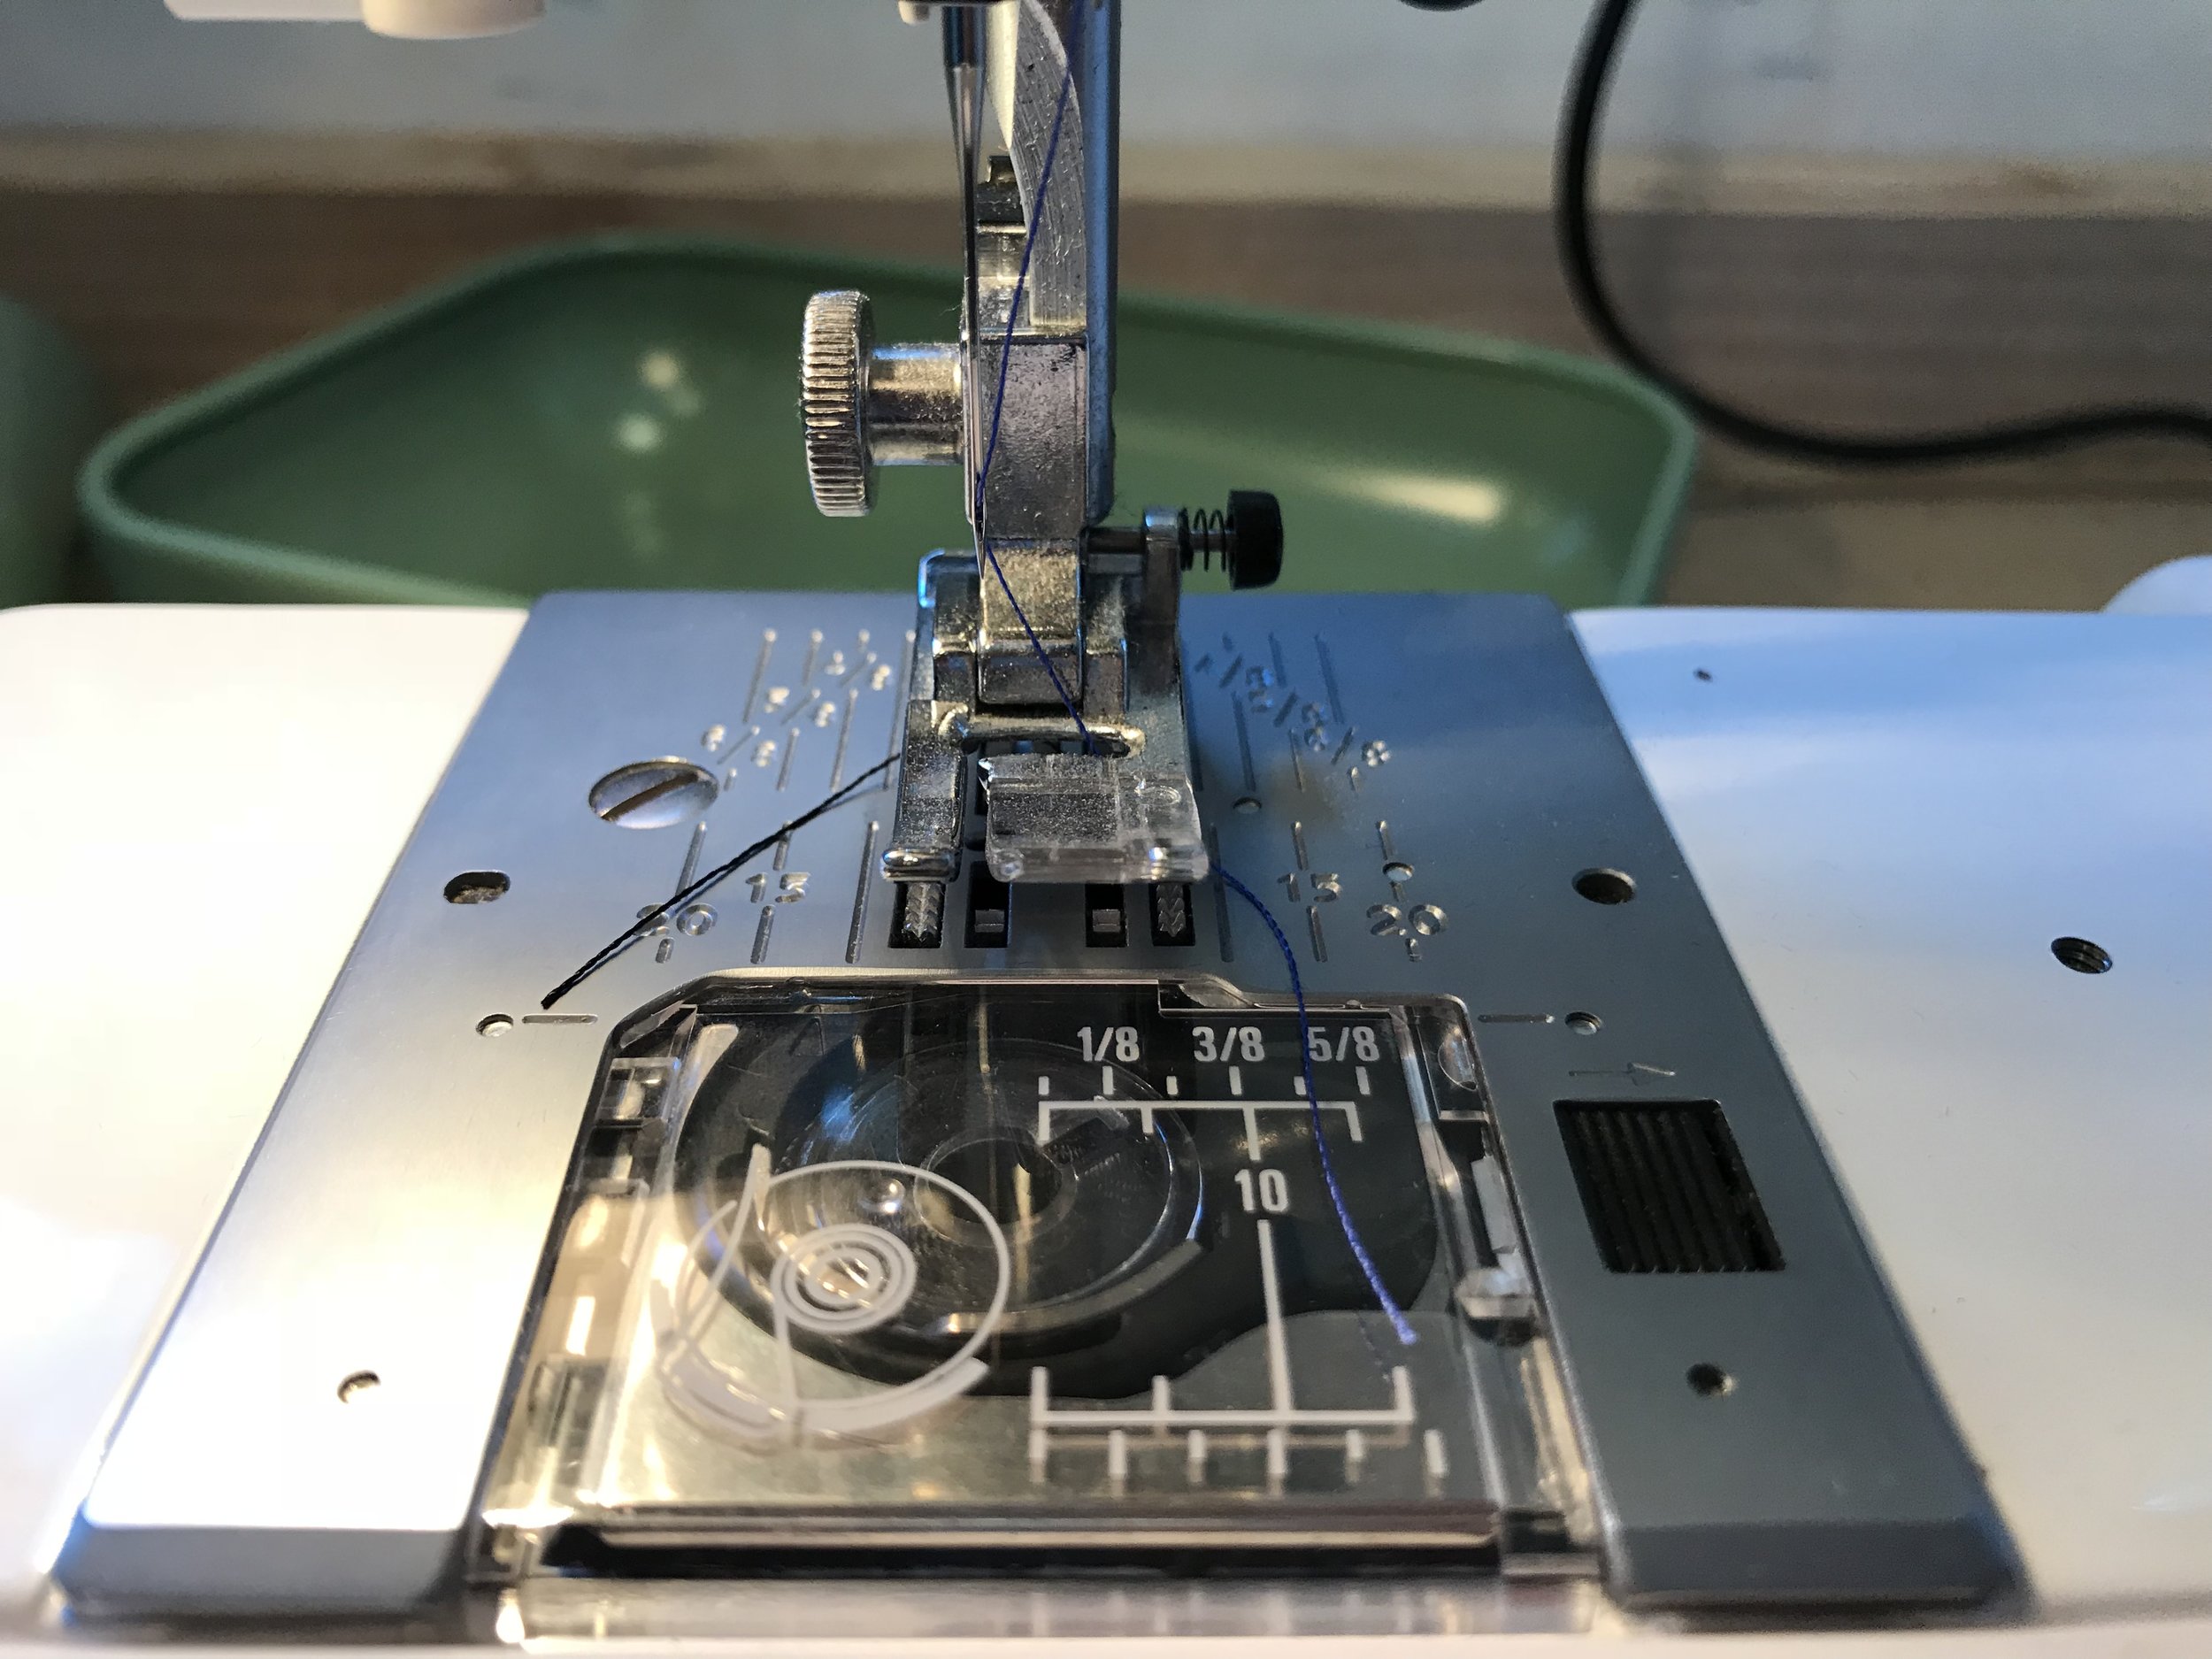
Eloflex (label pictured) was the elastic thread brand, which I loved. The ball point needles definitely worked great. See pictured the finished, threaded foot as well (I used blue thread for the needle and black for the bobbin, to match the fabric.)

Note, I did have to play with the tension a bit to make sure the elastic thread worked. I found that I had to raise it quite a bit (like up to a six or so) to make sure it didn't slip out of the needle over and over. If I made it too tight, then it wouldn't have stretch for the fabric, though, so a balance I skirted a bit.

The other key: SO MUCH PINNING! Because velvet has nap, it will travel while sewing, especially if you cut it with and against the nap differently. Apparently, I found out, the nap travels one way and the other, much like a patterned fabric, but you can't tell which way is which very well until you're sewing. When you're sewing you definitely can tell. Either it sits together like a lovely zipper, or it doesn't.

Pinning is ESSENTIAL. Of course, because I decided to risk it and sew right over my pins, I broke my first needle. But it was worth it! Most of my seams were straight. :)

Anxieties and the overcoming thereof:

I have dart anxiety. But instead of taking them out and resewing I just went with the two darts as I marked and sewed them the first time. 

The other thing I struggled with a bit were the straps. I should have had my faithful assistant, Rob, help me a bit and measure for me, but I didn't. So when I first did them, they were off by about 3/4" between one and the other, and they were both too long. Remember what I sad about velvet traveling? It happened on the straps. Also - see unexpected stretch in knits for the length issue. But really, it wasn't a big deal, I just cut them, measured everything to 11" (the right measurement for me for this fabric) and hand sewed them back to the bodice. Nothing shows, as velvet is awfully forgiving that way! 

Process decisions:

Something I did at this stage was decide how I wanted the fullness of the skirt to lie. With velvet, gathers are questionable, so I decided on three pleats - two on the side, one in the back, and nothing in the front. As I said before, the dress is a bit big on me, so I decided that would make it loose enough.

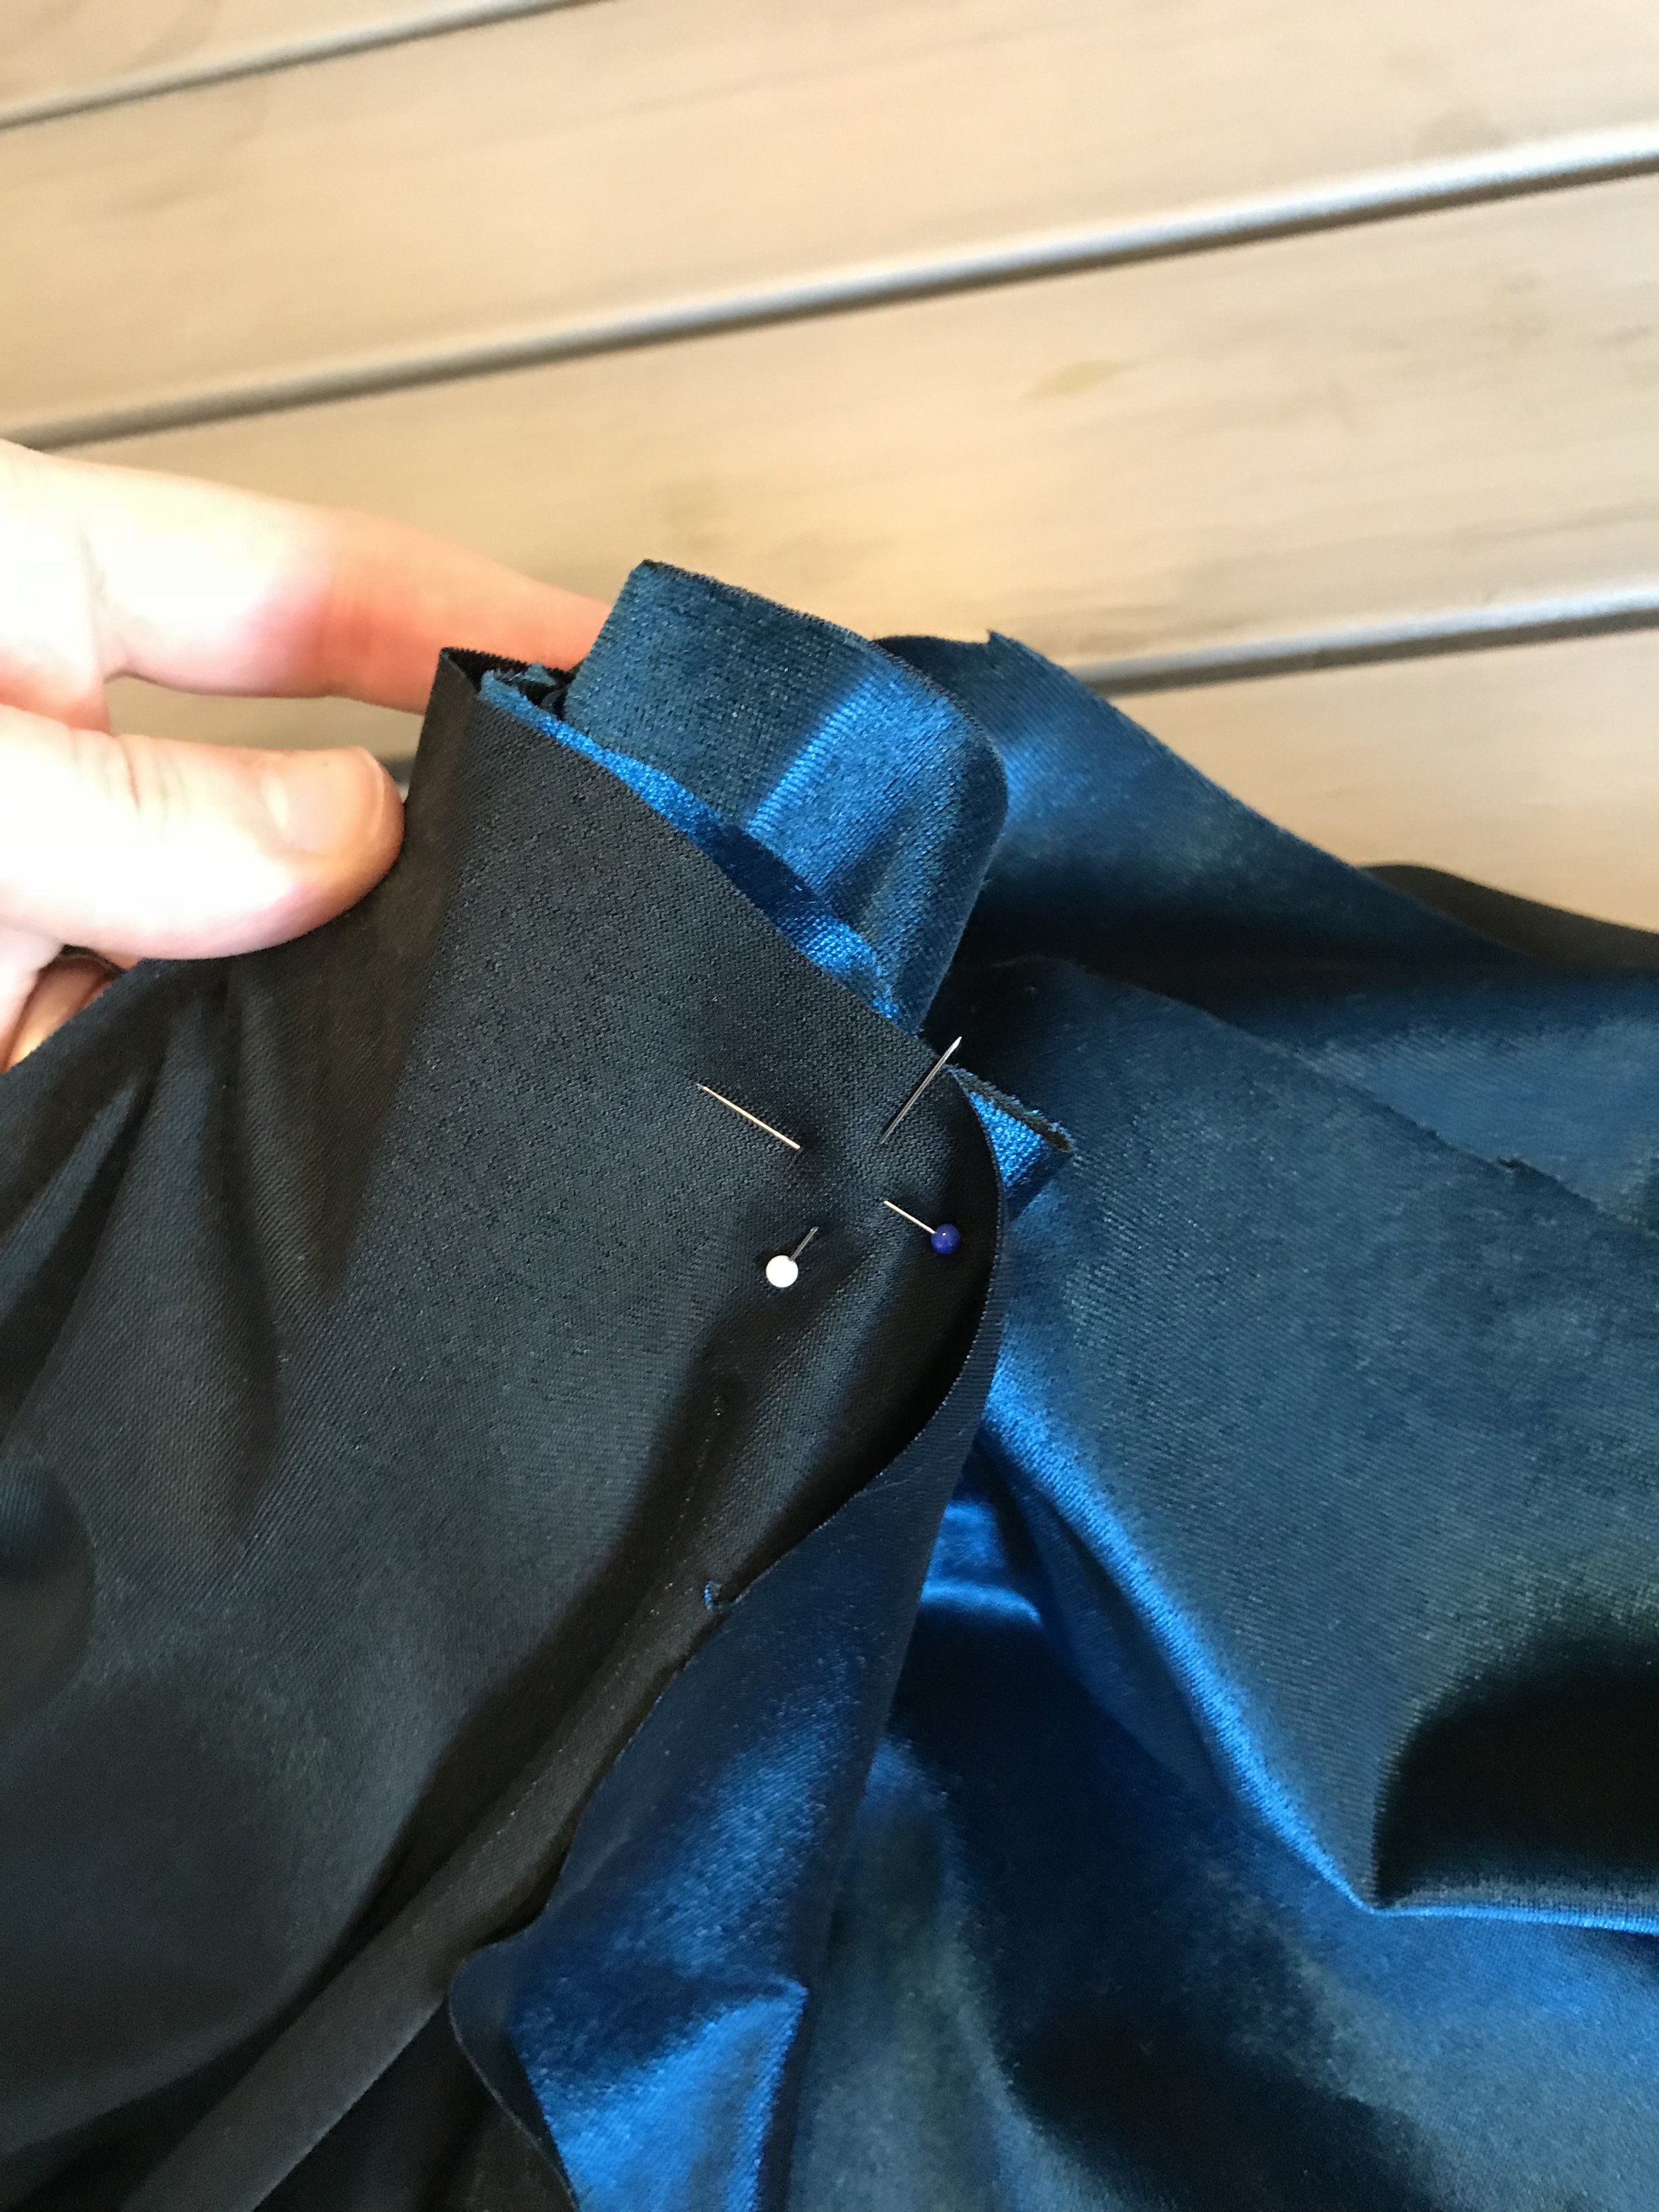
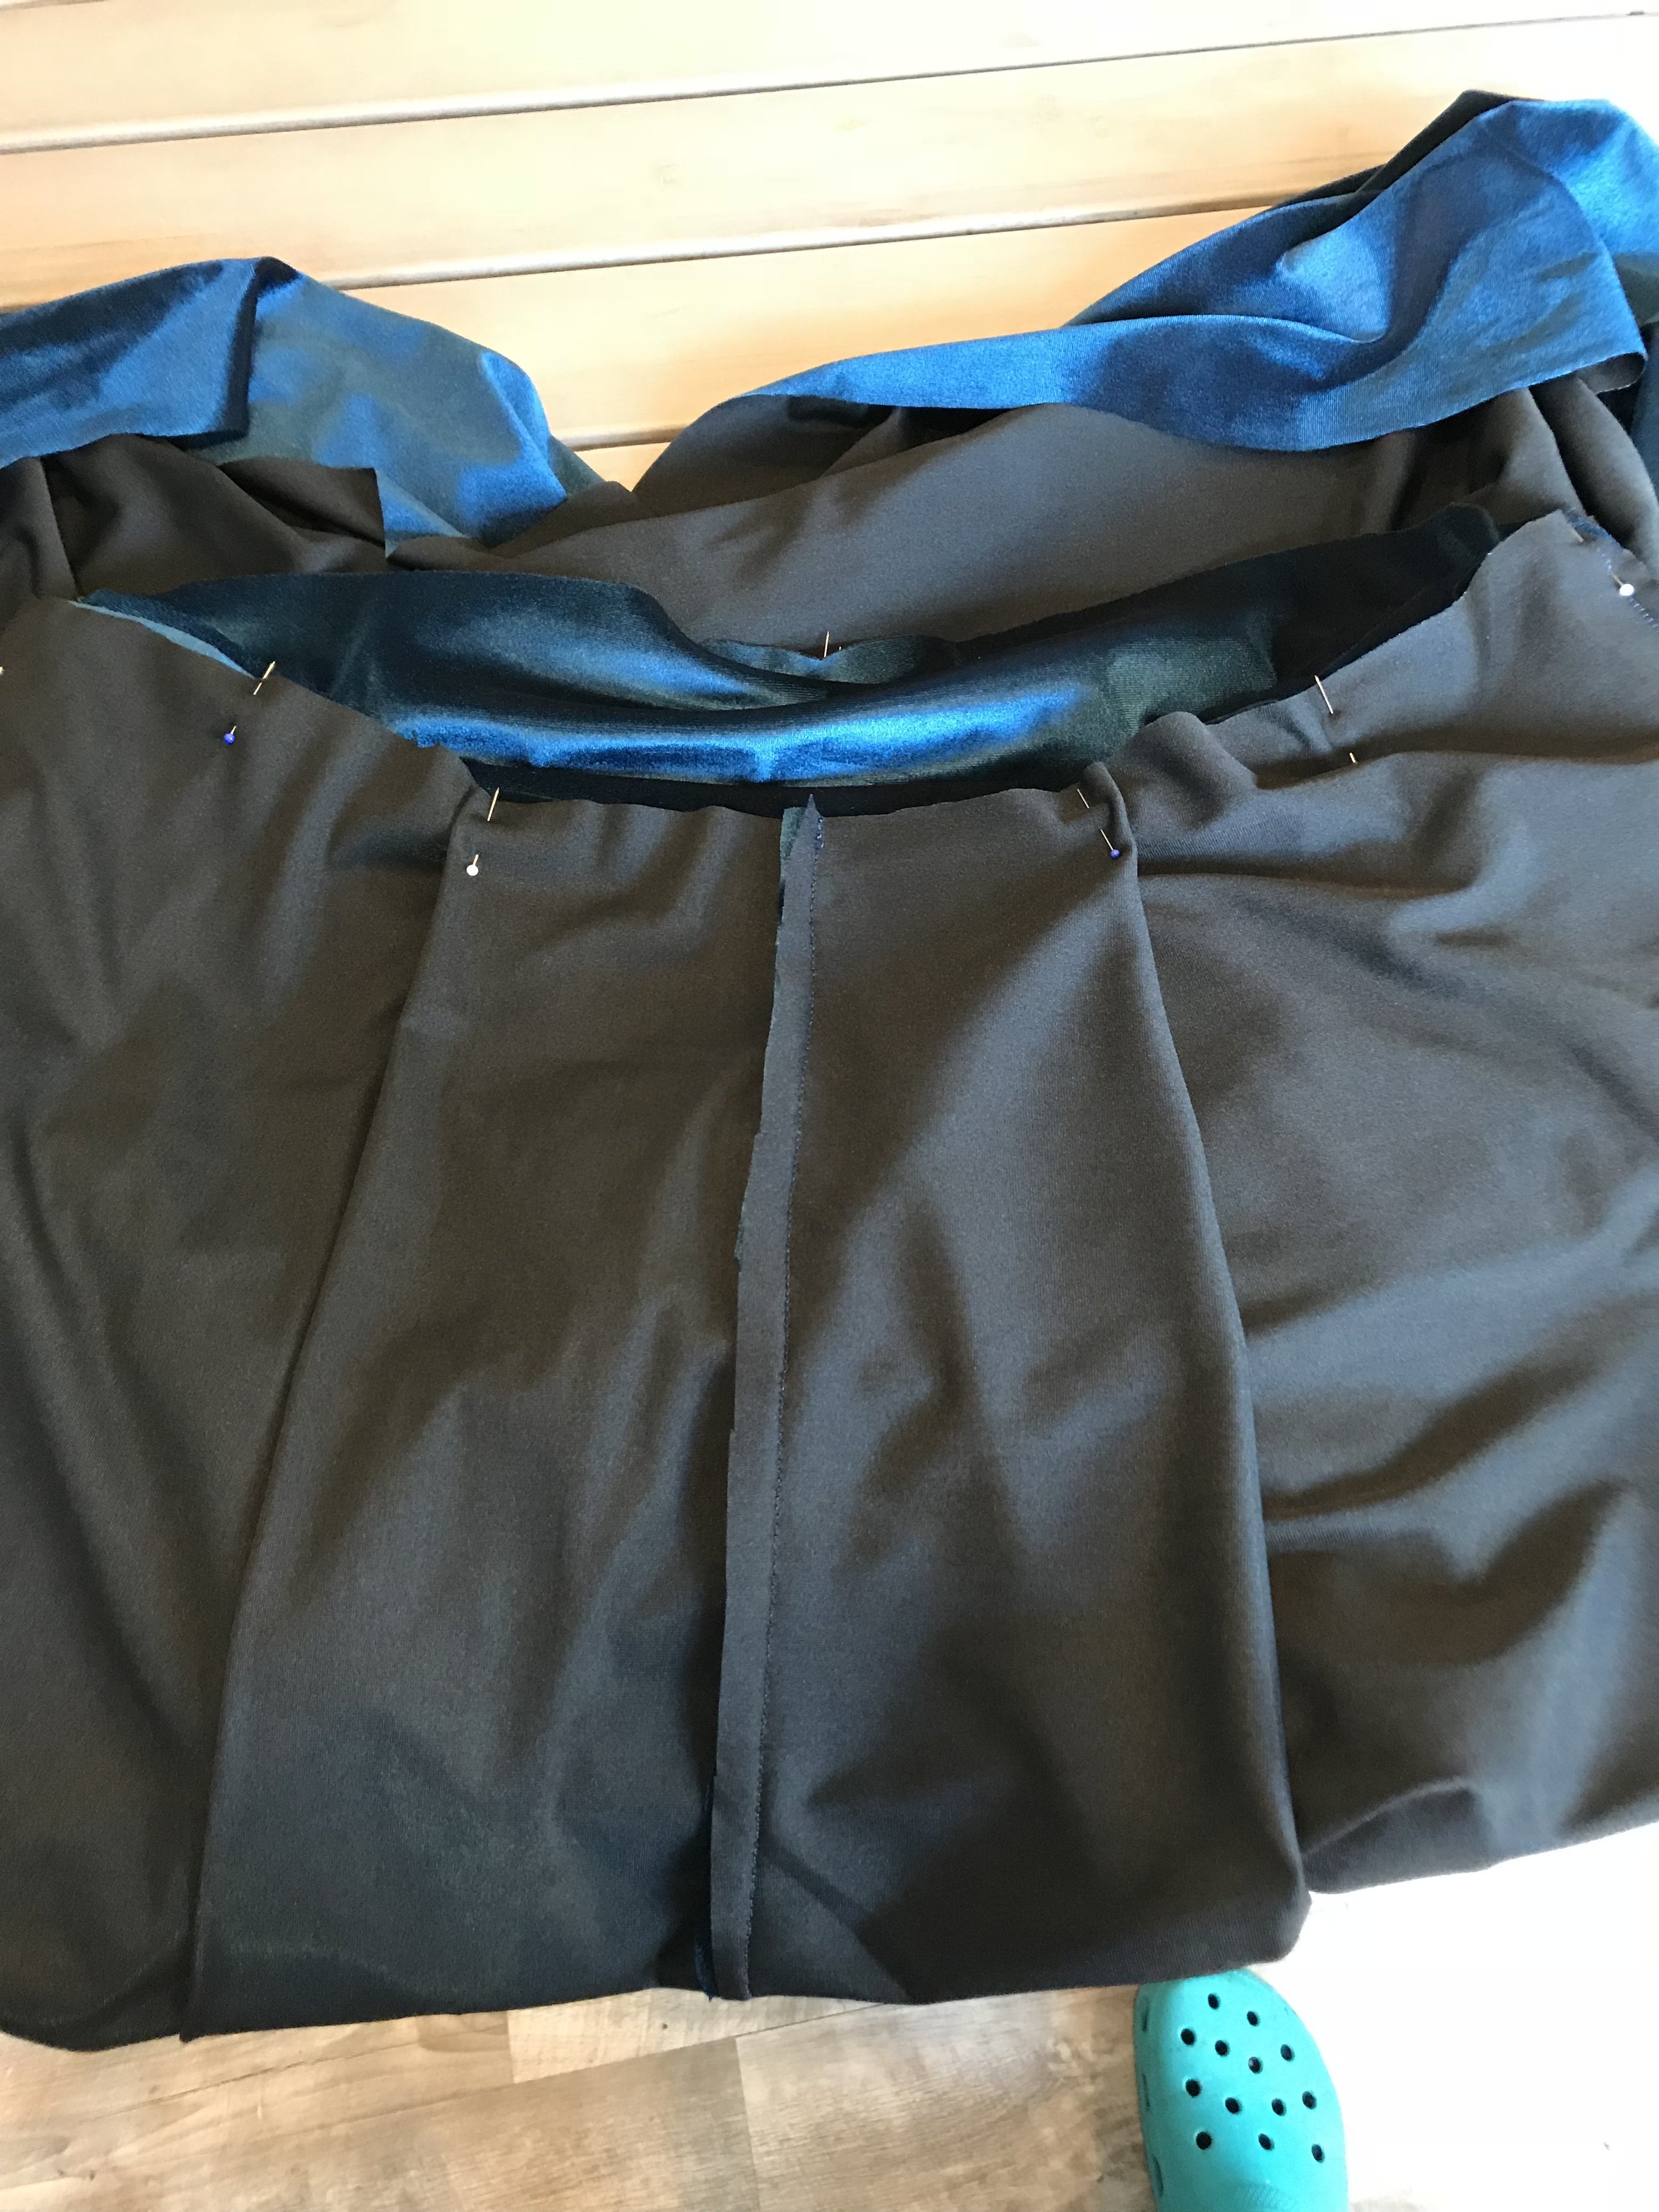
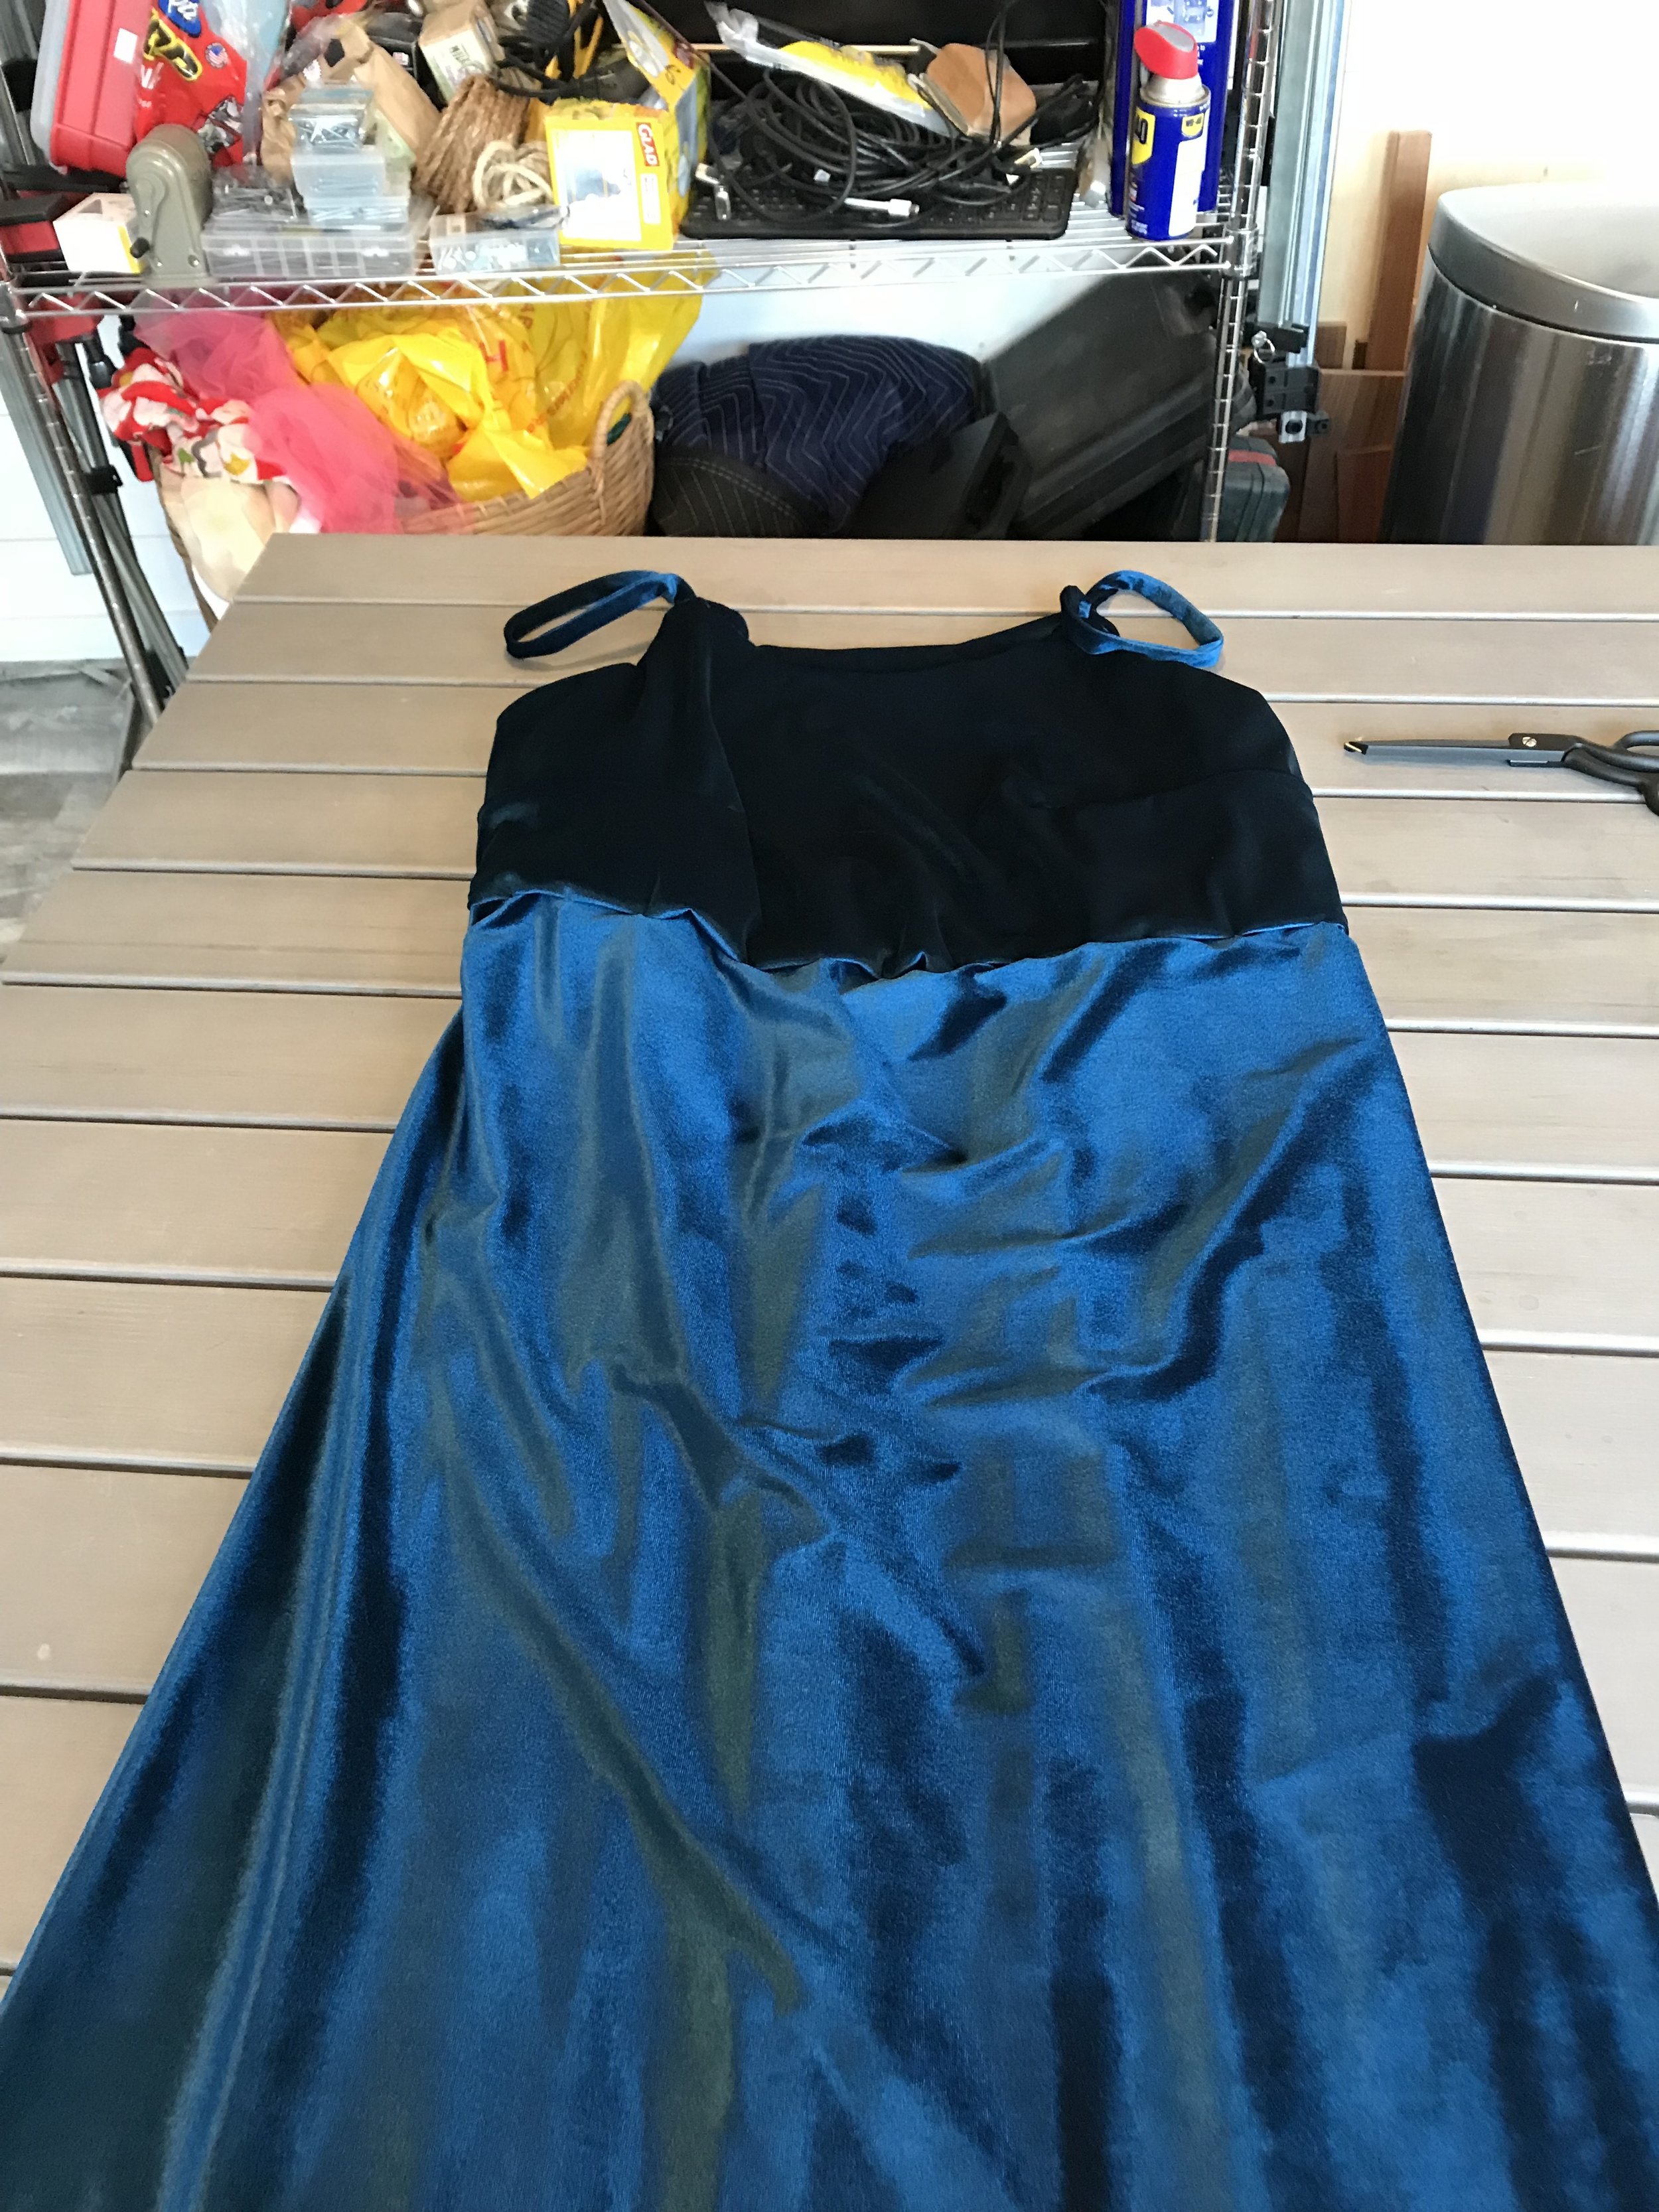
Below: a gallery of process shots. 1) me trying to keep things secure with criss-crossed pins. (BTW, I LOVE these Merchant and Mills glass-headed pins - you can iron right over them!) 2) the pleats in the back (I love making pleats!) and 3) the dress laid out on my cutting table (it's not two colors - it's just the nap catching the light differently)

The end:

The end result? A STUNNING GOWN! I tried it on the first time and wasn't quite sure, but... giving it a few minutes, looking at it from different angles, and coming to terms (as I do every time) with how I look vs. how I think I look, I realized it's absolutely beautiful. Like most things I make, I think this will last me a long time, and become a go-to piece for formal wear.

Smoldering beautiful blue!
A little twinkle...
Straight on, from the front.

Patterning New Adventures

Igniting a passion is a tricky thing. It takes a specific chemistry of interest, time, driving need, knowledge, and - perhaps most importantly - wins. It also, as Rob has told me many times, takes having other needs met so that you can move on to the joys of a hobby. Once those things are in place, though... wow. Watch that passion go.

Reader warning: personal stories of childhood struggles ahead.

My personal history is pretty terrible. Take 8 parts psychosis, 6 parts codependence, 10 parts bullying, and a huge measure of personal anxiety and you have the elixir that was my childhood. So what does this have to do with sewing?

Well, I learned to sew when I was young and given that I was moving through a storm of terror and dysfunction, it was a fraught exercise. My sister bullied me around just about everything and my sewing was no different. 

My first ever sewing project was a self-patterned panel skirt modeled after a doll pattern I had designed. I was about eleven, and I made it out of a really awful cotton fabric that I had bought with my own money on deep discount at Joann Fabrics. I can't find anything like it online, but it was not attractive. It had small forest-green ivy climbing across a bright peach background. 

My older sister tried to keep me from : 1) designing it (she told me it would never work 2) sewing it (she told me I was wasting my time) 3) wearing it (she told me it was incredibly ugly). For context, she was 3 and a half years older than me and was the one who had wanted to get into sewing in the first place. She was my role model in many ways, but she was also incredibly brutal both emotionally and physically.

However, the skirt turned out well. It looked nice despite the fabric. And after I wore it a bunch - first at home, and then out to the library and then to the fabric store - my sister started borrowing it. And because she was also very thin (much thinner than me), she told me she looked better in it and she pinned it so that it would fit her, and I don't remember if I really ever wore it again.

Instead, I tried my hand at something new and designed another skirt - a full one in blue ticking pattern cotton (I had learned a lesson about pattern scale and decided a simple blue vertical line would be good.) I modeled it after a McCall's early colonial costume It wasn't this pattern quite, but it was close. The skirt looked vaguely early americana and I liked it quite a bit. It was hard to resist letting my sister borrow it, but I managed to keep it mostly mine.

The  memory of that very first pattern design and what happened always haunted me, though. And every time I went to design something new I tried to make it slightly... less. Because if it was more, it would set off a series of events with my sister I didn't like. And thus my struggle and my opportunity in making. 

Back to making

I've been making every now and then for years, usually designing something that would be too expensive or too unique to buy. It was always under some kind of pressure timeframe and there was always a 'good' reason why I 'had' to sew it rather than buy it.

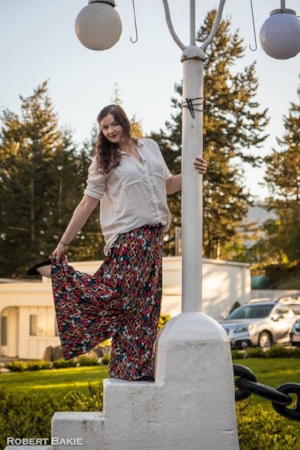
I made a dirndl to go to Oktoberfest because good ones can run up to $450, and I couldn't afford it. I made palazzo pants for Hawaii because I am too tall to fit into anything I can buy online. I made myself a couple of fancy dresses for parties because I didn't want to spend thousands of dollars. I made myself a pair of poofy pants for an Aladdin costume when I was younger - which I still wear to this day. (Photos at end of blog.)

Looking back on these makes, I see now how much each one has informed my style and almost all of them have been consistent wardrobe staples (except for the fancy things.) Quite the revelation! The things I sew are the most long-lasting garments I own. For example: my poofy pants I've had for 15 years now. I still wear them every summer, and I always love them.

My favorite garments have a few things in common:

1) They are long enough for my loooong legs

2) They are fairly simple and fit my body

3) They have a strong, central design feature

4) They can be styled in a bunch of different ways

We began the post with how to ignite a passion. What I'm realizing now is that despite these garments being beloved and beautiful, they aren't enough alone. I need a community of understanding and excited makers to help rewrite my history and to help me build my pathway to making now.  Beyond safety and stability - which I have now - community is the next most important thing to help me. Beyond that: tools, a budget, a place to make. All of which I have. 

So what's next? New makes. I've been a member of Seamwork for some time, and I've downloaded and printed one pattern, the Catarina out of a beautiful eggplant-purple jersey knit. Now I'm trying my hand at the Colette Crepe out of a gray stretch denim that I just picked up from Joann.

I'm super excited, and also scared. If I fail what happens? Will I be judged? Will I be hurt? Made fun of? Will people think less of me? And if I succeed what happens? Will others be envious? Will they hate me? Will they steal my things? Pushing against these fears is what I need chemistry for. 

Poofy Pants

Poofy Pants

Palazzo Pants

Palazzo Pants

Red Velvet

Red Velvet

Fancy Tulle Skirt

Fancy Tulle Skirt

Achievement Unlocked

Let's jump ahead in time, to the present day. I have lots of stuff to talk about in this blog. I plan on espousing my unwarranted and uneducated (kidding, maybe) opinions about many woodworking and crafty type things. But let's jump ahead to today.

So, I got this Dunlap smoothing plane (well, it's pretty much a Stanley No. 4 in shape and rough size, so let's assume it's supposed to be a smoothing plane) from a guy on Craig's List a while back. I got all sorts of great tools, and when I post about how awesome and terrifying Craig's List is, I'll talk about him more. He gave me some great deals and deserves a blog post almost all his own.  Amongst the things I got from him were a couple planes. One was a little Stanley #9 1/2 block plane. The other was a the Dunlap smoothing plane. 

Some old planes need a lot of love. Some need just a little. Typically, the older planes of the common variety are better than the newer ones. Newer planes of the Lee Valley and Lie Nielsen type are amazing and awesome and if you can afford them, buy them. They totally break the new/old rule.  Buck Bros. planes?  The kind you can find at Home Depot?  Don't bother. Really, don't. I bought the smoothing plane and the tote (the handle on the back) broke the first time I tried to use it. I glued it and donated it to Goodwill. I'm sorry, that was probably not good will, was it?

So, this Dunlap plane was pretty good, though. It had some mild rust on it, but it was that light rust that kind of looks like patina more than rust.  I fitted it with a new Hock blade from www.hocktools.com (which is what you do; they are awesome modern blades of appropriate thickness and hardness).

I had just planed a giant walnut panel the day before I made a horrific discovery.  I glued up a bunch of boards edge-to-edge to make a larger panel for a headboard, and, even though I'd used a biscuit joiner to aid in alignment, the boards were not quite aligned. Why, yes, I will post about biscuit joiners at some time in the future (yet another fine tool from Bart, the same guy who sold me the plane I'm talking about). The alignment issue was mostly that there were edges of the boards that were off height-wise by about 1/16" or so. What you do in this case, is you use a jack plane or scrub plane or something and you traverse the boards (planing along the width of the board, totally cross-grain). You'd be worried that this would lead to amazing and weird tear-out (where you effectively pull up little chunks of wood), but you'd be worrying for nothing. It totally works and is awesome when you're staring at a lovely board that's flat as heck and just has some plane marks to clean up.

I started smoothing the boards with the smoothing plane. Each pass pulled up these almost gossamer thin little strips of wood. I don't think walnut "gossamers" so well, and I was probably cutting a thicker shaving than I would to get full-on gossamer thin, but it was appropriate to what I was doing.  The rains came (my workshop is currently outdoors) and so I had to stop for the day.  But, overall, I was super happy and stoked about my progress. The bits that I'd touched with the smoothing plane had this almost pearlescent look to them.  It was that look when you put finish on a board where the grain pops and it catches the light and all that. It's called chatoyance, that flash of light. Well, the boards that I'd touched with the smoother were chatoyancing all over the place.

The next day, more rain, and so I ran errands, one of which was to go to Rockler and pick up some mounting hardware for the headboard I'm working on.  One thing about woodworking: At a certain point, there are a billion little things you can buy to aid you in your woodcrafting quest. Necessary is a difficult word here. Some things are super important, some things are just nice to have. If you have no way to cut wood, a saw of some kind is a necessity. If you have a jigsaw and you want to cut curves, then a bandsaw is a nice-to-have (unless you're re-sawing or cutting veneers and then it's almost a must-have unless you have a frame saw, but you'd still want one for the veneers).  Did I mention there's a learning curve to all this?  Right, so one of the nice-to-have tools recommended by Chris Schwarz ...

Wait, you don't know who Chris Schwarz is?  Well, he's just a little bit famous in the woodworking world.  He was the editor of Popular Woodworking and Woodworking magazines for a while, and now he runs Lost Art Press. They make artisanal books (and not in the artisanal firewood sense), which are a mix of older woodworking texts curated and given a second life for a hand-tool loving, eager new generation, and new texts about design, chair-building and Chris' own writings, which include his seminal work, The Anarchist's Tool Chest (which isn't so much about the tool chest, although the tool chest you can build from it is traditional and amazing, but about the quality, character, and type of things you put in it).  Hmm, I'm going to have to write a blog about him, aren't I?  Well, so the short story (too late) is that Chris blogs about woodworking, with a hand-tool bent, and has a lot of useful experience and knowledge in his head that he prodigiously shares with the world. 

Chris recommends Klingspor Sandflex abrasive pads in medium and fine grits to control the bloom of rust on hand tools.  Typically, you're going to be treating your hand tools with a light coat of camellia or jojoba oil to stop rust, but sometimes rust just happens.  So, these blocks, which I had half-convinced myself were sandpaper (like the 3M blocks) are not sandpaper, but this sort of abrasive suspended in an eraser-like substance.  They are unicorn magic.  Rockler had them, and I picked them up. I used the internet to figure out that Chris recommends the medium and fine (which was great, because that's exactly what they had).  I brought them home and I pulled off the lever cap from the hand plane and literally erased the rust from it.  With the exception of some minor pitting on some of the surfaces, the plane started looking brand newish.

This was all great until I got to the plane sole. There I took a lighter touch. I wanted to pull the rust off, but I do have respect for patina (the surface of an older tool that shows it was used, and using a tool is about the best thing you can do with it). So, I cleaned it all. No rust, no mirror polish, but then I discovered the something horrific. There was a little hairline crack extending from the side of the mouth down about 1/4 of an inch or so. Once I'd cleaned off the grime, I could see it and feel it with my fingernail.

The internet, in all its mightiness, mostly had this to say about cracks on plane mouths: avoid buying vintage planes that have them. Urm. Oops.  Granted, I spent a pittance on this plane (see what I did there, cause there are pits from rust on the ... oh, never mind). Bart gave it to me with that #9 1/2 (that's almost the Hogwart's train platform. Ok from now on, I'm calling that block plane the Almost Hogwarts Plane) for such a reasonable price that I would never begrudge that.  But, a new plane, of the kind that I'd be likely to buy, is not cheap. Sure, I could re-purpose the Hock blade into another vintage offering, but I've been looking at lots of vintage planes lately, and a good vintage smoothing plane with a nice, flat sole and little rust is not as easy to find as you'd like it to be.  

So, I went to the Lost Art Press site. I've been frequenting the forums there lately, and it seems like a reasonable group of like-minded folks without a ton of attitude about things. The bonus is that Chris Schwarz hangs out there, along with Megan Fitzpatrick (the current editor of Popular Woodworking), as well as lots of other people whose blogs you follow (Renaissance Woodworker Shannon Rogers, another woodworker I have the utmost respect for, for instance). I posted there about the crack.  Here's what it looked like ... did anyone have any experience with this?

I forgot to mention how long the crack was in that post, a reasonably salient detail.  As I was about to edit my post, the following text kept showing up under my blog post. "Chris Schwarz is typing".  Um, mere seconds after I post, and Chris Schwarz is typing... a response... to my question.  Chris ... Schwarz.

I've met celebrities before. I used to work in radio. I got to hang out with MaryAnne from Gilligan's Island in the lobby of the radio station and wheel her bag around. I don't believe celebrities are gods or infallible people. I don't need them to respond to my instagram posts to validate my existence. I do, however, have a tremendous and tongue-tying amount of respect for people who create things, be it writing, art, entertainment I enjoy, or ... smart essays and books about this passionate hobby of mine.

And in less than a minute of watching the scary/magic words "Chris Schwarz is typing", there it was. The crack?  No big deal.  He had vintage planes with cracks, and they weren't causing problems. His advice? Keep using the plane until it noticeably causes an issue (if ever).  So, I get to keep using the plane. Sure, a new Lie Nielsen smoothing plane would be sweet and all (seriously, those things are just a joy to touch and use and are a demonstrably greater user experience than the corresponding vintage planes), but those kinds of purchases are budgeted and planned for. And besides, that little Dunlap was really growing on me.  

But, possibly more important than keeping the plane?  Achievement Unlocked: Chris Schwarz answers your forum post.

My Woodworking Origin Story

It started like it did for so many other woodworkers. We bought a house, and we wanted to renovate it.

My first real woodworking project ever was in a shop class in junior high.  It was a little wooden stool. Though I can make guesses about the techniques I must have used, I don't really remember anything about the project other than that I did it so quickly, I needed another project. My shop teacher pointed me towards some pine and I made an open bookshelf. Techniques? No idea (it's still at my parent's house, so I can't look at it now), but again I raced through it. Clearly I must have enjoyed it, right?

Some family history.  My Dad isn't really a wood guy. He likes cars. He can diagnose a car problem over the phone by a described sound. Growing up, I learned a lot about mechanical things from my Dad. I'm great at taking things apart and putting them back together. I scored stupidly well in spatial mechanics in one of those High School tests you take that measures such things.  But, wood never really entered the picture. Just not my Dad's thing, and he thought he had no talents there. But, there was a time when he used to help his Dad. His Dad was a logger. Maybe the wood grain runs in the veins, but just skips a generation.

So, take this kid who raced through the wood section of industrial arts, and then divert him towards computers for the next umpteen years. Then give him a house that needs some renovation, and watch the lit fuse go.

There wasn't much opportunity for woodwork with most of the renovation. Truth told, we removed more wood from the house than I put in it. We pulled out some wood paneling in the room that became our library. We pulled up a pass-through and corresponding cabinets that blocked access to the kitchen. We painted over the nice wood paneling in the living room (though it makes a really pretty feature wall the way we did it).  But the closest I got to woodworking was creating a soffit for a gas pipe out of some pine 1x3s I bought at Home Despot. I screwed it together with drywall screws. What's the old saying? "When your only tool is a shovel, every problem begins to look like the back of someone's head."

But the problem with pulling out all the old wood paneling in a room, and the corresponding trim, and pulling up all the carpeting in your living room and the connecting hallway, is that you expose a lot of areas that need baseboards, moulding and casings. We didn't touch that trim work for a year, at least. (I did build, er, assemble about 15 Ikea bookcases, though.)

Right before that first Christmas in the house, I bought a Dewalt Double Bevel Compound Miter Saw. We'd borrowed one from Gillia's dad for a while that we never used, but we had this philosophy when we did the renovation, that we wanted to buy good tools and do things the right way.  My Grandfather could fix anything with duct tape, spit and bailing wire, but then 30 years later, my Dad would have to fix it the proper way, which always involved time and money and effort in plentiful supply.  So, when we started the renovation, I convinced Gillia (it wasn't hard) that we needed to buy quality tools that would last, and the miter saw was one of those bought in anticipation of all that trim work.

Finally, the next summer, I got tired of seeing all those exposed drywall edges.  It's amazing how easy it is to get used to stuff like that when you live with it every day. I think the biggest factor in leaving it undone so long was that we'd just exhausted ourselves during the renovation and the move, and we just couldn't think about giving ourselves more work. A few days vacation in Leavenworth, WA (and one night of your writer stumbling drunkenly around the Bavarian-themed town after consuming what must have been an entire barrel of beer) and I suddenly started to find some energy for renovating again. So, we picked up lots of pre-painted, 7' lengths of MDF trim and I broke out the miter saw and set it up on a water-logged Ikea table we has sitting in the back yard.

I loved it. From the first moment I started cutting that MDF, I really enjoyed it.  I seemed to have a knack for it, and was delighted by simply measuring a space on the wall, cutting a piece of trim to fit it, and then finding that it actually fit. I don't know what I expected, but I think I feared that nothing would measure quite right, that I'd have to re-trim and re-trim pieces and that I'd cut them stupidly short and that it wouldn't be fun. Instead, it was super fun.  The only bad part about it was the fact that the room had been paneled in thin wood and so replacing that with 3/4" drywall meant that pretty much every frame for everything was not the right width.  You fix that through shimming the frames, or pounding down or cutting away drywall until all the casings sit flush.  (It's funny writing about it now, because at the time that part was really intimidating, and now I'd break out the table saw and cut shims with no problem or fear.)

We bought an air compressor and nail gun and painted and caulked and amazed ourselves at how great our handiwork looked. You get used to the place being incomplete and then you complete it, and the feeling is pretty damn gratifying.

Remember the 1x3s I used to build the soffit?  Well, the leftover wood was just sitting around in a metal shed in the back yard, and I played around with the miter part of the miter saw and realized how easy it would be to build a picture frame (Mistakenly so, actually. Those angles are not super easy to line up in reality and you have to make a groove for the glass and so on. But at the time I didn't realize that - I just marveled at how pretty it was when two pieces of wood with a 45 degree angle were put together). The 1x3s gave me an idea, though. We needed a sort of stadium set up for our shelves where we were double-stacking my collection of DVDs on those Billy bookcases.  Also, our spices were set in our spice cupboard on little cardboard risers that Gillia had harvested from some packing materials somewhere.

She went out of town on a business trip, and I got really ambitious. I told her I was thinking of taking that Thursday and Friday off.  (Advice to husbands young and old: Don't do this. Your wife, reasonably so, might prefer that you take vacation days when she can enjoy your company.  Instead, what you've got to do is lie about it, so that you can surprise her). Right, so after we argued about that for a while, I told her I wasn't taking Thursday off (I was), and that I was taking Friday off so that I would be home early when she got home from her trip (a lie). What I, in fact, did, was plan to build the risers and stadium situation for the shelves.

But I got distracted, and started looking up benches that could be used at the end of the bed. Gillia had been wanting one forever, but we could never find a pre-built one we liked that wasn't $600 or more. I found Ana White's website, and the women from Shanty2Chic had made a bench based off of a pottery barn bench, and I sneakily sent her just that picture. She loved it, and I told her that regrettably, it was several hundred dollars and we couldn't afford it.

So, I took that Thursday and Friday and I built it.  The project plans seemed straightforward enough. The drawers looked a little intimidating, but I had all that Ikea experience. (Heh.) I probably should have been scared that the project was labeled as an "Advanced" project, but I really wasn't. I bought the pine at the home center. I invested in a Kreg Jig pocket hole screw system. I bought some gorilla glue. Thursday went great and I got quite far into it, despite multiple trips to multiple hardware stores to get all the stuff.  I also found time to sand and paint some more casings (my cover story for my nighttime activities).

Friday was a little scary. My workshop was outside the house, after all. I'd bought a $70 collapsible workbench from Home Depot and was working in the shelter of our patio.  Friday rained, and lightninged and thundered. I worked outside as much as I could, trying hard not to make myself a headline ("Idiot Struck By Lightning While Using Miter Saw in Thunderstorm").  I was so close, so close to finishing it when Gillia came home. At that point, all that was left was to glue up the top panel and screw it to the carcase (no idea that that's what you call such things). My stunned wife really kind of couldn't believe what i'd done. She was deeply touched by it. She'd had a childhood with little furniture (they had to buy their own beds), and not a lot of things that were just hers, so the idea that I would make something so pretty just for her to use was powerful.

And there it was. I enlisted her help in figuring out which order the panels should go. I showed her how to drill the pocket holes and glued it all together, and then she had a bench, with drawers that she was going to get to paint or stain in any way she wanted.

And I was hooked. A world had just opened up. I'd worked for the last two years on a web site that wouldn't be shown to the world for another 3 months. I'd worked on another web site for almost a decade that was about to be decommissioned. I'm a computer guy, and everything i do with computers for my job is out of date and needs replacing 18 months after I've made it.

Making something with your own hands is powerful. Making something you know you'd have to purposely set about destroying in order to break it is powerful. Creating a beloved object out of flat boards of pine from Home Depot in the space of two days is powerful. It was powerful in ways I didn't anticipate. It scratched a deep itch. I felt like I was good at doing it, too. I know I made mistakes with it. I know it's not perfect. But fundamentally, it just doesn't matter. It's a functional, beautiful object, and I want to make many, many more of them.

I was hooked. I still am.  This blog isn't instructional (except when it happens to instruct you). This blog doesn't pretend to share an expert opinion based on years of experience (I started in late August of 2015). What it will do is share my journey and share my thoughts on what it's like to build things, and what it's like to learn about this craft and others.  Thanks for tuning in.

(In case you're curious, I did make those stadium risers for the DVD shelves and spice rack, all in an afternoon the next day or so.)

Powered by Squarespace.  All images Copyright Robert T. Bakie.